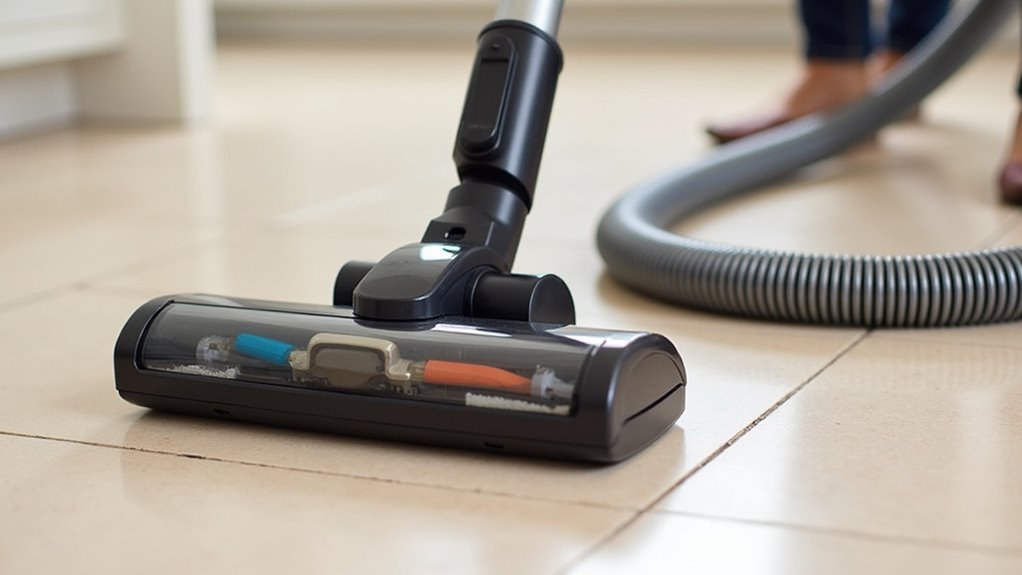

If your vacuum isn’t picking up on tile floors, start by inspecting the motor for signs of overheating, strange noises, or burnt smells, which indicate it may need repair or replacement. Next, check for blockages in the hose caused by hair or debris, and verify the hose isn’t cracked or damaged. Tighten fittings and clean the hose regularly to improve airflow. Want tips to restore suction quickly? Keep exploring to find out more.

Get cleaning gear delivered free — and shop member deals
- Fast, free delivery on millions of items
- Access to Prime Big Deal Days deals on October 6–7
- Prime Video, Amazon Music and more included
Key Takeaways
- Check the vacuum motor for overheating, unusual noises, or burning smells indicating it may need repair or replacement.
- Inspect the hose for blockages, cracks, or tears that could restrict airflow and reduce suction on tile floors.
- Clear any clogs or debris from the hose using water, brushes, or specialized cleaning tools regularly.
- Ensure all hose connections are tight and secure to prevent suction leaks during cleaning.
- Perform routine maintenance and replace worn motors or damaged hoses promptly to restore optimal pickup performance.

Are you sure your vacuum is working effectively on your tile floors? If you’re noticing a lack of pickup or your vacuum isn’t performing as it used to, it’s time to troubleshoot the motor and hose. These components are essential for maximum cleaning, and neglecting them can lead to poor suction and dirt buildup. First, check the motor. Over time, the motor may wear out or overheat, reducing its power. If your vacuum motor feels warm or smells burnt, it might be time for a motor replacement. Replacing the motor is more straightforward than you might think, especially if you follow the manufacturer’s instructions or consult a professional. A new motor can restore your vacuum’s suction power and guarantee it runs efficiently. Before jumping to a replacement, listen for unusual noises, such as grinding or squealing, which can indicate motor trouble. Also, check if the motor’s brushes are worn out, as replacing these small parts can sometimes fix the issue without a full motor change. Additionally, motor overheating can cause performance issues, so ensuring proper airflow and cooling is important for long-term use.
Next, focus on hose maintenance. Your vacuum hose is the conduit for dirt and debris, and any blockages or cracks can drastically reduce suction. Carefully inspect the hose for clogs—common culprits include tangled hair, string, or debris lodged inside. Detach the hose from the vacuum and run water through it to clear out any stubborn blockages. While doing this, examine the hose for cracks or tears, as damaged hoses not only leak suction but can also cause dirt to escape back onto your floors. Replacing a damaged hose is simple and affordable, but don’t forget that cleaning and maintaining it regularly prevents future problems. Use a long, slender brush or a hose cleaning tool to scrub the interior and keep airflow unimpeded. Also, ensure the hose connections are tight and secure, as loose fittings can lead to loss of suction.
As an affiliate, we earn on qualifying purchases.
Frequently Asked Questions
How Often Should I Replace My Vacuum Motor?
You should replace your vacuum motor when it shows signs of reduced suction, strange noises, or overheating, typically every 5 to 7 years depending on usage. Regular vacuum maintenance, like cleaning filters and checking for debris, helps extend the motor lifespan. Don’t wait until your vacuum completely stops working; timely replacement ensures peak performance and prevents further damage to other components.
Can Clogged Hoses Damage the Vacuum Motor?
Imagine a narrow river blocked by debris—that’s how a clogged hose can strain your vacuum motor. When you neglect hose maintenance, debris and blockages cause the motor to work harder, potentially shortening its lifespan. Regularly check and clear your hoses, ensuring smooth airflow. This simple step prevents motor damage, keeps your vacuum running efficiently, and extends its overall lifespan, saving you money and hassle in the long run.
What Signs Indicate a Failing Vacuum Motor?
You’ll notice motor failure when your vacuum’s suction loss becomes persistent despite clean filters and hoses. If the motor makes unusual noises, smells burnt, or stops running altogether, it’s a clear sign of trouble. These signs indicate your vacuum motor might be failing, reducing overall performance. Addressing these issues early prevents further damage and restores your vacuum’s cleaning power. Regular maintenance can help catch motor problems before they worsen.
Are There DIY Methods to Fix Hose Leaks?
Hose healing helps hinder hassle! To DIY hose repair, first perform leak detection by listening for hisses or feeling for escaping air. If you find a leak, use a patch kit or waterproof tape to seal the spot. Make sure to clean and dry the area thoroughly before applying. With careful attention, you can quickly fix hose leaks and restore your vacuum’s powerful performance, saving time and money.
How Do I Prevent Debris Buildup in the Hose?
To prevent debris buildup in your vacuum hose, regularly perform hose maintenance by detaching and inspecting it for blockages. Use a long, flexible brush or broom handle to clear out any debris stuck inside. Make sure to empty the vacuum bag or canister frequently, as a full container can cause debris to back up into the hose. Consistent cleaning and careful debris prevention help keep your vacuum functioning efficiently.
Conclusion
Think of your vacuum like a trusted teammate. When the motor and hose are in top shape, they work together smoothly, much like a well-oiled machine. I once ignored a small clog, and my vacuum’s power dropped—like a runner hitting a wall. Regular checks keep your vacuum running like a breeze, ensuring your tile floors stay spotless. Keep up with maintenance, and your vacuum will be there, pulling through just like a reliable friend.
Fall Picks
fall essentials
As an affiliate, we earn on qualifying purchases.