
To map natural stone like a pro, start by organizing your workspace with all tools ready. Measure your room precisely, noting features like doors and windows, then create scaled templates to mark zones. Use spacers and a level to ensure perfect placement, and spread adhesive carefully for each stone. Regularly check alignment and smooth out as you go. Mastering these steps helps you achieve fast, accurate zones—continue exploring for expert tips to perfect your technique.
Key Takeaways
- Measure room dimensions accurately and create scaled sketches to plan zones precisely.
- Use sturdy templates with marked reference points to outline zones before applying stones.
- Align stones carefully with spacers and a level, ensuring consistent borders and seamless joints.
- Mark zone boundaries clearly on surfaces with chalk or pencil for quick, error-free placement.
- Conduct thorough final inspections to verify alignment, flushness, and secure adhesion for a professional finish.
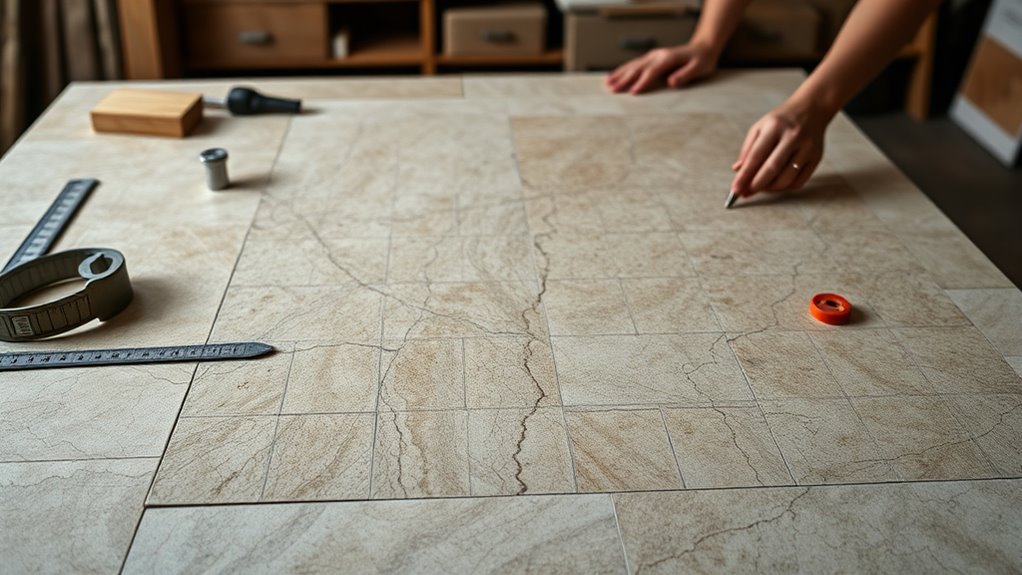
Preparing Your Workspace and Materials
Before you begin mapping natural stone, it’s essential to set up a clean, organized workspace with all the necessary materials within reach. Clear your area of clutter to keep your tools accessible and avoid mistakes. Gather your measurement tools—like a tape measure, ruler, and marking pencil—and make sure they’re in good condition. Prepare your natural stone samples or tiles, making sure they’re clean and ready for handling. Have adhesive, spacers, and protective gear, such as gloves and safety glasses, nearby. Organize your workspace so you can move smoothly from one task to the next without searching for supplies. A tidy, well-stocked area helps you stay focused, work efficiently, and achieve precise, professional results when mapping your natural stone. Additionally, using proper lighting ensures you can see details clearly and make accurate measurements.
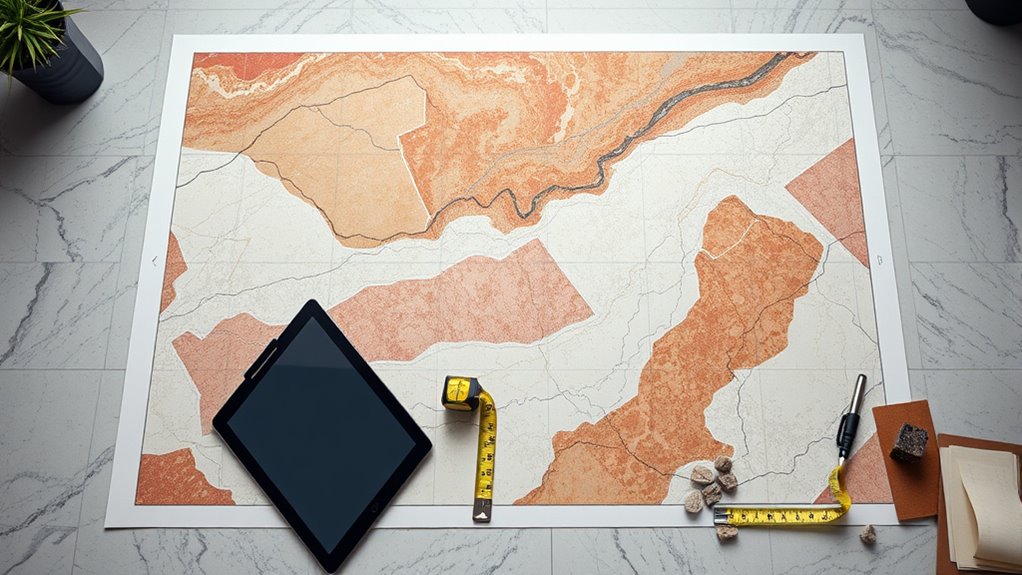
Measuring and Planning Your Room Layout
Once your workspace is ready, start by measuring your room accurately. Precise measurements help you plan your layout effectively and avoid costly mistakes. Here’s how to get started:
- Measure the length and width of each wall, noting down the dimensions.
- Mark the locations of doors, windows, and any built-in features that may affect stone placement.
- Determine the ceiling height to account for vertical space and potential pattern alignments.
- Consider the cultural significance of your design choices, such as incorporating motifs inspired by artistic influence, to create a meaningful layout.
Use a reliable tape measure and double-check your measurements for accuracy. Sketch a scaled floor plan, including all measurements and features, to visualize your layout clearly. This planning phase ensures your natural stone fits perfectly and looks professional once installed. Proper measurement is the foundation of a smooth, efficient zoning process.
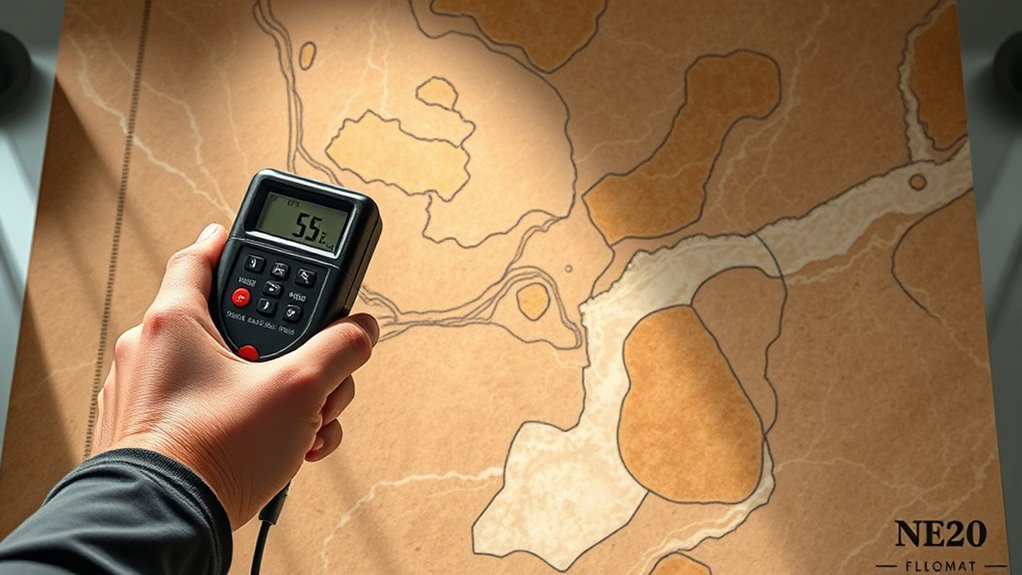
Using Templates and Markers for Precise Zoning
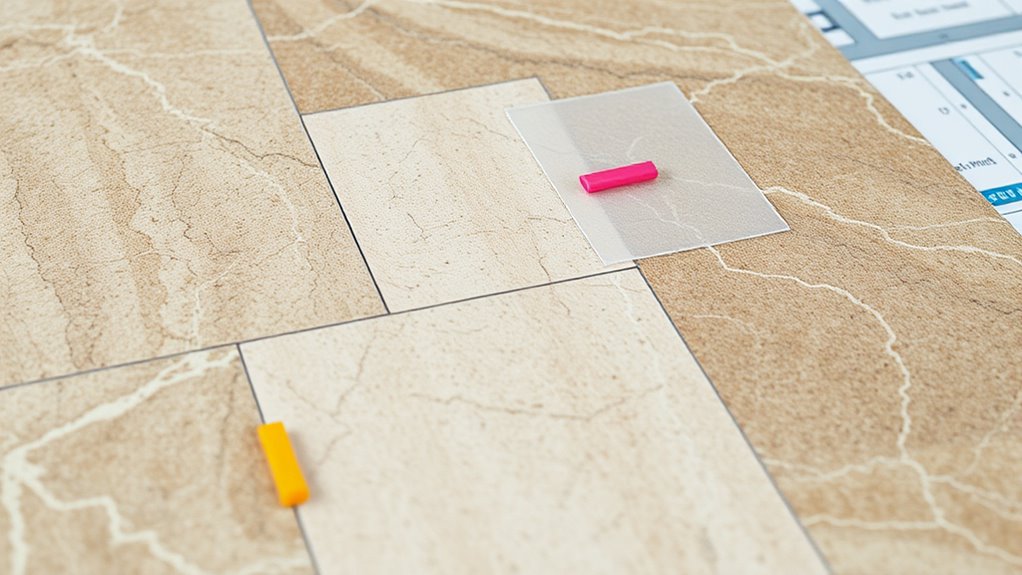
Using templates and markers is essential for transferring your planned layout onto the actual surface with accuracy. Start by creating a template that matches your room’s dimensions and design. Use sturdy material like cardboard or plywood for easy handling. Mark key reference points, such as corners and intersections, on the template. Place the template on the surface, ensuring it aligns perfectly with your room’s measurements. Secure it with painter’s tape to prevent shifting. Use a pencil or chalk to trace around the edges, creating clear guides for your cuts or placements. Mark specific zones for natural stone installation, such as border lines or center points. This process guarantees your natural stone layout matches your plan, reducing errors and making the entire installation smoother and more precise. Additionally, incorporating proper measurement techniques ensures the entire process remains accurate from start to finish.
Applying Natural Stone With Accuracy and Care

After marking your layout with templates and markers, the next step is to carefully apply the natural stone to your surface. Precision is key to achieving a professional look. First, prepare your adhesive according to the manufacturer’s instructions to ensure proper bonding. Second, use a notched trowel to spread the adhesive evenly over small sections, avoiding excess or gaps. Third, place each stone piece carefully, pressing firmly and aligning edges as you go. Take your time to adjust pieces before the adhesive sets. Remember to check the alignment frequently with your spacers and level. Patience during this process prevents mistakes and guarantees a smooth, polished finish. Additionally, understanding the importance of color accuracy can help you select the right materials and lighting to enhance the natural stone’s appearance. Applying natural stone with care results in a beautiful, durable surface that looks expertly installed.
Final Checks and Adjustments for a Flawless Finish
Before you finalize your natural stone installation, it’s essential to perform thorough checks and make necessary adjustments. Inspect all seams, grout lines, and joints for uniformity and alignment. Look for any uneven surfaces or gaps that might compromise your finish. Use a level to confirm that the stones sit flush and straight, adjusting as needed. Check for any adhesive or mortar squeeze-out and clean it promptly to prevent staining. Ensure all stones are securely adhered and that no loose pieces remain. Finally, review your work from multiple angles to catch overlooked imperfections. Making these final tweaks guarantees a professional, flawless appearance. Taking your time now ensures your natural stone installation looks polished and durable for years to come, especially considering the importance of precise installation techniques for a lasting, high-quality finish.
Frequently Asked Questions
What Are the Best Tools for Detailed Natural Stone Cutting?
You should use a diamond blade circular saw or a wet saw for detailed natural stone cutting. These tools provide precision and mitigate dust, making your work cleaner and safer. An angle grinder with a diamond-tipped blade is excellent for intricate cuts and shaping. Always wear safety gear, and guarantee your tools are sharp and well-maintained to get the best results with minimal effort.
How to Prevent Natural Stone Chipping During Installation?
Chipping natural stone is like trying to catch a butterfly—delicate and easy to damage. To prevent chipping, you should use a diamond blade for clean cuts, apply masking tape along cut lines, and support the stone properly during cutting. Make slow, steady passes with your saw, and avoid forcing it through. Always wear safety gear, and handle the stone gently to preserve its integrity during installation.
Can I Custom Cut Natural Stone at Home Safely?
Yes, you can custom cut natural stone at home safely if you have the right tools and precautions. Use a wet saw with a diamond blade to prevent dust and chipping. Wear safety goggles, gloves, and a dust mask to protect yourself. Always secure the stone firmly and measure carefully before cutting. Take your time, follow the saw’s instructions, and work in a well-ventilated area for safe, precise results.
How Do I Choose the Right Natural Stone for High-Moisture Areas?
Did you know natural stone like granite and slate resist moisture better than other options? For high-moisture areas, choose stones with low porosity, such as granite, quartzite, or slate. These stones absorb less water, reducing the risk of damage and mold. Make sure to select stones with a proper sealant, and avoid porous options like limestone or marble that can stain or deteriorate over time in damp environments.
What Maintenance Is Required to Keep Natural Stone Looking New?
To keep natural stone looking new, you should regularly clean it with a pH-neutral cleaner and avoid harsh chemicals. Seal the stone every 6-12 months to prevent stains and moisture damage. Wipe up spills immediately, especially acids or oils, to protect the surface. Use mats or coasters to minimize scratches and wear. Regular maintenance guarantees your stone remains beautiful, durable, and retains its natural shine over time.
Conclusion
Now that you’ve mastered zoning your space like a pro, you’re ready to transform your room with natural stone. Just like a seasoned artisan in a bygone era, approach each step with patience and precision. Remember, a little careful planning and attention to detail will bring your vision to life—no need to don a powdered wig, but channel that same dedication. With your newfound skills, your space will look flawless, and you’ll enjoy that sense of achievement for years to come.