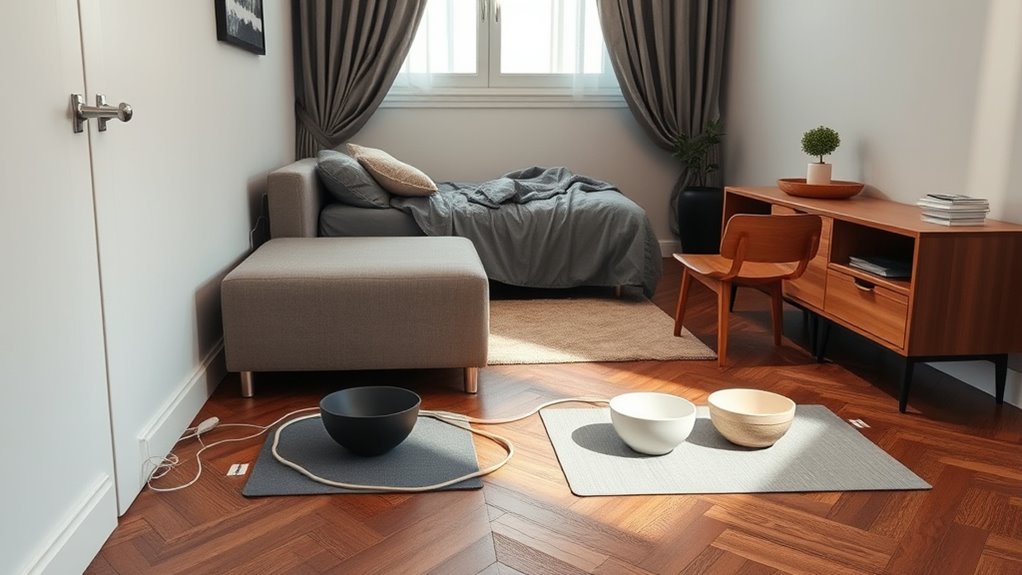
To keep cords and bowls safe in your studio, establish clear no-go lines using visual cues like tape, rugs, or painted borders to define walkways and hazard zones. Secure cords with clips or covers and route them along walls or furniture edges to prevent tripping. Use labeled containers and designated spots for bowls and small items to reduce clutter. Setting up and maintaining these boundaries guarantees a safer, more organized space—if you want to learn more, keep exploring ways to enhance your safety system.
Key Takeaways
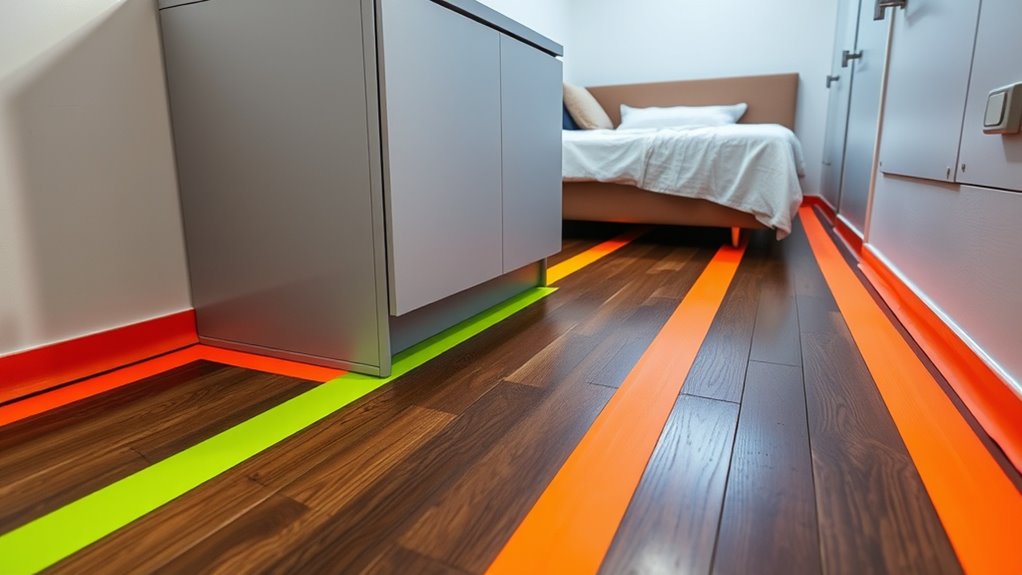
- Use brightly colored tape or painted lines to clearly demarcate no-go zones around cords and bowls.
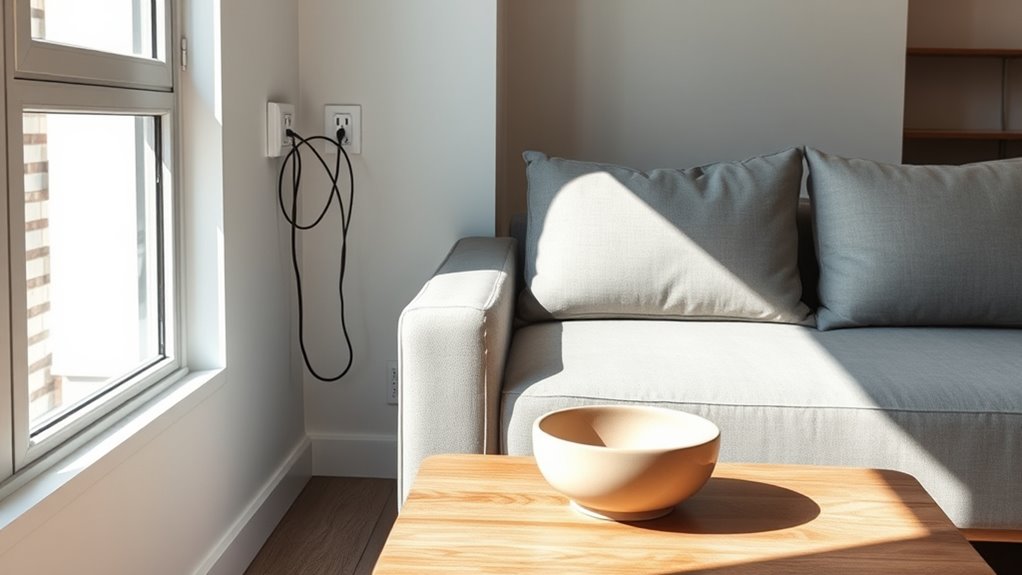
- Secure cords with clips, covers, or ties, and route them along walls or furniture edges to prevent tripping hazards.
- Place visual signage at eye level indicating restricted areas like cords and fragile items for quick recognition.
- Install physical barriers such as small dividers or open shelving to separate high-risk zones from walkways.
- Regularly review and update no-go lines as furniture or layouts change to maintain ongoing safety.

Oreck Commercial Orbiter Hard Floor Cleaner Machine, Multi-Purpose Floor Cleaning, Random Orbital Drive, Wide Cleaning Path, 50-Foot Long Cord, ORB550MC, Gray/Red
MULTI-PURPOSE CLEANING: Commercial grade cleaner and effective on all types of flooring surfaces. Sand, refinish, strip, scrub, wax,...
As an affiliate, we earn on qualifying purchases.
Assessing High-Risk Areas in Your Studio
When evaluating high-risk areas in your studio, the key is to identify spots where accidents or hazards are most likely to occur. Look for areas with heavy foot traffic, tight corners, or cluttered spaces that can cause trips or falls. Pay close attention to zones near appliances, like the stove or refrigerator, where spills or burns could happen. Make note of places with loose cords, open shelves, or unstable furniture that might tip over. Check for uneven flooring or rugs that could cause slipping. Additionally, recognizing hazardous zones helps in implementing targeted safety measures. By carefully spotting these danger zones, you can prioritize safety measures and minimize risks. Recognizing these high-risk areas allows you to plan for effective safety solutions and create a safer, more functional living space.

HHQ Commercial Floor Scrubber Machine with Brushes and Pads, Heavy Duty Floor Cleaner Polisher and Buffer- Deep Cleaning Tile and Grout, Hardwood Floors and Carpets without Getting on Hands and Knees
Kit Included: 1 Orbital Floor Buffer & Scrubber Machine, 2 Polishing/ Stripping Pads, 3 Scrub Brushes, 1 Microfiber...
As an affiliate, we earn on qualifying purchases.
Designing Effective Boundary Markings
Effective boundary markings are essential for clearly defining different areas within your studio and preventing accidents. You want to create visual cues that signal where one zone ends and another begins, reducing confusion. Use tape, rugs, or painted lines to mark boundaries around cords, cooking zones, or sleeping areas. Bright colors or contrasting patterns make these markers stand out. Consider the following options:
| Method | Best Use Case |
|---|---|
| Colored Tape | Cords and small zones |
| Rugs or Mats | Sitting and dining areas |
| Painted Lines | Larger, open spaces |
These markings help you remember safe zones and keep hazards at bay. Clear boundaries guide your movement, making your studio safer and more organized. Incorporating visual cues can significantly enhance safety and organization in a compact space.
Bissell Commercial BigGreen BGFS650 Hercules Scrub and Clean Floor Machine, Green
Brush Speed (Rpm): 2200 Rpm
As an affiliate, we earn on qualifying purchases.
Using Physical Barriers to Contain Items
You can keep your space organized by securing cords with barriers to prevent tangling. Using containers for items helps contain clutter and makes everything easier to find. Installing physical dividers creates clear boundaries, keeping different areas and belongings separated effectively. Incorporating mindfulness techniques into your organization practices can also promote a calmer, more focused environment.
Secure Cords With Barriers
Using physical barriers to contain cords is an essential safety step in studio apartments, where space is limited and clutter can quickly become hazardous. You can prevent tripping or accidental unplugging by guiding cords along designated paths or securing them out of reach. Use barriers like cord covers, clips, or even small barriers to keep cords contained and organized. Envision this:
| Cord Path | Barrier Type | Placement |
|---|---|---|
| From outlet to desk | Cord cover | Along baseboards |
| Behind furniture | Cable clips | Secured to walls |
| Near walkways | Small barrier | Tucked under furniture |
| Across doorways | Cord protector | Flattened under rugs |
| Around appliances | Velcro straps | Fastened to surfaces |
Additionally, employing projector technology to create a dedicated entertainment area can help keep cords hidden and organized, reducing trip hazards. These barriers reduce hazards and keep your living space safe and clutter-free.
Use Containers for Items
Have you ever noticed how clutter quickly takes over a small space? Using containers for your items helps keep things organized and contained. Choose clear, stackable bins for essentials like toiletries, snacks, or small gadgets. Label each container so you can find what you need without digging through clutter. For loose items like keys or chargers, small boxes or baskets work well. Not only do containers prevent items from spreading out, but they also create designated spots, reducing the risk of accidents. When everything has a proper place, your apartment feels more open and safe. Plus, containers are easy to move and clean, helping you maintain a tidy environment with minimal effort. Keep your small space orderly by using containers for all your everyday items. Incorporating storage solutions can further optimize space and improve safety in your studio apartment.
Install Physical Dividers
Installing physical dividers offers a practical way to create clear boundaries within your studio apartment, preventing clutter from spreading into different zones. You can use bookshelves, folding screens, or open shelving units to separate your sleeping area from your workspace or living space. These barriers help define each zone, making it easier to keep cords, bowls, and other items contained. When choosing dividers, opt for lightweight, movable options that you can reposition as needed. This flexibility allows you to adapt your space for different activities or guests. Remember, the goal is to establish visual and physical boundaries that keep your belongings organized and your living areas safe. Physical dividers not only improve organization but also enhance your sense of privacy and comfort in a small space. Additionally, considering support hours for nearby services can ensure you have assistance if needed during setup or adjustments.

Battery Powered Walk Behind Mini Automatic Floor Scrubber Machine – Compact & Portable, 15” Cleaning Width, 90-Minute Runtime, 170 RPM – Ideal for Small Commercial Spaces, Offices, Retail & More
Compact & Efficient Cleaning – Designed for small commercial spaces, this mini automatic floor scrubber features a 15-inch...
As an affiliate, we earn on qualifying purchases.
Incorporating Visual Cues for No-Go Zones
You can clearly mark no-go zones with color-coded floor markings that catch the eye. Hanging visual reminders and strategically placed signage reinforce boundaries without crowding your space. These visual cues help you and others easily recognize which areas to avoid, keeping your apartment organized. Additionally, incorporating visual cues that promote active listening and empathy can foster a safer environment for everyone.
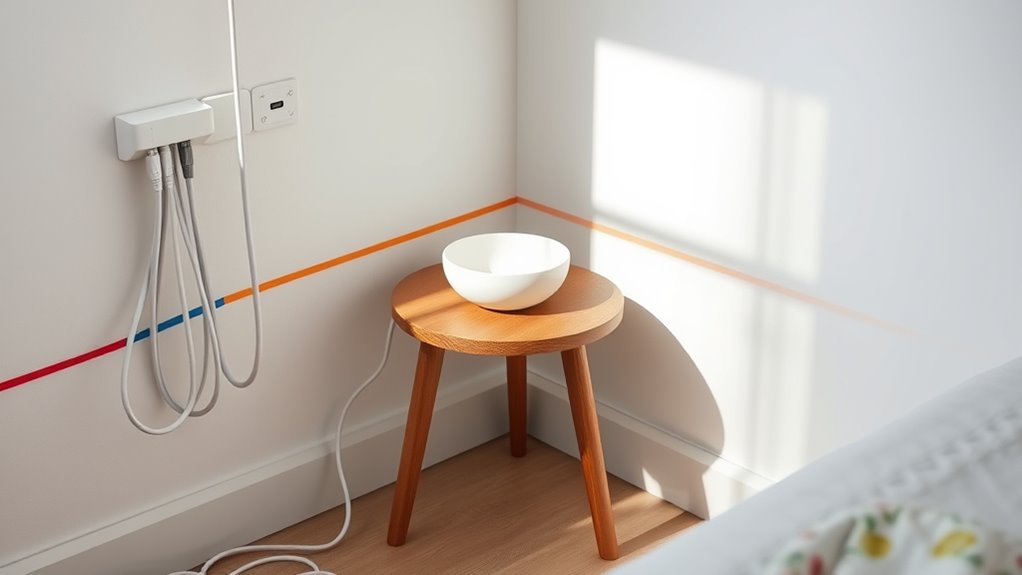
Color-Coded Floor Markings
Color-coded floor markings serve as clear visual cues that delineate no-go zones within studio apartments, helping residents navigate safely and efficiently. By assigning specific colors to areas where cords, bowls, or other hazards are off-limits, you create an immediate visual reminder to stay clear. For example, red markings can indicate danger zones, while green signals safe areas. These markings are easy to apply with tape or paint, and they provide a quick reference that doesn’t require constant explanation. When you see the color, you instinctively know whether it’s safe to proceed or avoid. This simple system reduces accidents, keeps hazards in check, and adds a layer of organization to your living space, making everyday routines safer and smoother. Additionally, incorporating visual cues for electric bikes can help promote safety awareness in multi-purpose or shared spaces.
Hanging Visual Reminders
Hanging visual reminders provide an effective way to mark no-go zones clearly and instantly. By using signs, banners, or flags, you create visible cues that catch your eye and reinforce boundaries. Choose bold colors and simple symbols to communicate danger or restricted areas. Hang these reminders at eye level or along strategic points where cords or bowls often cross. This approach helps you avoid accidental contact and keeps your space safe. Consider the following options:
| Sign Type | Placement | Message |
|---|---|---|
| Hanging banner | Near cords | “Keep Clear” |
| Visual flag | Above bowls | “No Entry” |
| Decorative sign | Entry points | “Stay Safe” |
These visual cues work together to remind you of no-go zones, reducing accidents and maintaining a clutter-free environment.
Strategically Placed Signage
Strategically placing signage enhances the effectiveness of visual cues for no-go zones by making sure they are noticeable and hard to miss. Position signs near cords, bowls, or fragile items to draw immediate attention. Use bold colors, clear symbols, or concise words like “Danger” or “Keep Out” to communicate boundaries quickly. Consider placing signs at eye level or in well-lit areas to maximize visibility. Don’t clutter the space with too many signs; instead, focus on key zones that pose safety risks. Regularly check signs to make sure they’re intact and visible. Well-placed signage acts as a constant visual reminder, reinforcing boundaries and helping prevent accidents. When signs are clear and intentionally positioned, they become an effective part of your overall aura safety strategy.
Organizing Cords to Prevent Tripping Hazards
To prevent tripping hazards in your studio apartment, it’s essential to organize your cords effectively. Use cable clips, sleeves, or ties to keep cords neat and secured along walls or furniture. Avoid loose cords crossing walkways; instead, route them along edges or under rugs with non-slip pads. Elevate cords off the floor using adhesive hooks or cord covers, reducing the risk of accidents. Keep cords away from high-traffic areas and ensure they are not stretched tight, preventing tension that could cause damage. Additionally, understanding Mazda Tuning principles can help you optimize your vehicle’s performance and safety features when modifying your car. Here’s a quick guide to organizing:
| Cord Management Tip | Benefits |
|---|---|
| Use cable clips and ties | Keeps cords tidy and prevents tangling |
| Route cords along walls | Keeps walkways clear and safe |
| Elevate cords with covers | Reduces trip risk and protects cords |
Setting Up Designated Spaces for Bowls and Small Items
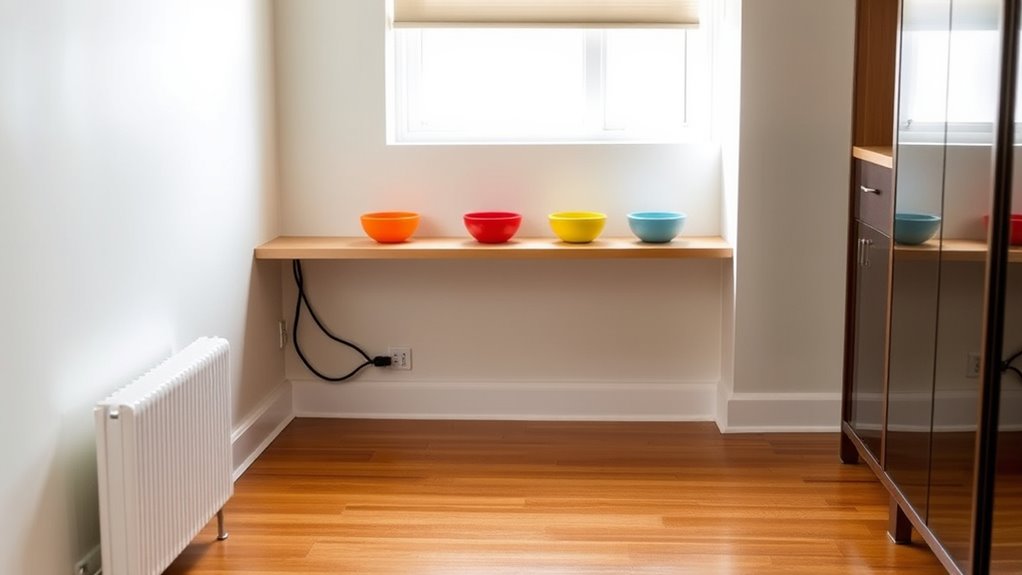
Creating designated spaces for bowls and small items helps keep your studio organized and clutter-free. Choose specific areas, like a shelf or drawer, to store these items regularly. Use bowls with lids or containers to prevent spills and keep small objects contained. Label the spaces clearly so you remember where everything belongs. This not only streamlines your daily routine but also reduces the risk of accidents from misplaced items. Keep frequently used items within easy reach, and store less-used items out of the way. By establishing these zones, you make your space more functional and safer, minimizing the chance of cords or bowls tipping over. Consistently returning items to their designated spots helps maintain order and enhances your overall safety.
Maintaining and Adjusting Your No-Go Lines Over Time

As your living space evolves, so should your no-go lines. Regularly review and adjust them to match changes in your layout and habits. For example, if you add new furniture or relocate items, update your boundaries to keep cords and bowls safe. Consider the table below to help guide your adjustments:
| Item | Current No-Go Line | New No-Go Line |
|---|---|---|
| Power Cords | Behind desk | Along baseboards |
| Food Bowls | Near window | Away from door |
| Small Items | Shelf edge | Centered on surface |
Frequently Asked Questions
How Often Should I Review My No-Go Zones for Effectiveness?
You should review your no-go zones at least once a month to guarantee they remain effective. Regular checks help you identify new hazards, like loose cords or cluttered bowls, and adjust your zones accordingly. Stay attentive to changes in your space, especially if you add new furniture or belongings. Consistent reviews keep your safety measures current, reducing risks and creating a safer environment in your studio apartment.
Can No-Go Lines Be Visually Distracting in Small Spaces?
Yes, no-go lines can be visually distracting in small spaces. For example, if you use bold, bright tape to mark off areas, it might draw attention away from your decor. To avoid this, choose subtle or transparent markers that blend with your walls and furniture. This way, you maintain safety without cluttering your space visually, keeping your studio both functional and aesthetically pleasing.
What Are the Best Materials for Physical Barriers in Studios?
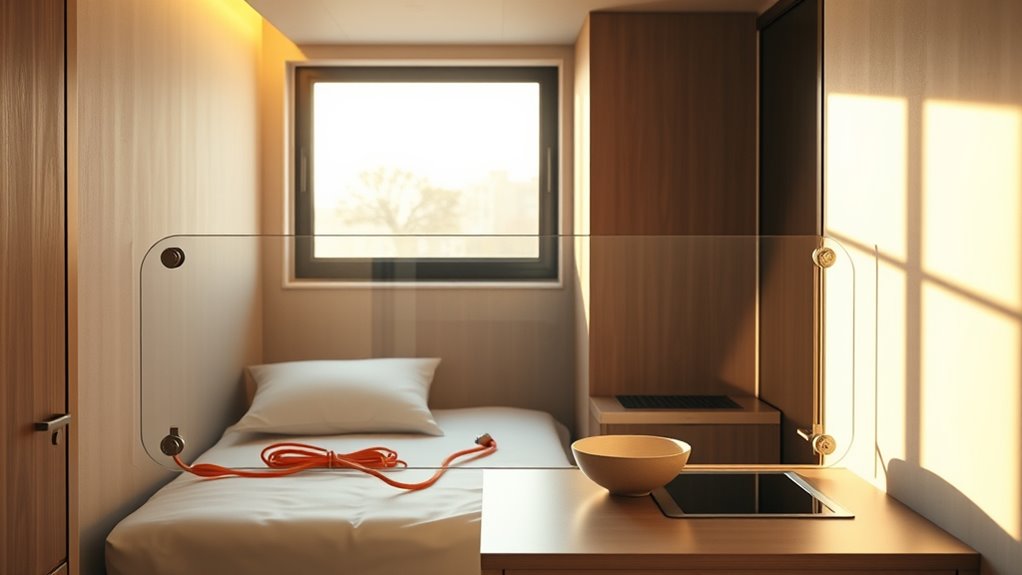
You should choose lightweight, transparent materials like acrylic or wire mesh for physical barriers in studios. These materials create clear, unobtrusive boundaries without making your space feel cramped. You can also opt for foldable screens or fabric dividers, which are portable and easy to store. Avoid heavy or dark materials that might block light or make your studio feel smaller. Prioritize options that blend seamlessly with your decor while maintaining safety.
How Do I Train Pets to Respect No-Go Zones?
You train your pets to respect no-go zones by consistently redirecting their attention away from restricted areas with treats or toys. Use positive reinforcement when they stay in permitted spaces, and gently correct them when they approach no-go zones. Establish clear boundaries and be patient; over time, your pet will learn to respect those limits. Consistency and positive reinforcement are key to successful training.
Are There Any Safety Regulations for Marking No-Go Areas?
Yes, safety regulations often recommend clear visual cues like colorful tape or signs to mark no-go zones, especially in small spaces. These markers help prevent accidents and keep pets and people safe. You should choose gentle yet noticeable indicators that blend well with your decor. Always guarantee your markings are consistent and easily understood, creating a safe environment without overwhelming or alarming anyone.
Conclusion
By thoughtfully marking no-go lines, you create a safer, more organized space—just when you least expect it, those boundary cues become your best allies. As you update and adjust your setup over time, you’ll notice how small changes prevent accidents and keep cords and bowls in their proper places. It’s a simple coincidence: a little planning today makes your daily living smoother tomorrow, transforming your studio into a safer haven without even realizing it.