To charge your floor scrubber, first check the battery type and verify the charger's compatibility. Plug the charger into a cool, well-ventilated outlet and connect it securely to the scrubber. Monitor the ammeter and observe the charging indicators—red means charging, green indicates full charge. Establish a regular charging routine and perform maintenance like cleaning the terminals monthly. Keep these tips in mind, and you'll discover more ways to enhance your battery care.
Key Takeaways
- Ensure the charger is compatible with your floor scrubber model before connecting it to the power outlet.
- Plug the charger into a cool, well-ventilated area to prevent overheating during the charging process.
- Connect the charger to the scrubber's charging port and monitor the ammeter for a proper charging indication.
- Check charger indicators: a red light means charging, while a green light indicates a full charge.
- Establish a regular charging routine and recharge after each use to prolong battery lifespan and performance.

Dyson V15 Detect™ Origin Cordless Vacuum
- Deep cleaning with intelligent dust detection: Reveals invisible dust for thorough cleaning
- Enhanced power and runtime: 100% more power, 60-minute battery life
- Energy-efficient power trigger: Uses power only when needed
As an affiliate, we earn on qualifying purchases.
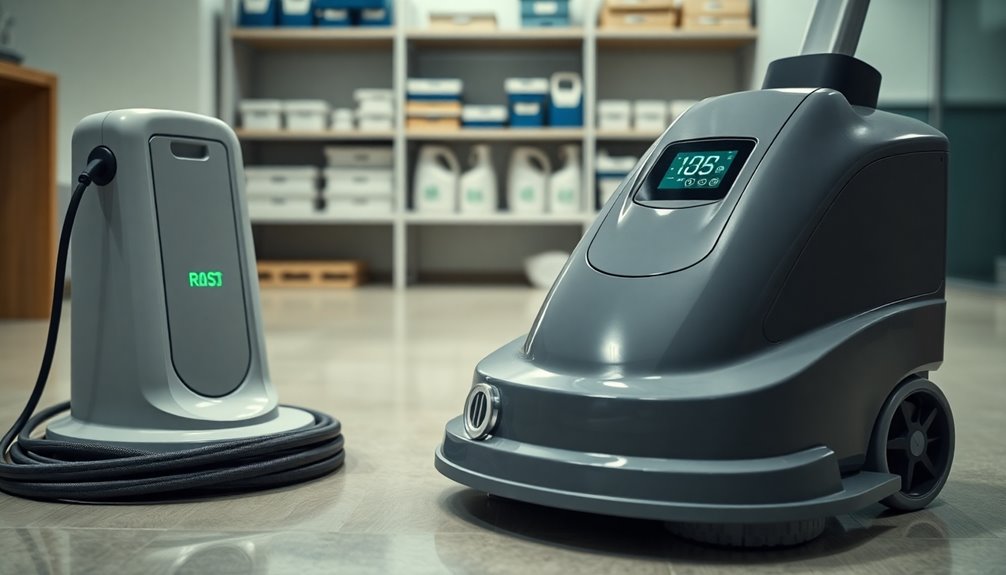
Understanding Your Floor Scrubber's Battery
Understanding the battery in your floor scrubber is crucial for efficient operation. Most scrubbers use lead-acid batteries, which require about 6 to 8 hours for a full charge.
To keep your battery in top shape, recharge it after each use or whenever the charge dips below 20%. Avoid letting it fully discharge, as this can shorten its lifespan.
Regular maintenance is essential; clean battery terminals, inspect connections for corrosion, and check water levels in lead-acid batteries.
Using distilled water and charging in a cool, ventilated area can enhance performance.
Preparing for Charging
Before you start charging your floor scrubber, make sure the charger is compatible with your specific model to avoid any damage.
It's also essential to plug the charger into a cool and well-ventilated area, as this helps prevent overheating during the charging process.
Taking these steps will set you up for a smooth and efficient charging experience.
Check Charger Compatibility
How can you guarantee your floor scrubber charges effectively? Start by checking your charger's compatibility with your specific floor scrubber model. This guarantees proper functionality and prevents damage.
Look at the voltage and amperage ratings on the charger and compare them to the manufacturer's specifications. If they don't match, you risk inefficient charging or battery damage.
Also, inspect your charger for any signs of wear, like frayed wires or cracked casing, as these issues can jeopardize performance and safety.
Finally, verify the charger plugs securely into both the power outlet and the scrubber. A reliable connection is essential for effective charging, so always use a compatible charger to keep your floor scrubber running smoothly.
Ensure Proper Ventilation
To guarantee your floor scrubber charges efficiently, it's crucial to charge it in a cool, well-ventilated area. Proper ventilation prevents overheating, which can damage the battery and hinder performance.
Here are three key points to remember:
- Avoid Direct Sunlight: Don't place your electric floor scrubber in direct sunlight or near heat sources.
- Clear Obstructions: Confirm the charging area is free from obstructions to promote air circulation.
- Monitor Moisture: Keep the charger away from moisture and humidity to protect both the charger and battery.
Regularly check the charging area to maintain a cool and ventilated environment, especially during extended charging sessions.
This will help extend the lifespan and efficiency of your electric floor scrubber.
How to Connect the Charger
Before you connect the charger, make certain it's compatible with your floor scrubber model to prevent any damage.
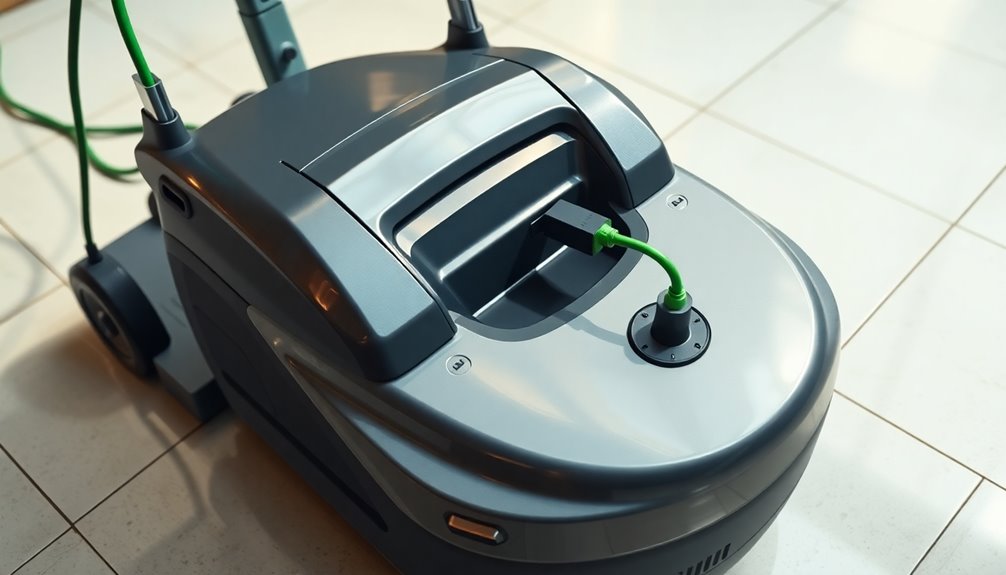
Once confirmed, plug the charger into a power outlet and connect it securely to the charging port.
Keep an eye on the ammeter to ascertain the charging process has started correctly.
Check Charger Compatibility
When checking charger compatibility, it's crucial to guarantee you're using the right charger for your floor scrubber model. Using the wrong charger can lead to compatibility issues and potential damage to both the charger and battery.
Here are three key steps to ascertain proper compatibility:
- Inspect the charger's connectors for any signs of corrosion or damage.
- Align the charger plug with the scrubber's socket, gently inserting it without forcing it.
- After connecting, check that the charger indicator lights, typically a red light, are functioning properly.
Regularly monitor the connection during charging to confirm it remains secure and free from obstruction, as loose connections can hinder battery performance.
Secure Connections Properly
Securing connections is essential for effective charging of your floor scrubber. Start by confirming that your charger is compatible with your specific floor scrubber model to avoid any damage.
Plug the charger firmly into both the floor scrubber and the power outlet, making sure all connections are tight and free from corrosion. Inspect the battery terminals for cleanliness and verify they align correctly with the charger connections.
If needed, remove the recovery tank to access the battery and check that the charger connections are clear and secure.
Finally, regularly check the metal plates and screw knobs on the battery to make sure they're tightened properly, as loose connections can greatly hinder charging efficiency.
Monitor Charging Process
After securing all connections properly, you're ready to monitor the charging process. Follow these steps to guarantee everything runs smoothly:
- Check Compatibility: Make sure your charger matches your walk-behind floor scrubber model.
- Observe Indicators: Look for two red lights, which mean charging is in progress. A green light signals that the battery is fully charged.
- Avoid Interruptions: Don't unplug the charger until the process is complete; interruptions can lead to unbalanced batteries.
Keep an eye on the charger's functionality and inspect the battery connections for corrosion or loose contacts.
This guarantees efficient charging, extending your scrubber's battery life and enhancing performance.
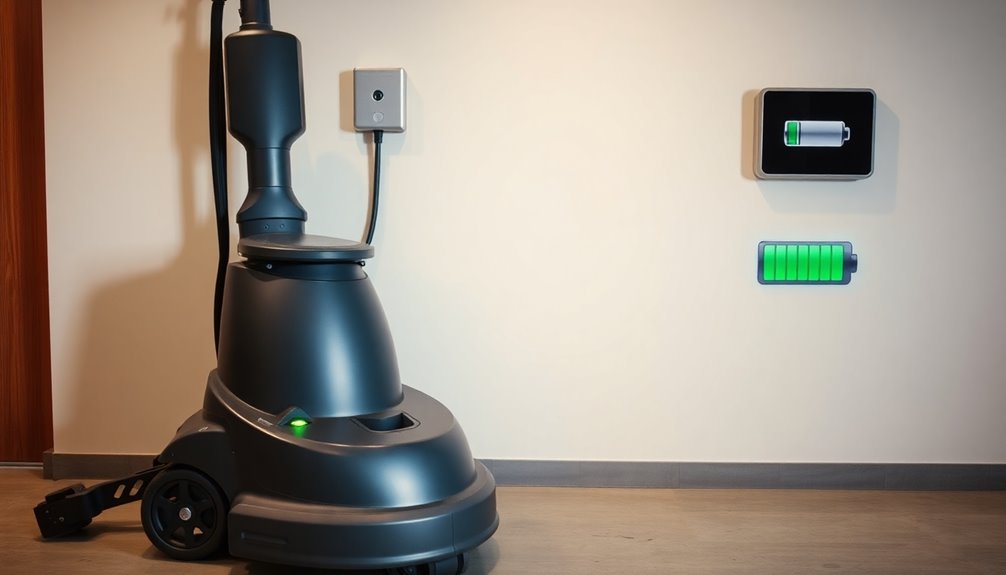
Monitoring the Charging Process

Monitoring the charging process is essential to maintaining your floor scrubber's battery health and performance. For your ride-on floor scrubber, regularly check the charger indicators: two red lights mean charging is in progress, while a green light on the left signifies a full charge.
Pay attention to charging duration based on battery type—lead-acid batteries typically need 6 to 8 hours, and lithium-ion batteries take about 4 to 6 hours. Confirm the charger functions properly by observing the ammeter needle movement, indicating power delivery.
Avoid interrupting the charging to prevent unbalanced batteries, which can harm battery lifespan. Finally, conduct periodic checks on battery condition, cleaning terminals and securing connections for efficient charging.
Importance of Regular Charging Schedules
Establishing a regular charging schedule is essential for extending your floor scrubber's battery lifespan and maintaining consistent performance.
By recharging after each use, you prevent deep discharging that can lead to expensive replacements.
Plus, a structured routine helps you avoid overcharging, ensuring your equipment stays in top shape.
Battery Lifespan Extension
To guarantee your floor scrubber's battery lasts as long as possible, sticking to a regular charging schedule is essential.
Here are three key practices to follow:
- Recharge after each use: Prevent deep discharges, which can damage batteries.
- Avoid short charging sessions: Complete charging balances battery cells and enhances longevity.
- Maintain water levels: For lead-acid batteries, use distilled water to avoid permanent damage from dry cells.
Additionally, understanding the maintenance costs associated with battery-operated equipment can help you plan for future expenses.
Consistent Performance Maintenance
While it's easy to overlook, sticking to a consistent charging schedule is crucial for maximizing your floor scrubber's performance. Aim to recharge your scrubber after each use or when the battery level drops below 20%.
Lead-acid batteries don't develop memory, so avoid fully discharging them before recharging. Always charge in a cool, ventilated area to prevent overheating, which can harm battery health.
Regular charging not only extends the battery's lifespan but also prevents costly replacements due to neglect, as undercharging can lead to sulfation and reduced capacity.
Finally, let the charger complete its cycle without interruption to guarantee balanced battery cells, which is essential for maintaining the recovery tank's efficiency during cleaning tasks.
Troubleshooting Charging Issues
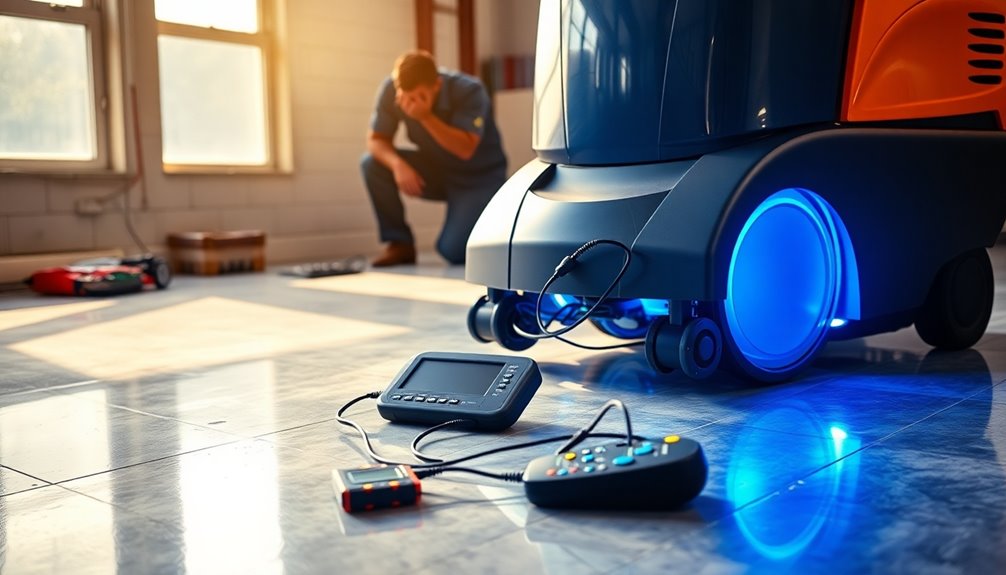
When your floor scrubber isn't charging, it can be frustrating, but there are several steps you can take to troubleshoot the issue.
Start by plugging the charger into a different outlet to rule out any outlet problems. Next, check for visible damage on the charger and test it with a compatible machine. Finally, inspect the battery for corrosion or leaks, as these can prevent proper charging.
Here are three key steps to follow:
- Verify all connections are secure and free from corrosion.
- Test the power outlet with another device to confirm functionality.
- If everything seems fine but it still won't charge, consider having a technician inspect it for internal issues.
Best Practices for Battery Maintenance

After troubleshooting any charging issues, it's important to focus on maintaining your floor scrubber's battery to guarantee long-lasting performance. Follow these best practices:
| Task | Frequency | Notes |
|---|---|---|
| Charge batteries after each use | Every use | Prevent short cycling. |
| Inspect and clean terminals | Monthly | Remove corrosion for better connectivity. |
| Check water levels | Monthly | Use distilled water only. |
| Tighten cable connections | Quarterly | Verify torque is 110 inch pounds. |
| Conduct voltage tests | Monthly | Aim for stable readings. |
Signs Your Battery Needs Replacement
How can you tell if your floor scrubber's battery is on its last legs? Here are three signs to watch for:
- Extended Charging Time: If your floor sweeper's battery takes considerably longer than usual to charge, it's likely losing capacity.
- Decreased Runtime: Notice if the scrubber runs out of power quickly or doesn't maintain consistent performance; this often means it's time for a replacement.
- Voltage Issues: Regularly test the voltage. If it's below the manufacturer's specified range, the battery is degrading.
If you experience any of these symptoms, don't hesitate to replace the battery.
Keeping your floor sweeper in top shape guarantees efficient cleaning and saves you time in the long run.
Cleaning Battery Terminals and Connections
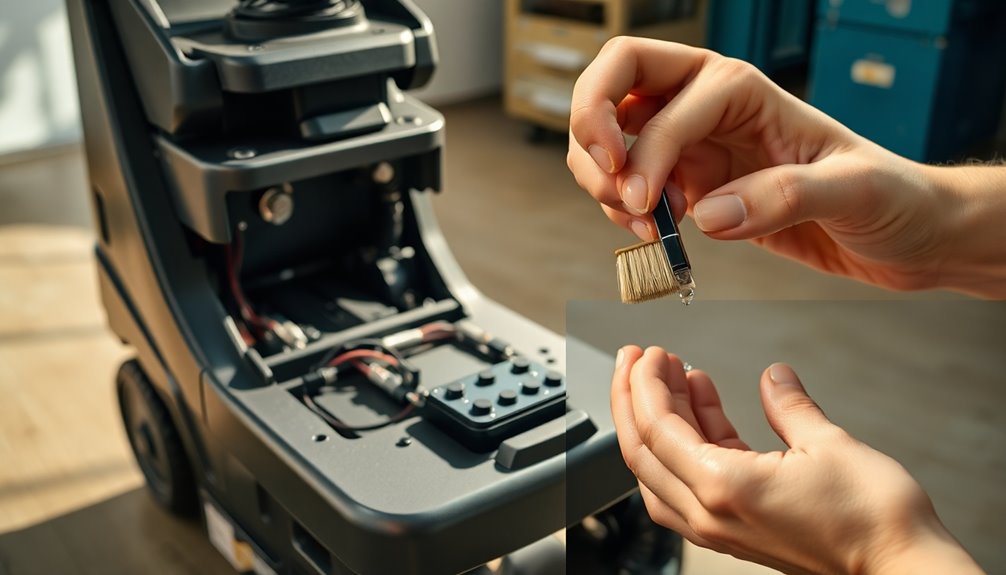
To keep your floor scrubber running efficiently, it's essential to regularly clean the battery terminals and connections.
Start by checking for corrosion or dirt, as these can hinder electrical connectivity and affect your walk behind scrubber's performance. Use a mixture of baking soda and water, or a commercial battery corrosion spray, to effectively clean any corroded areas.
Verify that all connections are tight and secure; loose connections may cause charging issues and battery failure. After cleaning, rinse the terminals with distilled water and dry them thoroughly to prevent moisture buildup, which can lead to further corrosion.
Inspect and clean the battery terminals every month, or more often if you use the scrubber heavily, to maintain peak charging efficiency.
Tips for Extending Battery Lifespan
Maintaining clean battery terminals and connections is just one part of ensuring your floor scrubber operates at its best.
To further extend the lifespan of your scrubber machine's battery, consider these tips:
- Recharge After Each Use: Avoid letting the battery fully discharge to prevent damage and maintain performance.
- Monitor Water Levels: Regularly check and refill battery cells with distilled water after charging to enhance efficiency.
- Avoid Overnight Charging: Overcharging can lead to overheating, so keep an eye on the charging process.
Frequently Asked Questions
How to Charge a Motor Scrubber?
To charge a motor scrubber, you'll want to plug in the compatible charger and place the scrubber in a cool, ventilated area to prevent overheating.
Keep an eye on the charging duration; lead-acid batteries typically need 6 to 8 hours, while lithium-ion batteries take about 4 to 6 hours.
It's best to recharge after each use or when the battery level drops below 20% to guarantee peak performance and longevity.
Why Won't My Floor Scrubber Charge?
If your floor scrubber won't charge, it's like trying to fill a leaky bucket—frustrating and fruitless.
Start by checking the charger for damage and trying a compatible one. Look for corrosion or leaks on the battery, and verify all connections are tight.
Test your power outlet with another device; a faulty outlet could be the culprit.
Keep up with regular maintenance to avoid charging issues in the future.
How Long Does It Take to Charge a Floor Scrubber Battery?
Charging a floor scrubber battery typically takes between 4 to 8 hours, depending on the battery type.
Lithium-ion batteries usually charge faster, around 4 to 6 hours, while lead-acid versions can take 6 to 8 hours.
It's important to recharge the battery after each use or when it drops below 20%.
This helps maintain performance and extends battery life, so you'll want to avoid letting it fully drain before charging.
How Often Should Floor Scrubbers Be Recharged?
Did you know that consistent charging can extend the lifespan of your floor scrubber's battery by up to 50%?
You should recharge your floor scrubber after each use, regardless of how long you operated it. This practice keeps the battery in top shape and prevents it from dropping below 20%.
Conclusion
Just like a garden needs regular watering to thrive, your floor scrubber's battery requires consistent charging to perform at its best. By nurturing it with proper care and attention, you're ensuring your cleaning companion remains strong and reliable. Remember, a well-maintained battery blooms into longer life and enhanced performance, keeping your floors sparkling clean. So, treat your battery like a cherished plant—feed it regularly, watch for signs of distress, and it'll reward you with lasting efficiency.