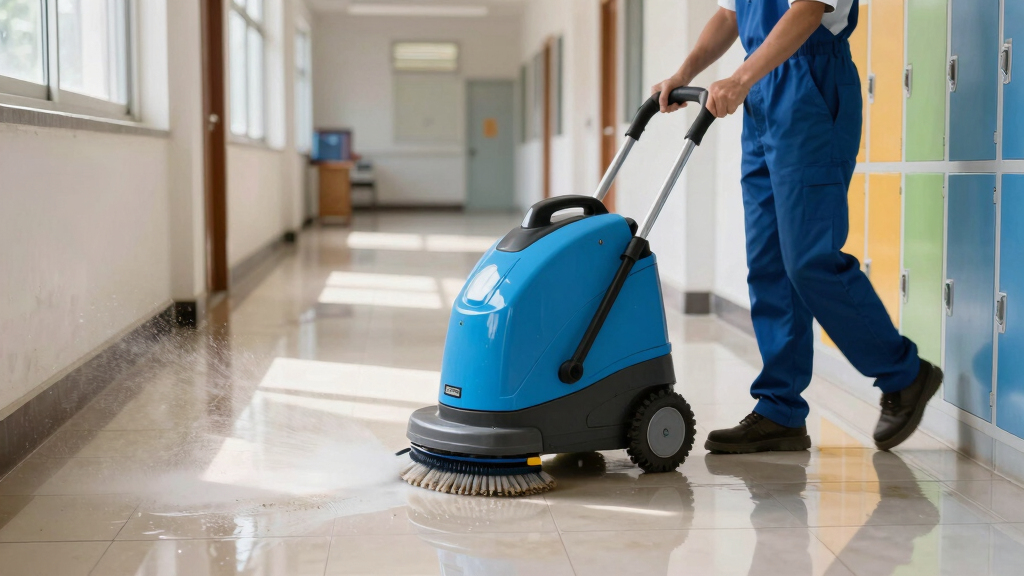
This guide details how to operate electric floor scrubbers in school environments. It is designed for janitorial staff and maintenance personnel with basic cleaning experience. Following these steps ensures thorough cleaning, safety, and equipment longevity, with a focus on achieving clean, streak-free floors efficiently.
Difficulty: Intermediate | Time: 30-45 minutes per cleaning session
What You’ll Need
Tools & Materials:
- Electric floor scrubber machine
- Cleaning solution compatible with the machine
- Personal protective equipment (gloves, safety glasses)
- Wet/dry vacuum (if needed for excess water)
Knowledge:
- Basic understanding of cleaning procedures
- Familiarity with the school’s floor types
- Ability to operate electrical equipment safely
Review the manufacturer’s manual for specific machine features and safety instructions before starting. Ensure the area is clear of obstacles and students are safely out of the cleaning zone.

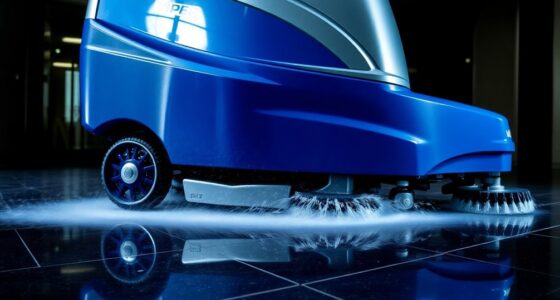
Global Industrial Commercial Electric Walk-Behind Ergo Auto Floor Scrubber
- Application Areas: Commercial, sports, gyms, schools
- Motor Power: 0.67 HP, 140 RPM
- Suction Power: 0.67 HP for heavy-duty cleaning
As an affiliate, we earn on qualifying purchases.
As an affiliate, we earn on qualifying purchases.
Before You Start
Inspect the equipment for any damage or missing parts. Make sure the machine is unplugged before filling with water or cleaning solution. Check the floor area for loose objects or debris that could damage the scrubber or hinder cleaning.
Step-by-Step Instructions
Step 1: Prepare the floor and equipment
Clear the area of furniture, debris, and obstacles. Fill the scrubber’s water tank with clean water and add the recommended cleaning solution, following the manufacturer’s instructions.
Tip:
Use only approved cleaning solutions to prevent damage to the machine or floor. Do not overfill the water tank.
Check:
The water tank is filled properly, and the area is cleared of obstructions.
Step 2: Power on and test the machine
Plug in the floor scrubber and turn it on. Run a short test on a small, inconspicuous area to confirm proper operation and cleaning performance.
Tip:
Ensure the machine is functioning smoothly and the brushes are spinning correctly before proceeding.
Check:
The scrubber starts without unusual noise or vibrations, and the test area shows signs of effective cleaning.
Step 3: Start cleaning the floor
Push the machine forward steadily, overlapping each pass slightly to cover the entire floor surface. Adjust the pressure and speed as needed for the floor type and dirt level.
Tip:
Maintain a consistent pace to avoid streaks or missed spots. Use a slow, steady motion for best results.
Check:
The entire floor area is covered with overlapping passes, and the floor appears uniformly clean and streak-free after drying.
Step 4: Empty and rinse the machine
Turn off and unplug the machine. Empty the dirty water tank, rinse it thoroughly, and clean the brushes and squeegee assembly as needed.
Tip:
Regular cleaning of the scrubber parts prolongs equipment life and maintains cleaning effectiveness.
Check:
Dirty water is removed, and the machine is clean and ready for the next use.
Step 5: Dry and inspect the area
Use a mop or dry cloth to remove any remaining water or streaks. Check the floor for missed spots or streaks and re-clean if necessary.
Tip:
Allow the floor to dry completely before reopening the area to foot traffic.
Check:
The floor is dry, streak-free, and visually clean, with no residual water or cleaning solution.
Common Mistakes to Avoid
- Overfilling the water tank — Follow the manufacturer’s fill line precisely and avoid overfilling to prevent spills and damage.
- Using incompatible cleaning solutions — Use only solutions recommended by the scrubber manufacturer to avoid damaging the machine or floors.
- Not thoroughly rinsing the machine — Clean the brushes and tanks after each use to prevent buildup and ensure proper operation.
- Moving too fast or unevenly — Maintain a steady, controlled pace for consistent cleaning and to avoid streaks or missed spots.
Troubleshooting
Problem: Machine not turning on
Solution: Check the power cord and plug connection. Ensure the outlet is working. Test another electrical device if needed.
Problem: Brushes not spinning
Solution: Ensure the machine is turned on correctly, and the brushes are engaged. Inspect for obstructions or damage.
Problem: Uneven cleaning or streaks
Solution: Adjust your speed and pressure. Ensure the cleaning solution is suitable, and overlap passes properly.
Problem: Water leaking or spilling
Solution: Check and secure all tank caps and fittings. Avoid overfilling and ensure seals are intact.
What Success Looks Like
The floor is visibly clean, streak-free, and dry without residual water or cleaning solution. The machine operates smoothly without unusual noises or malfunctions. The area is safe for foot traffic.
Next Steps
Schedule regular cleaning sessions, inspect and maintain the equipment routinely, and train staff on proper operation. Document any repairs needed and update cleaning protocols as necessary.
Frequently Asked Questions
How often should I clean the floor with an electric scrubber?
Frequency depends on foot traffic and dirt levels. Typically, floors in schools should be cleaned daily or every other day during busy periods for best results.
Can I use any cleaning solution with the scrubber?
Only use solutions recommended by the equipment manufacturer to avoid damaging the machine and ensure effective cleaning.
What safety precautions should I follow?
Always wear protective gear, keep the area clear of students and obstacles, and unplug the machine before refilling or cleaning it. Never operate the scrubber in wet conditions where electrical hazards may exist.
How do I maintain the machine between uses?
Rinse and clean the brushes, empty the dirty water tank, check for damage, and store in a dry, secure place after each use.