To drain your Tennant floor scrubber, start on a level surface and set the parking brake. Turn off the power and open the cover. Remove the recovery tank hose and drainage valve to empty it first. Next, locate the extension hose for the solution tank, open its drainage valve, and drain it as well. Flush both tanks to remove residue. After you've finished these steps, you can learn more about maintaining peak performance.
Key Takeaways
- Park the floor scrubber on a flat, dry surface and set the parking brake for safety before starting the draining process.
- Open the recovery tank hose and drainage valve to drain the recovery tank, then flush it to remove residue.
- Locate and open the drainage valve at the rear of the machine to drain the solution tank using the extension hose.
- After draining, securely replace the clean-out cap and reassemble the hose assemblies to prevent leaks.
- Inspect the tanks and debris trough for any remaining residue and ensure the parking brake is set and power is off.

USANOOKS Microfiber Cleaning Cloth Grey - 12 Pcs (12.5"x12.5") - High Performance - 1200 Washes, Ultra Absorbent Microfiber Towel Weave Grime & Liquid for Streak-Free Mirror Shine - Car Washing Cloth
- High Absorbency Grip Root Weave: Locks in 8-10x weight in liquids
- Lint-Free and Scratch-Resistant: Ensures streak-free mirror shine
- Durable for 1200+ Washes: Long-lasting reusable microfiber cloths
As an affiliate, we earn on qualifying purchases.
Preparing the Machine for Draining

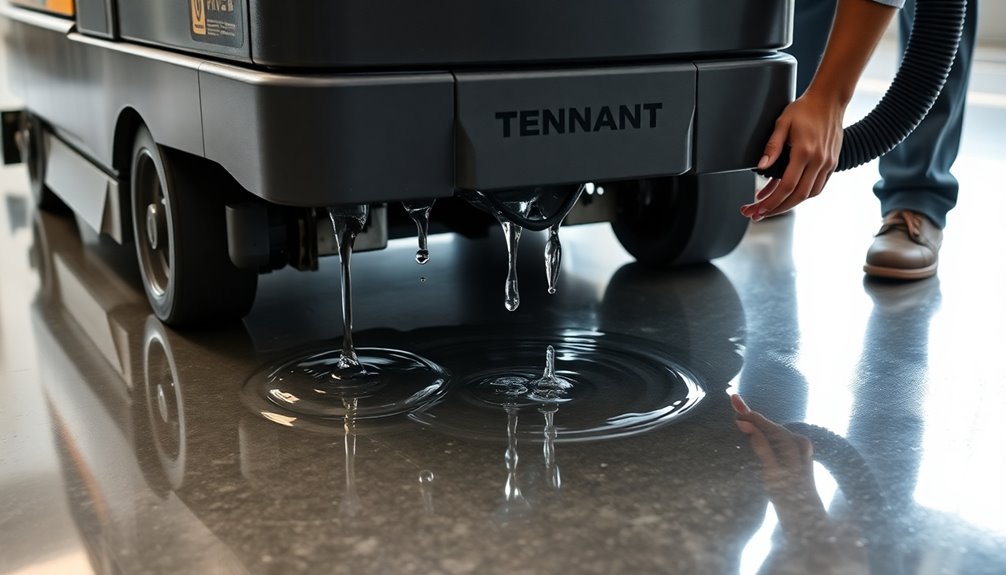
Before you begin draining your Tennant floor scrubber, make certain it's parked on a flat, dry surface to prevent any spills or accidents.
First, set the parking brake and turn off the machine power for safety during maintenance.
Next, open the cover and rear compartment door to access the battery and drainage components.
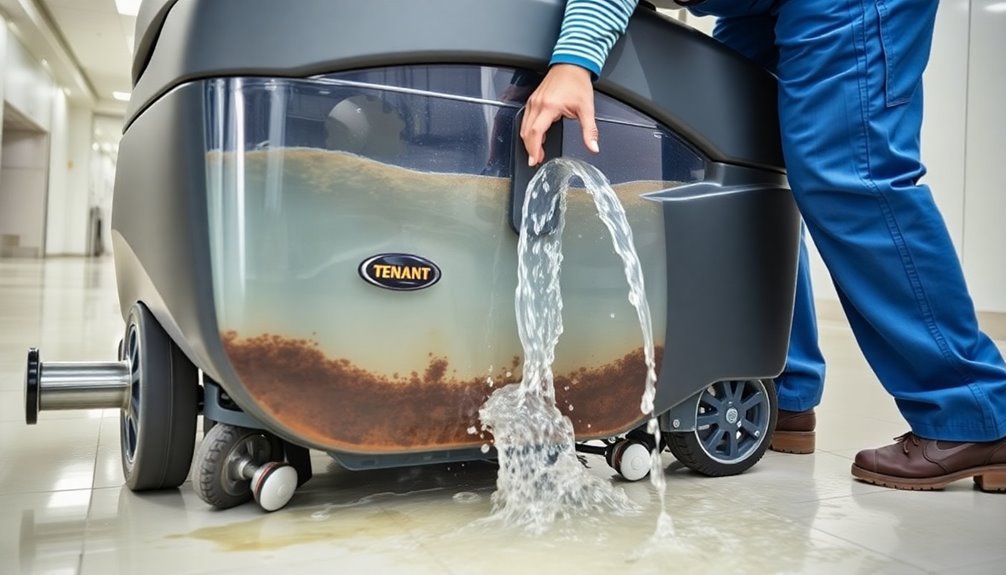
Pull out the recovery tank hose, remove the end cap, and open the drainage valve on the rear of the machine.
If your machine has an ES system, don't forget to drain the solution tank using the extension hose, following the same safety precautions.
Taking these steps guarantees that you're properly preparing the machine for draining and minimizing any risk during the process.
Draining the Recovery Tank
Draining the recovery tank is a straightforward process that guarantees your Tennant floor scrubber operates efficiently.
First, park the machine on a flat, dry surface and set the parking brake. Pull out the recovery tank hose and remove the end cap to let the dirty solution flow out.
Don't forget to remove the drain hose retainer ring to facilitate draining. Once the recovery tank is empty, flush it through the opening to clean any residue. This step assures the tank is ready for the next use.
After you've cleaned it, securely reassemble the clean-out cap and hose assembly on the tank opening. Following these steps will help maintain your scrubber's performance and longevity.
Draining the Solution Tank With ES System
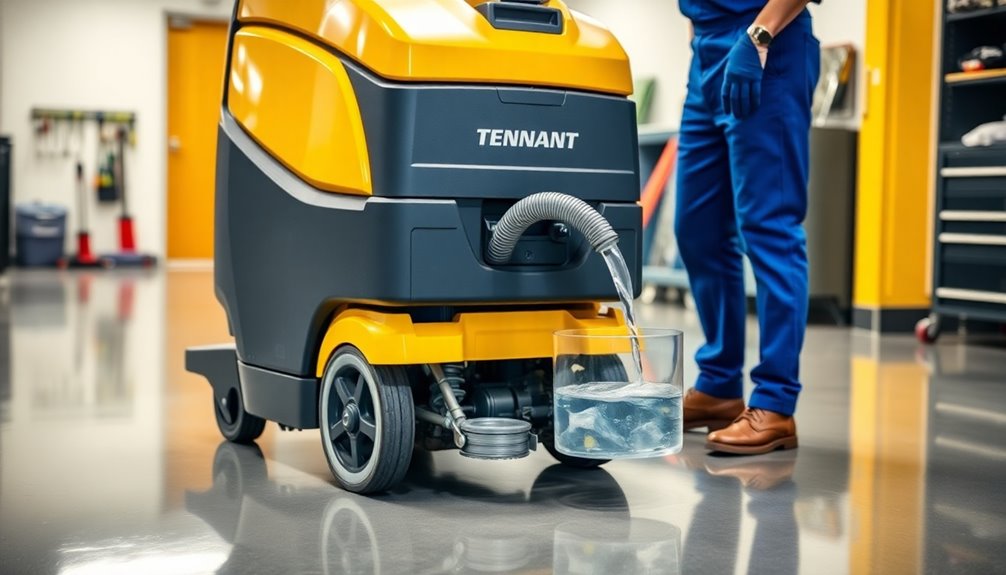
After verifying the recovery tank is emptied and cleaned, you can move on to draining the solution tank on your Tennant floor scrubber equipped with the ES system. Start by locating the extension hose specifically designed for draining.
| Step | Action |
|---|---|
| 1. Locate Drain Hose | Find the extension hose for draining. |
| 2. Open Drainage Valve | Open the valve at the rear of the machine. |
| 3. Secure Connections | Verify the drain hose is securely connected. |
| 4. Reassemble Components | Replace the clean-out cap and secure hoses. |
Perform this draining process in a well-ventilated area to safely manage any residual chemicals from the solution tank. Following these steps verifies efficient draining of the solution tank.
Cleaning the Tanks
Now that you've drained the solution tank, it's time to clean the tanks thoroughly.
Start by draining the recovery tank and then flush the solution tank to remove any leftover debris.
Don't forget to clean the vacuum screen to guarantee peak performance.
Drain Recovery Tank
To effectively drain the recovery tank of your Tennant floor scrubber, first make sure you're at a clean-out station. Set the parking brake and turn off the power. Next, pull out the recovery tank hose and remove the end cap to facilitate drainage. Don't forget to remove the drain hose retainer ring, allowing the dirty solution to flow out. After draining, flush the recovery tank through the opening to clean any residual debris and contaminants. Finally, reassemble the clean-out cap and hose assemblies securely.
| Step | Action | Notes |
|---|---|---|
| 1. Prepare | Drive to clean-out station | Set parking brake |
| 2. Drain | Remove hose and end cap | Remove retainer ring |
| 3. Clean | Flush tank to remove debris | Securely reassemble parts |
Flush Solution Tank
Flushing the solution tank is essential for maintaining the performance of your Tennant floor scrubber.
First, make sure the machine is powered off and parked on a flat, dry surface with the parking brake engaged.
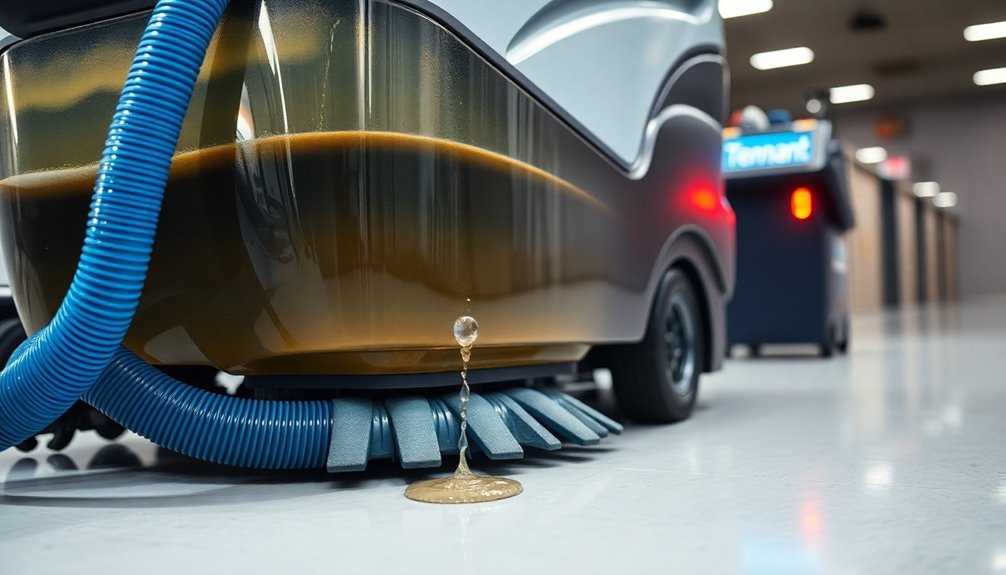
Next, remove the drain hose and cap assembly from the solution tank by opening the drainage valve located at the rear of the machine.
Allow the solution to fully drain by pulling out the recovery tank hose and removing the end cap if needed for the ES system.
After draining, flush the solution tank through the opening with clean water to eliminate any residual detergent or debris.
Once the cleaning is complete, reassemble the clean-out cap and hose assemblies, ensuring they're securely attached to the tank openings.
Clean Vacuum Screen
Cleaning the vacuum screen is essential for maintaining the suction efficiency of your Tennant floor scrubber.
To guarantee superior performance, follow these steps:
- Power Off: Always power off the machine and set the parking brake for safety before starting.
- Inspect the Screen: Open the rear compartment door and pull out the vacuum fan screen to check for debris or obstructions.
- Reinsert Securely: After cleaning any debris, securely reinsert the vacuum fan screen back into the recovery tank to avoid leaks or malfunctions.
Regularly checking the clean vacuum screen during maintenance helps guarantee it functions correctly.
Reassembling Cap and Hose Assemblies
Reassembling the cap and hose assemblies is essential for the proper functioning of your Tennant floor scrubber.
After cleaning the recovery and solution tanks, verify all debris is removed before you start.
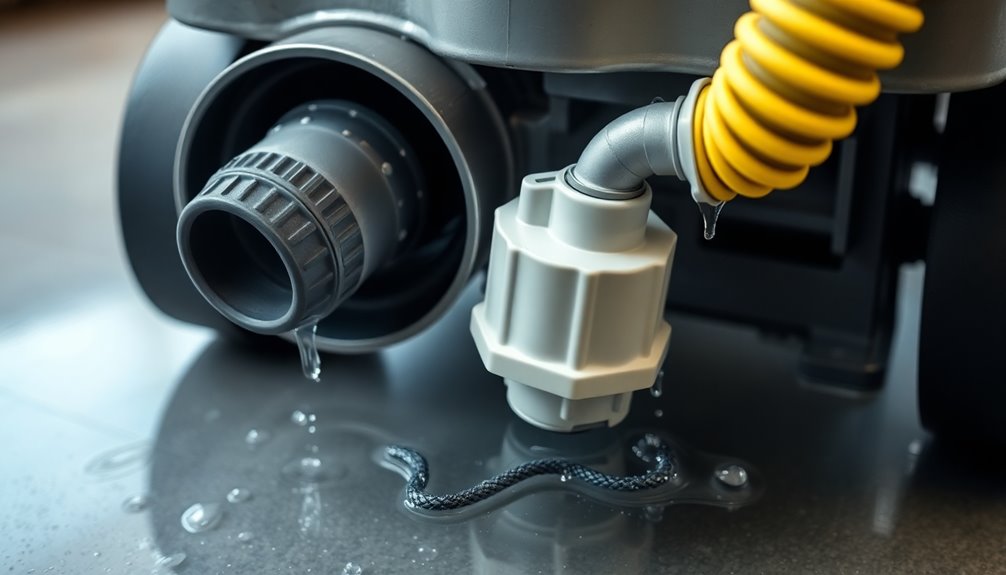
Place the clean-out cap securely back onto the tank openings, making sure it fits tightly to prevent leaks during operation.
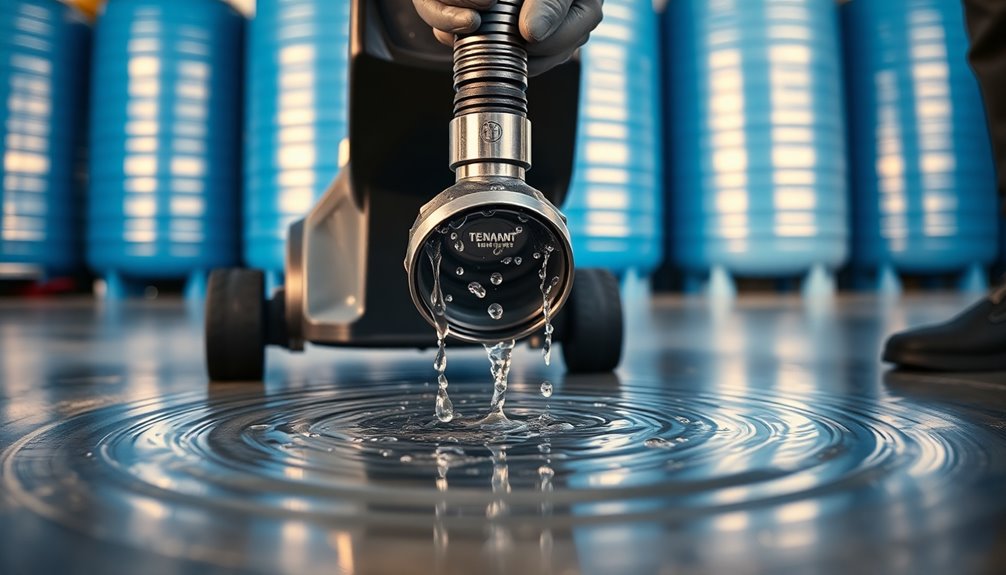
Next, reattach the drain hose by aligning it correctly and securing it with the cap assembly, maintaining a sealed connection within the vacuum system.
Don't forget to install the drain hose retainer ring properly; this will keep the hose secure and prevent accidental disconnection.
Finally, double-check that all connections are tight and free from obstructions to guarantee peak performance of your floor scrubber.
Final Checks After Draining
After you've drained the recovery tank, it's crucial to perform a few final checks to confirm everything's in order.
These final checks guarantee your Tennant floor scrubber remains in prime condition for the next use.
- Reassemble the clean-out cap and hose assemblies securely on the tank openings to prevent leaks.
- Inspect the debris trough on cylindrical brush machines for any remaining debris and verify it's clean before reassembling.
- Check the solution tank for residual solution and flush it through the openings for maximum cleanliness.
Finally, confirm that the parking brake is set and the key switch is off before any maintenance.
Don't forget to monitor the battery charging status after unplugging the battery connector.
This way, you'll avoid overcharging.
Maintenance Tips for Optimal Performance
Maintaining your Tennant floor scrubber is essential for peak performance, and following a few key tips can make a significant difference. Regular inspections and cleanings will guarantee a deep clean and ideal functionality. Here are some maintenance tips:
| Task | Frequency | Importance |
|---|---|---|
| Clean recovery & solution tank | After each use | Prevents buildup, guarantees suction |
| Check vacuum fan screen | Weekly | Enhances vacuum performance |
| Inspect squeegee blades | Monthly | Guarantees effective solution collection |
| Monitor battery levels | Weekly | Prolongs battery life |
| Examine scrubbing brushes | Every few months | Maintains floor cleaning efficiency |
Frequently Asked Questions
How Do You Drain Water From a Floor Scrubber?
To drain water from a floor scrubber, locate the recovery tank and pull out the hose.
Remove the end cap to let the dirty water flow out.
Next, find the drainage valve on the solution tank and open it to drain the clean water.
If your scrubber has an extension hose, use that for complete drainage.
After draining, flush both tanks to keep them clean, then secure all caps and hoses.
How to Empty Floor Scrubber Tennant?
"An ounce of prevention is worth a pound of cure."
When you want to empty your floor scrubber, start by parking it on a flat surface and setting the parking brake.
For the recovery tank, pull out the hose, remove the cap, and let the dirty water flow out.
For the solution tank, open the drainage valve, remove the hose, and let it drain completely.
Don't forget to clean the debris trough afterward!
Why Is My Floor Scrubber Not Draining?
If your floor scrubber's not draining, you've got a few things to check.
Start by inspecting the drain hose and valve for clogs. Make sure the recovery tank's full; it needs enough water to initiate drainage.
Don't forget to look at the vacuum hose and screen for blockages, too.
Finally, check the squeegee blades—worn ones might leave water behind, making it seem like the scrubber isn't draining properly.
How Do You Empty a Floor Cleaner?
Emptying a floor cleaner is like releasing a captured wave back into the ocean.
First, make sure the machine's powered off and set the parking brake.
Then, remove the recovery tank hose, unscrew the end cap, and let the dirty solution flow out.
If your model has an ES system, use the extension hose and open the drainage valve.
Finally, clean the tanks to keep everything running smoothly, and reassemble securely before using again.
Conclusion
Now that you've successfully drained your Tennant floor scrubber, isn't it satisfying to know you're prolonging its life and enhancing performance? By following these steps, you guarantee it runs smoothly and efficiently every time you use it. Regular maintenance not only keeps your machine in top shape but also saves you from costly repairs down the line. So, keep up with your routine, and enjoy cleaner floors with a well-cared-for scrubber!