To use a walk-behind floor scrubber, start by preparing the area—clear obstacles and pre-treat stains. Set up the machine by filling the solution tank with clean water and detergent, adjusting the brush pressure and water flow. Begin cleaning from the furthest corner, moving in overlapping rows at a steady pace. After cleaning, inspect for missed spots and empty the recovery tank. Maintaining your machine guarantees its efficiency, and there's more you can do to enhance your cleaning process.
Key Takeaways
- Clear the area of obstacles and pre-treat stubborn stains for optimal cleaning results.
- Fill the solution tank with clean water and the appropriate detergent before use.
- Adjust brush pressure and water flow settings based on the type of flooring.
- Start cleaning from the furthest corner, maintaining a moderate pace and overlapping passes.
- After use, empty and rinse the recovery tank and scrubber brushes to ensure proper maintenance.
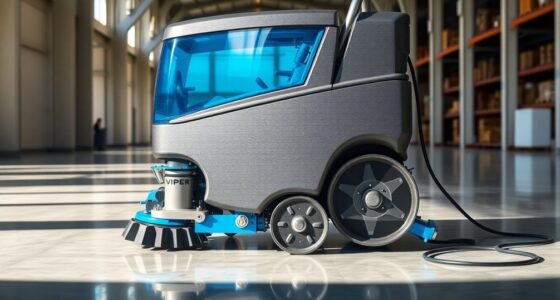
Basics of Walk-Behind Floor Scrubbers
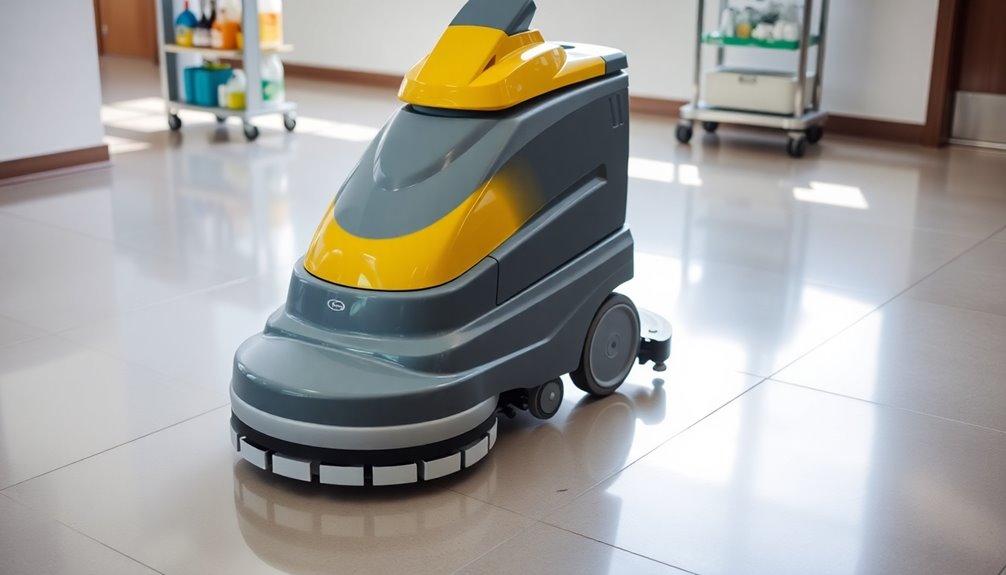
When you need to clean large, hard surfaces efficiently, walk-behind floor scrubbers are your best bet.
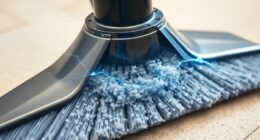
These machines are designed to tackle extensive areas like warehouses and retail spaces, ensuring a thorough clean. They feature a scrubbing deck that dispenses a cleaning solution while brushes or pads scrub the surface.
Plus, the built-in squeegee removes dirty water in a single pass, which cuts down on downtime. With various sizes and configurations, walk-behind scrubbers can handle both moderate and extensive tasks.
To maintain ideal performance, it's essential to regularly empty the recovery tank and check the cleaning solution. This routine upkeep helps extend the life of your scrubber and keeps your floors looking pristine.
Preparation Steps
Before you start scrubbing, make certain to clear the area of any obstacles and loose items.
This helps prevent interruptions and guarantees a smoother cleaning process.
Don't forget to pre-treat any stains, as this will boost your scrubbing efficiency and protect the floor.
Clear Area of Obstacles
To guarantee a smooth and efficient cleaning process, start by clearing the area of obstacles like furniture, equipment, and loose items. This step's essential for preventing accidents and ensuring your walk-behind scrubber operates effectively on the dirty floor. Taking the time to remove these items enhances the scrubber's cleaning efficiency and helps avoid missed spots.
| Type of Obstacle | Action to Take |
|---|---|
| Furniture | Move out of the area |
| Equipment | Relocate to a safe spot |
| Loose Items | Pick up and store |
| Hazards | Remove or mark clearly |
Pre-Treat Stains Effectively
Although you've cleared the area, tackling stubborn stains is essential for achieving a spotless floor.
Start by identifying and evaluating stains, focusing on those that are more set in, like oil or food spills. Choose a pre-treatment solution that matches your floor type and the stain's nature for effective results.
Apply the solution directly onto the stain and let it sit for the recommended time to break down its composition. Gently agitate the stain with a brush or cloth to help lift it from the surface.
Before using your walk-behind floor scrubbers, verify the pre-treated area is dry enough to prevent excess moisture from causing slippage or residue during your cleaning job.
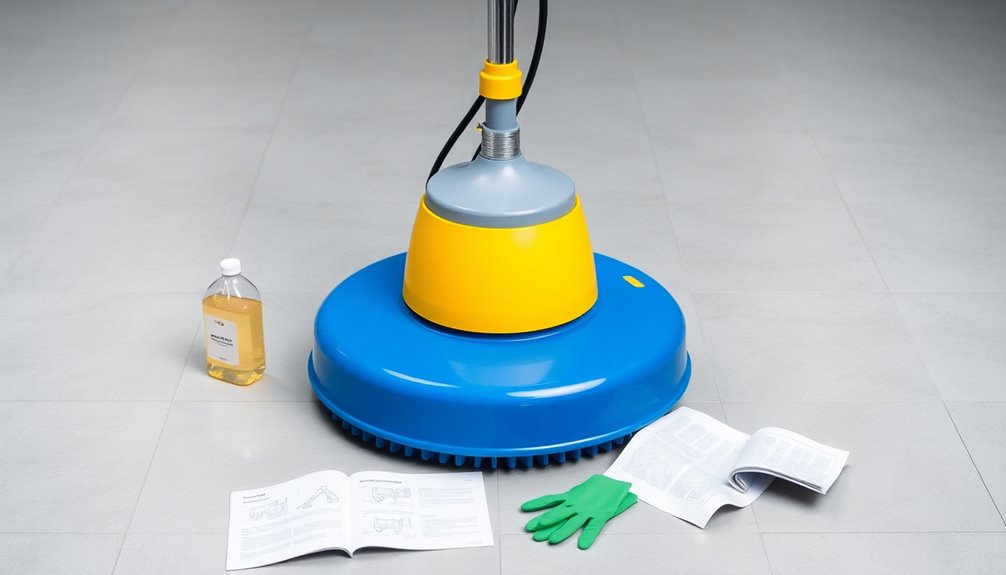
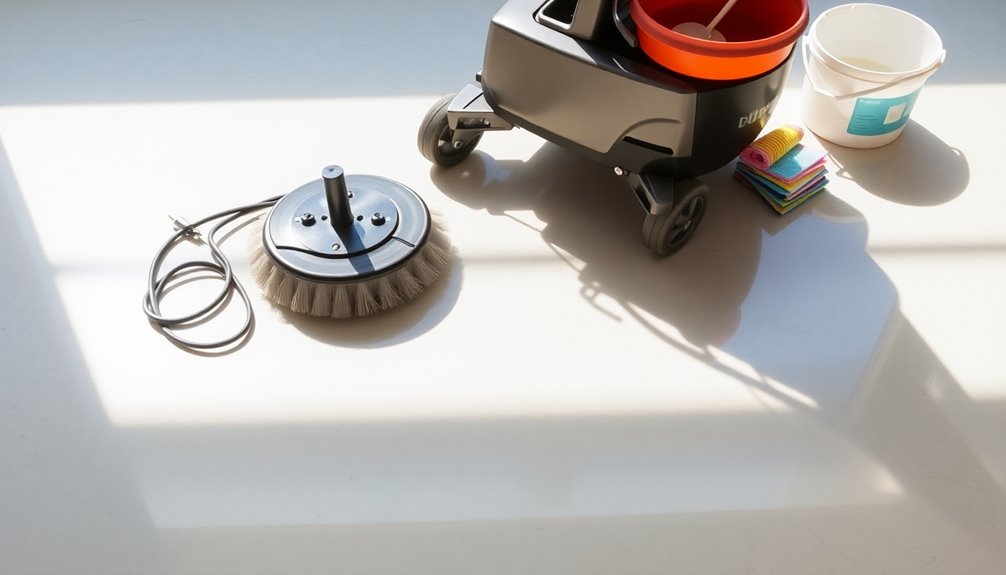
Machine Setup

Before you start using the floor scrubber, check that the solution tank is clean and free of any residue.
Next, adjust the machine settings, including brush pressure and water flow, to suit your flooring type and level of dirt.
Finally, make certain the squeegee blade is properly attached to guarantee effective water recovery during the cleaning process.
Check Solution Tank
Checking the solution tank is essential for the effective operation of your floor scrubber. Before you start, always check the solution tank for any residue or leftover cleaning solution. This guarantees peak performance.
Fill the solution tank with clean water and the right detergent according to the manufacturer's specifications to prevent damage. After filling, make sure the solution tank cap is securely fastened to avoid spills during operation.
Regularly inspect the tank for leaks or cracks, as these issues can lead to inefficient cleaning and costly repairs.
Finally, adjust the water flow rate based on the floor type and level of soiling to enhance cleaning effectiveness while conserving resources.
Adjust Machine Settings
To achieve ideal cleaning results with your floor scrubber, you'll need to adjust the machine settings appropriately.
Start by setting the brush pressure based on your flooring type; softer surfaces need lower pressure, while harder ones benefit from higher pressure.
Next, adjust the water flow rate according to your cleaning needs. For heavily soiled areas, increase the flow, but a lower flow is fine for routine cleaning.
Don't forget to set the squeegee height to match the floor type, as this prevents water streaking and guarantees effective water recovery.
Finally, familiarize yourself with the machine's speed settings; adjusting the speed can enhance cleaning efficiency for different tasks.
Taking these steps will optimize your floor scrubbing performance.
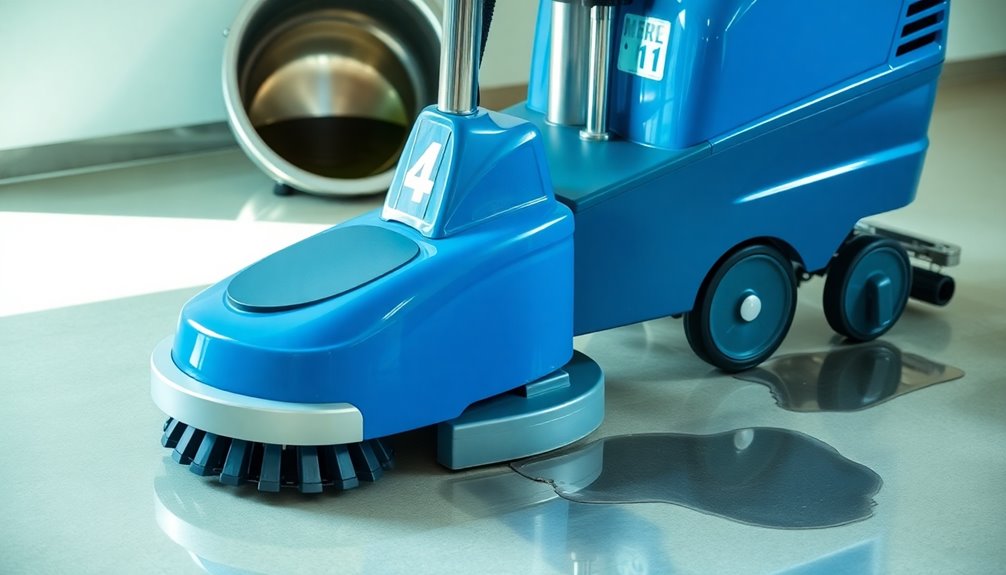
Attach Squeegee Blade
Attaching the squeegee blade is an essential step in setting up your floor scrubber, as it guarantees effective water recovery during cleaning. First, verify the squeegee blade is compatible with your specific walk-behind floor scrubber model. Align the blade with the mounting brackets and make sure it fits snugly. Aim for a slight deflection of about 1/8 to 1/4 inch to maintain ideal contact with the floor. Use the right tools to tighten any screws or clamps for a stable attachment. Finally, perform a quick inspection to confirm the squeegee is undamaged and correctly positioned.
| Step | Action |
|---|---|
| Compatibility Check | Verify the blade matches the model |
| Alignment | Align with mounting brackets |
| Deflection Adjustment | Set deflection to 1/8 to 1/4 inch |
| Final Inspection | Check for damage and positioning |
Cleaning Process

Begin by powering on the walk-behind floor scrubber and lowering the squeegee blade to guarantee effective water recovery.
Now, you're ready to start scrubbing the floor. Follow these steps for ideal results:
- Start from the furthest corner and work in straight, overlapping rows to guarantee complete coverage without missing spots.
- Maintain a consistent, moderate pace while operating the commercial floor scrubber to maximize cleaning efficiency.
- Regularly check the squeegee's position and condition to prevent streaks or water residue, adjusting the height as needed.
For heavily soiled areas, make multiple passes with the scrubber to effectively eliminate stubborn dirt and achieve a spotless finish.
Happy cleaning!
Post-Cleaning Maintenance
Once you've finished scrubbing, it's important to prioritize post-cleaning maintenance to keep your floor scrubber in prime condition. Start by performing a post-scrub inspection to catch any missed spots or stubborn stains. Next, you'll want to empty and rinse the recovery tank thoroughly to prevent odors and bacterial growth. Regularly clean the scrubber brushes and squeegee as well; this helps maintain peak performance. Don't forget to check for any loose or damaged parts during maintenance to avoid costly repairs.
| Task | Frequency | Purpose |
|---|---|---|
| Empty and rinse tank | After each use | Prevent odors and bacteria |
| Clean the machine | Weekly | Maintain performance |
| Inspect for damage | Monthly | Guarantee efficient operation |
Managing Excess Foam

After confirming your floor scrubber is in top shape, managing excess foam during cleaning becomes essential. Excessive foam can disrupt your cleaning process, so keep these tips in mind:
- Add water first: Always pour water into the solution tank before adding detergent to minimize foam buildup.
- Use a pre-wash: Engage the suction system and perform a pre-wash on the floor to reduce foam before scrubbing.
- Incorporate a de-foaming agent: If you notice excessive foam in the recovery tank, adding a de-foaming agent can prevent overflow into the vacuum motor.
Finally, confirm you do thorough rinsing of the recovery tank after use, eliminating any chemical residues that could lead to future foaming issues.
Draining the Recovery and Intake Tanks
Draining the recovery and intake tanks is essential for maintaining your floor scrubber's performance and longevity.
Always monitor the recovery tank level during cleaning; a full tank can impede performance.
Before transporting the scrubber to the dumping area, make certain to turn off the water pump and vacuum systems to prevent spills.
Dispose of the dirty water and chemicals according to environmental regulations and the disposal instructions on chemical labels.
After use, thoroughly clean and empty both tanks to prevent odors and guarantee efficiency.
Make it a habit to check for any residue or buildup during the draining process.
This attention to detail will help you complete your cleaning tasks effectively and prepare your scrubber for the next use.
Storing Your Commercial Floor Scrubber

Cleaning your floor scrubber and draining its tanks sets the stage for proper storage. To extend the life of your machine and guarantee it's ready when you need it, follow these steps:
- Clean Thoroughly: Rinse the recovery tank and brushes to prevent odors and maintain performance.
- Store Properly: Keep the scrubber in a dry, well-ventilated area, away from moisture, direct sunlight, and extreme temperatures. This protects the integrity of the cleaning solutions and prevents mold.
- Battery Care: Disconnect and fully charge the battery before storing it to prolong its lifespan.
Regularly inspect your scrubber while in storage to catch any signs of wear or damage, guaranteeing it remains in peak working condition.
Additional Advice

While you may be enthusiastic to plunge into scrubbing, taking a moment to prepare your workspace can meaningfully enhance your results.
Begin by removing loose debris and obstacles from the floor. Adjust the brush pressure and water flow according to the flooring type. This prevents damage while ensuring a thorough clean.
Maintain a steady pace and overlap your passes slightly to avoid missed spots. Regularly check and empty the recovery tank to prevent dirt redistribution.
After use, make sure the squeegee is clear of debris, and rinse out the recovery tank. This will help maintain your scrubber's performance and longevity.
If you have any questions, feel free to Contact Us for assistance!
Frequently Asked Questions
How to Operate Walk Behind Floor Scrubber?
To operate a walk-behind floor scrubber, start by removing debris and obstacles from the area.
Fill the solution tank with water and the right detergent. Adjust the brush pressure and water flow according to your flooring type.
As you scrub, move in straight, parallel rows, overlapping slightly with each pass.
After cleaning, make sure to empty and rinse the recovery tank to keep your machine running efficiently and odor-free.
How Do You Use a Floor Scrubber Ride?
Using a ride-on floor scrubber feels like gliding over a pristine lake, effortlessly transforming a dirty surface into a sparkling mirror.
To start, fill the solution tank with the right mix, then power it on.
Begin from the farthest corner, moving in straight lines while adjusting settings for your floor type.
Keep an eye on the recovery tank and empty it when needed.
Afterward, recharge it and clean the tanks to keep everything fresh.
Is Scrubbing Better Than Mopping?
Yes, scrubbing's generally better than mopping. It cleans more thoroughly, removing up to 99% of bacteria compared to mopping's 30% to 50%.
You'll find it considerably reduces your labor time, allowing you to clean larger areas five times faster.
Plus, scrubbing minimizes cross-contamination by using fresh cleaning solutions for each pass, while mops can spread dirt around.
How Do Floor Scrubbers Work?
Imagine a magical machine that banishes dirt and grime with just a touch! That's what floor scrubbers do.
You'll see them dispensing a powerful cleaning solution that dances across the floor, while rotating brushes whirl into action, lifting away stubborn stains.
As it scrubs, the squeegee system swoops in to collect all that dirty water, leaving behind a spotless, dry surface.
It's like a cleaning superhero, transforming your floors with ease!
Conclusion
In a world where cleanliness reigns supreme, mastering your walk-behind floor scrubber is like wielding a magic wand against dirt and grime. With a bit of preparation and care, you'll transform dull floors into shining canvases. Remember, your scrubber is a loyal companion, deserving of regular maintenance and proper storage. So, embrace the rhythm of the cleaning process, and let your floors reflect the sparkle of your hard work. Happy scrubbing!