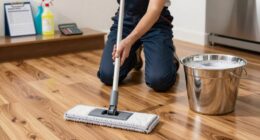
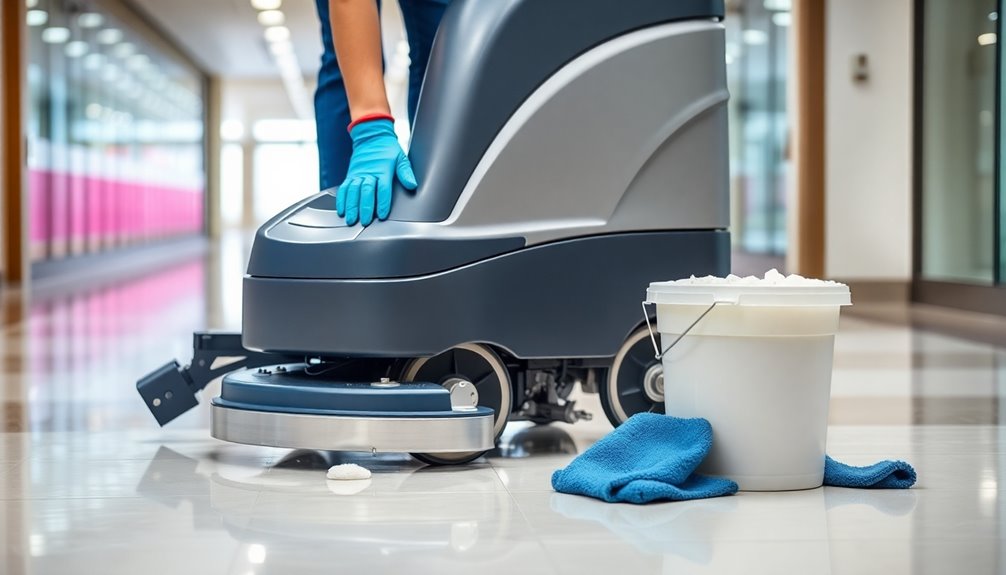
To use a Clarke floor scrubber, first fill the 13-gallon solution tank and make sure it's closed. Adjust the squeegee and check for obstructions. Activate the brushes by pulling both triggers while the main power is on, and set your water and vacuum settings for the type of floor you're cleaning. After scrubbing, empty and rinse the recovery tank. For an extensive cleaning routine and maintenance tips, explore further guidance on each step involved.
Key Takeaways
- Fill the 13-gallon solution tank and securely close it before starting the machine.
- Adjust the squeegee position and check for obstructions before lowering it for optimal performance.
- Activate the brushes by pulling both triggers while ensuring the main power is on.
- Set the appropriate vacuum and water settings based on the flooring type and dirt level.
- After use, empty and rinse the recovery tank, and clean the solution tank weekly for maintenance.

Bissell Commercial BigGreen BGFS650 Hercules Scrub and Clean Floor Machine, Green
Brush Speed (Rpm): 2200 Rpm
As an affiliate, we earn on qualifying purchases.
Preparing the Machine for Use
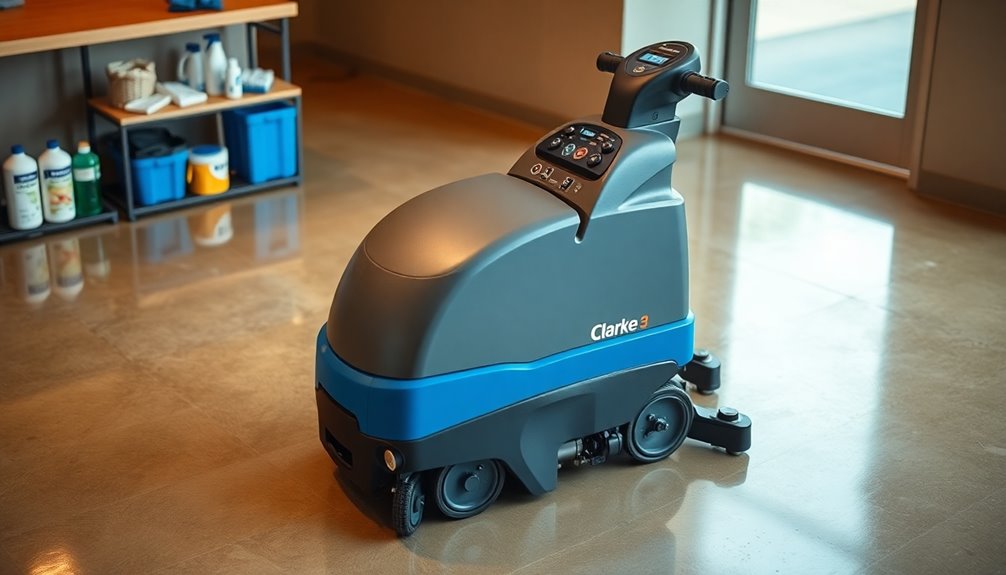
To prepare the Clarke floor scrubber for use, start by filling the 13-gallon solution tank through the front cap. Make certain the tank is securely closed before you operate the auto scrubber.
Next, tilt the machine back to access its components easily and check that the pad holder is firmly attached using the click mechanism.
It's also essential to inspect the recovery tank; utilize the wide opening for maintenance and verify the removable float shutoff is free of blockages.
Familiarize yourself with the control interface, including the main power, vacuum, and water settings. This way, you'll be ready for a smooth cleaning process.

Qimedo Electric Spin Scrubber with Two Batteries Q2 Pro,1500 RPM High Power Electric Scrubber for Cleaning,Shower Cordless Cleaning Brush with Display for Tub/Tile/Floor (Effortless Handle/8 Brushes)
【𝐁𝐞𝐬𝐭 𝐂𝐞𝐫𝐭𝐢𝐟𝐢𝐞𝐝 𝐇𝐢𝐠𝐡 𝐑𝐏𝐌 𝐚𝐧𝐝 𝐄𝐟𝐟𝐨𝐫𝐭𝐥𝐞𝐬𝐬 𝐇𝐚𝐧𝐝𝐥𝐞】Battery electric spin scrubber Q2 Pro has 800 RPM/1000 RPM/1500 RPM three...
As an affiliate, we earn on qualifying purchases.
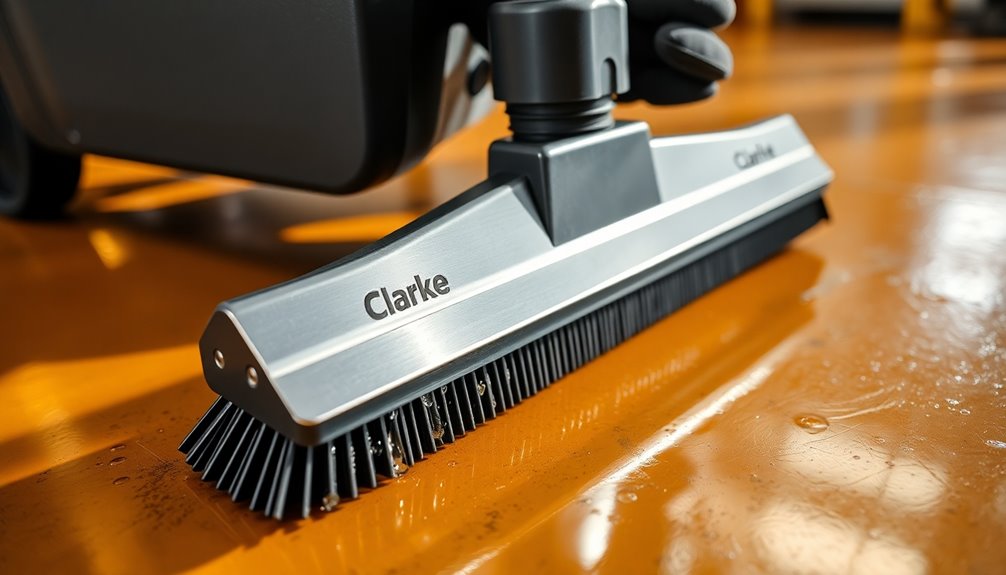
Adjusting the Squeegee
Adjusting the squeegee on your Clarke floor scrubber is essential for ideal performance. Follow these steps to guarantee it functions correctly:
- Locate the lever: Find the squeegee raise and lower lever in the middle of the machine for easy access.
- Check alignment: Make sure the squeegee slides on its bracket without any obstructions, promoting maximum water pickup during cleaning tasks.
- Maintain the squeegee: Remove the rear squeegee by unscrewing two wingnuts for easy access and replacement.
Don't forget to flip the four-sided blades using the single clip to extend their life.
Regularly checking the squeegee's position and functionality contributes greatly to your floor scrubber's overall performance.
Qimedo Battery Electric Mop, Cordless Electric Scrubber & Mops for Floor Cleaning, Best Automatic Spin Mops with Smart Display,Rotating Mop with LED Light & Water Spray
【𝐈𝐧𝐧𝐨𝐯𝐚𝐭𝐢𝐯𝐞 𝐇𝐢𝐠𝐡 𝐑𝐏𝐌 𝐄𝐥𝐞𝐜𝐭𝐫𝐢𝐜 𝐌𝐨𝐩 𝟐-𝐢𝐧-𝟏】This is the"ONLY"2-in-1 Electric Mop and Electric Scrubber on the market ! Battery...
As an affiliate, we earn on qualifying purchases.
Activating the Brushes
To activate the brushes on your Clarke floor scrubber, you'll need to locate the dual triggers on either side of the machine.
Pull them both simultaneously while ensuring the main power is on for peak performance.
This intuitive control lets you adjust the brush speed settings as needed for effective cleaning.
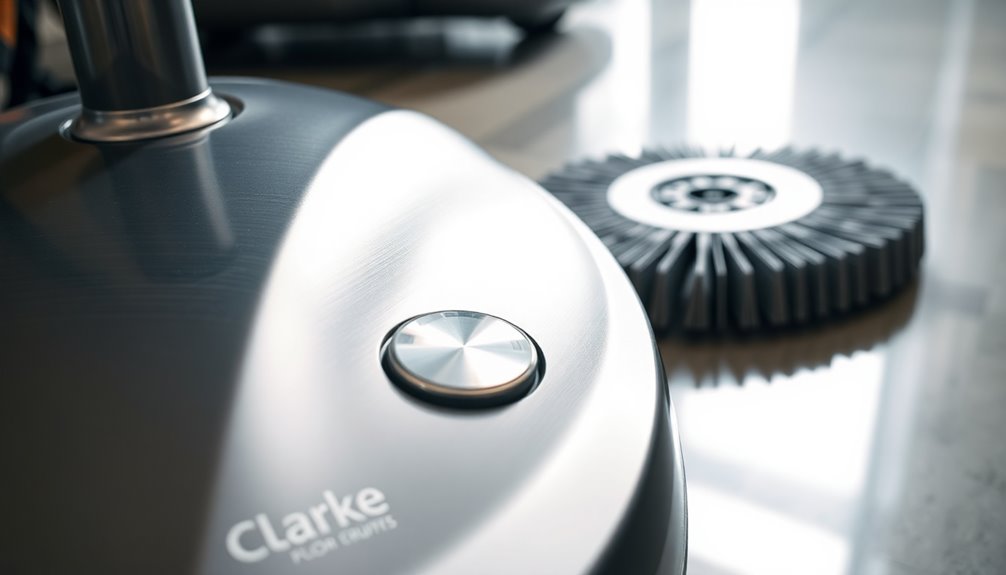
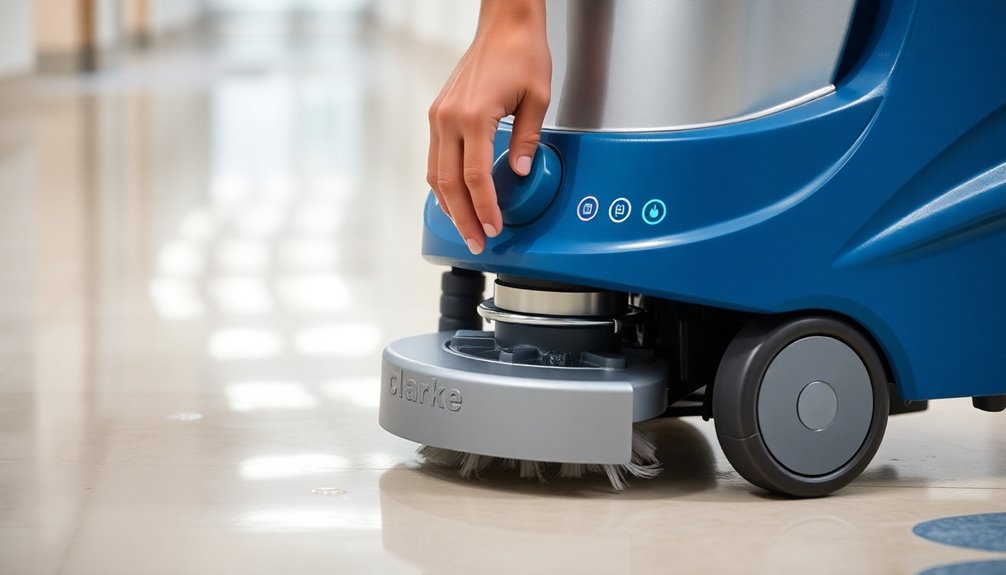
Control Interface Overview
When you're ready to activate the brushes on your Clarke floor scrubber, simply locate the dual triggers on both sides of the machine. Pressing either trigger will start the brush operation, ensuring an efficient clean.
Before you do that, make sure the squeegee is properly lowered using the lever in the middle for ideal performance.
Here's what you can customize through the control interface:
- Main Power: Turn the machine on and off easily.
- Vacuum: Control the vacuum function to manage water pickup.
- Water Settings: Adjust water flow to suit your cleaning needs.
The intuitive design makes it user-friendly, regardless of your experience level.
Enjoy a seamless cleaning process!
Trigger Activation Process
Engage the brushes on your Clarke floor scrubber by locating the dual triggers on either side of the machine.
To activate the brush system, simply press either trigger. This initiates the scrubbing process, allowing the brushes to operate continuously as long as you hold the trigger down. This feature guarantees efficient cleaning of various surfaces.
If you need to stop the brushes, just release the trigger, giving you precise control over your cleaning operation.
Before you activate the brushes, make certain the machine is powered on and the water settings are adjusted for peak performance.
Brush Speed Settings
Before you start scrubbing, it's essential to set the brush speed on your Clarke floor scrubber to match the surface you're cleaning. Proper brush speed guarantees effective dirt removal without damaging your floors.
Here's how to adjust the settings:
- Check the Power: Make sure the main power is on before activating the brushes.
- Locate the Triggers: Find the dual triggers on the left and right sides of the machine.
- Press Simultaneously: Press both triggers at the same time to engage the brushes automatically.
Regularly inspect the brushes for wear and tear to maintain peak scrubbing performance.
Adjust the brush speed as needed based on the floor type for best results!

Cordless Electric Mop for Dewalt 20V Battery (NO Battery), 2 in 1 Spin Mop & Electric Floor Scrubber Machine with LED Light & Water Spray, 800 RPM Rotating Electric Mops for Floor
【Powerful 2-IN-1 Electric Mop】This is a 2-in-1 cordless electric mop and electric floor scrubber, The spin mop has...
As an affiliate, we earn on qualifying purchases.
Selecting Vacuum and Water Settings
Selecting the right vacuum and water settings is essential for achieving ideal results while using the Clarke floor scrubber.
Start by locating the simple control interface and turning on the main power button to activate the machine.
Adjust the water setting using the dedicated control to regulate the solution released onto the floor—this guarantees effective cleaning without excess water.
Next, engage the vacuum setting to initiate suction, which helps recover the solution and dirt as you scrub.
Don't forget to use the dual triggers on both sides of the machine to activate the brushes for effective scrubbing action.
Always check and adjust these settings based on your flooring type and how dirty it's to guarantee the best cleaning results.
Guiding the Machine Across the Floor
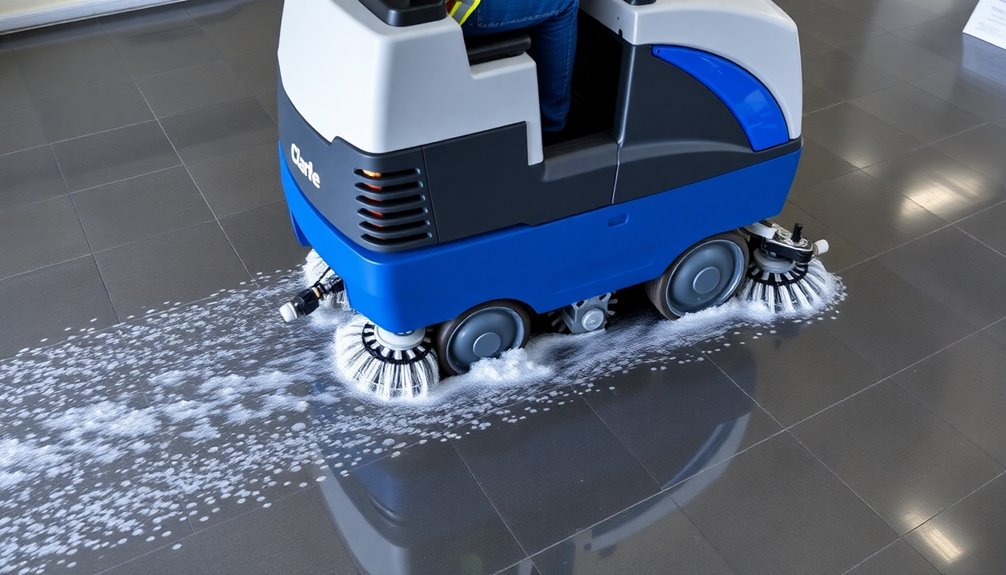
With the vacuum and water settings adjusted, you're ready to guide the Clarke floor scrubber across the floor.
Start by adjusting the squeegee raise and lower lever to guarantee peak suction. As you move forward, use the dual triggers on either side to activate the brush for effective scrubbing.
Here are three key tips for smooth operation:
- Maintain a steady pace: This guarantees thorough cleaning and avoids streaks or missed spots.
- Steer smoothly: Navigate around corners and obstacles easily, allowing the rear squeegee's breakaway design to assist you.
- Monitor tank levels: Keep an eye on the solution and recovery tanks to prevent interruptions during cleaning.
Following these steps will enhance your cleaning efficiency.
Post-Cleaning Maintenance
After you finish cleaning, it is crucial to perform proper maintenance to keep your Clarke floor scrubber in top shape. Start by emptying and rinsing the recovery tank using its wide opening. Regularly clean the solution tank and check the removable float shutoff. Detach the squeegee with the two wingnuts and clean the blades to prevent buildup. Flip the squeegee blades using the tool-free clip mechanism to maximize efficiency. Always refer to the owner's manual for detailed maintenance instructions and troubleshooting tips.
| Maintenance Task | Frequency |
|---|---|
| Empty and rinse recovery tank | After each use |
| Clean solution tank | Weekly |
| Inspect removable float shutoff | Monthly |
| Clean squeegee blades | After each use |
| Refer to owner's manual | As needed |
Frequently Asked Questions
How Do You Operate a Floor Scrubber?
To operate a floor scrubber, start by filling the solution tank with water. Secure the cap before powering on the machine.
Use the control interface to adjust vacuum and water settings based on your cleaning needs. Activate the brush with the dual triggers. Control the squeegee's position using the lever for effective water pickup.
After you're done, clean the tanks regularly to guarantee peak performance and longevity of the machine.
Why Is My Floor Scrubber Not Draining?
If your floor scrubber isn't draining, check a few things first.
Make sure the drain hose isn't pinched or blocked, which can prevent water from flowing out.
Inspect the float shutoff to confirm it's functioning properly.
Look for clogs in the recovery tank that might obstruct drainage.
Finally, verify that the squeegee is aligned correctly and not worn down, as these issues can all affect drainage efficiency.
Regular maintenance helps too!
How Do You Use a Floor Scrubber Ride?
Using a floor scrubber ride is like gliding smoothly across a freshly painted canvas.
First, fill the solution tank and secure the cap. Power on the machine, activate the vacuum, and adjust the water settings.
Lower the squeegee and engage the dual triggers to start scrubbing as you drive forward.
Finally, after your work is done, clean the recovery tank and drain the solution tank for a spotless finish and ideal maintenance.
Do Floor Scrubbers Really Work?
Yes, floor scrubbers really work! They clean large areas quickly and efficiently, saving you time and effort compared to manual cleaning.
You'll notice they scrub, rinse, and dry surfaces all in one go, which is perfect for busy environments.
With features like dual triggers for easy control and breakaway squeegees to prevent damage, you can tackle tough messes in tighter spaces without hassle.
Regular maintenance keeps them performing at their best, ensuring consistent results!
Conclusion
Now that you know how to use the Clarke floor scrubber, you're ready to tackle any cleaning challenge like a pro. Remember, a clean floor not only brightens up a space but also creates a welcoming environment. With regular maintenance and proper technique, your machine will serve you well for years to come. So, roll up your sleeves, let the scrubber do its magic, and watch dirt disappear like clouds parting for the sun!