
To use a Numatic floor scrubber, start by ensuring everything's set up correctly, like securely fitting the tank and installing the scrubbing brush. Charge the machine fully before first use and fill the clean water tank without overfilling. Adjust the squeegee height and configure water flow and suction settings for ideal cleaning. After use, always empty and clean the dirty water tank and inspect parts regularly for maintenance. Discover more tips for effective operation and maintenance.
Key Takeaways
- Ensure the tank is securely fitted, and install the scrubbing brush before charging and starting the machine for optimal performance.
- Fill the clean water tank correctly and monitor the capacity to prevent overfilling during use.
- Adjust the suction and water flow settings to enhance cleaning efficiency based on the surface being scrubbed.
- Regularly clean the dirty water tank and inspect the larger dirt basket after each use to maintain hygiene and performance.
- Follow the manufacturer's guidelines for charging and maintenance to ensure the longevity and efficiency of the Numatic Floor Scrubber.

Amazon Basics Microfiber Cleaning Cloths, Ultra Absorbent, Lint Free, Streak Free, Non-Abrasive, Reusable and Washable, 16" x 12", Blue/White/Yellow, Pack of 24
- Size: 16 x 12 inches
- Quantity: 24-pack
- Material: Microfiber
As an affiliate, we earn on qualifying purchases.
Machine Setup

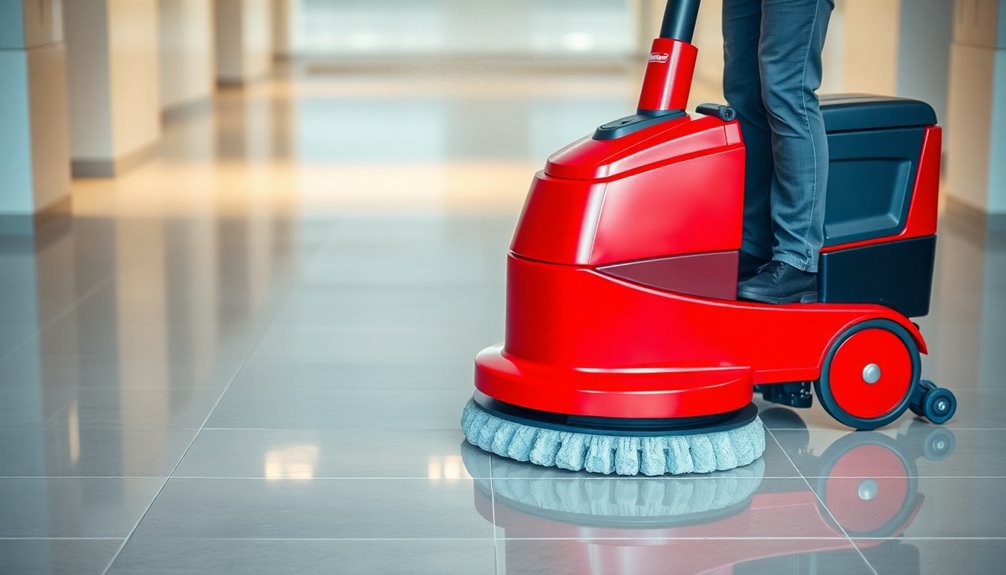
Before you begin using your Numatic floor scrubber, you'll need to set it up correctly. The machine comes with three separate boxes that require assembly.
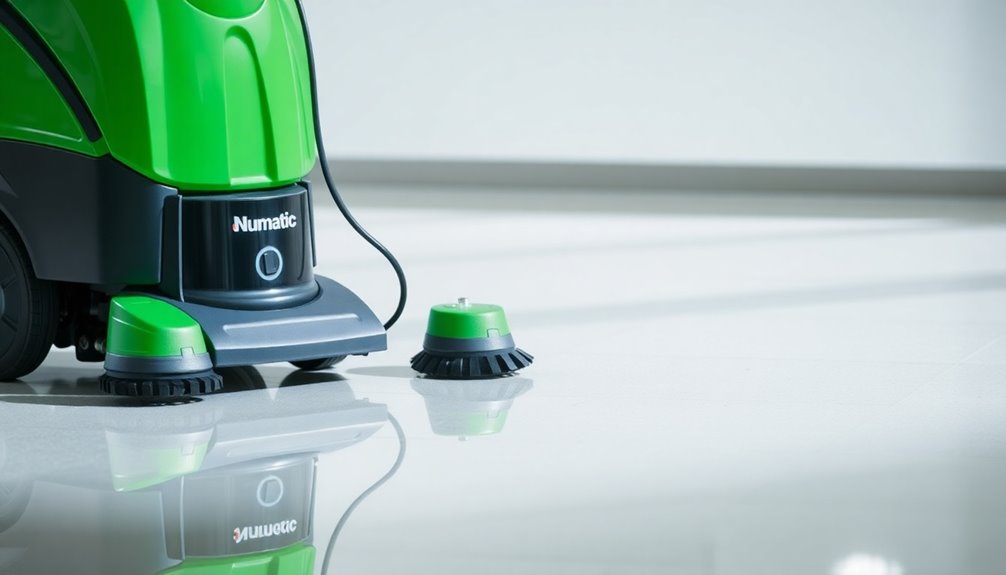
Start by ensuring the tank fits snugly on top of the machine. Next, install the scrubbing brush by aligning the three notches and spinning it to secure. For easy removal, use the side mechanism.
Don't forget to insert the included 50 amp fuse into the designated area within the squeegee packet before operating.
Finally, make sure to check the dirty water collection hose; it should have a little give at the bottom to prevent airlock during operation.
With everything set up, you're ready to tackle your cleaning tasks!
Squeegee Installation
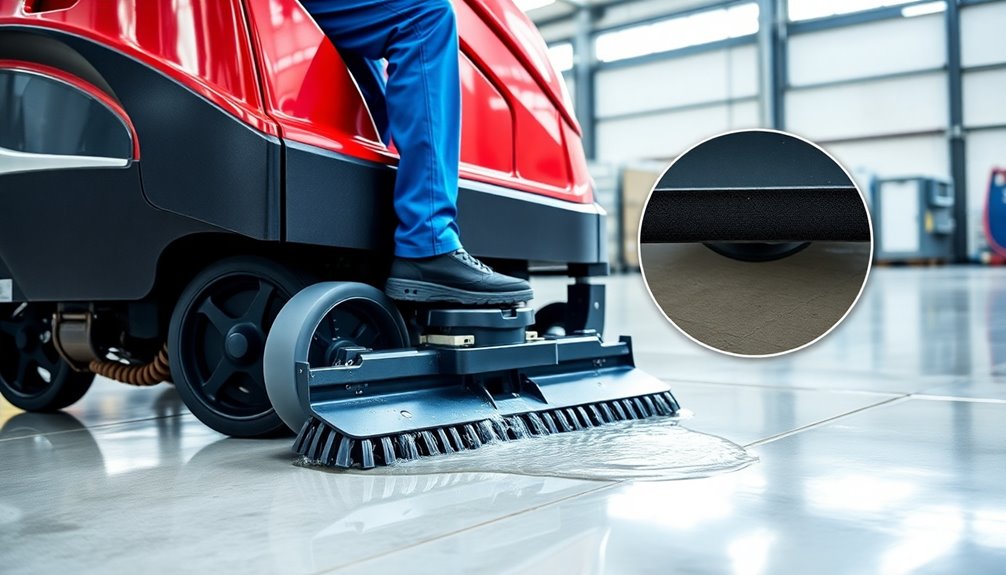
Installing the squeegee is straightforward and essential for effective cleaning.
You'll start by attaching the squeegee blades and ensuring the color-coded cuffs are connected properly for maximum suction.
Plus, adjusting the squeegee height is easy, so you can customize it for your cleaning needs.
Squeegee Blade Attachment Process
Attaching the squeegee blade to your Numatic floor scrubber is a straightforward process that guarantees excellent cleaning performance.
First, loosen the knobs on the squeegee assembly. Next, lift the squeegee into place and position the blade appropriately. After you've got it set, securely tighten the knobs to hold it in place.
Remember to allow a little give at the bottom of the dirty water collection hose to guarantee proper drainage during operation. The design makes lifting and lowering the squeegee simple, enhancing ease of use.
Regularly check the squeegee blades for wear and tear, and replace them as needed to maintain effective cleaning performance. Following these steps will help you achieve top results every time.
Color-Coded Connection Cuffs
When you're ready to install the squeegee blade on your Numatic floor scrubber, you'll find that the color-coded connection cuffs play an essential role in ensuring a secure fit.
Start by loosening the knobs, then lift the squeegee blade into position. Align the color-coded cuffs with the vacuum motor and hose, making sure they connect properly for ideal suction and effective water collection.
Once aligned, tighten the knobs to secure the blade firmly in place. Remember to check that there's a little give at the bottom of the dirty water collection hose to allow for proper drainage.
Finally, regularly inspect the color-coded cuffs for any wear and tear to maintain efficient connections between the squeegee and vacuum system.
Adjusting Squeegee Height Easily
Adjusting the squeegee height on your Numatic floor scrubber is a straightforward process that can greatly enhance cleaning efficiency.
To start, lift the squeegee using the lift mechanism and tighten the knobs to secure it in place.
Make certain the squeegee blade is attached correctly; if not, loosen the knobs, lift the blade, and re-tighten the knobs securely.
Don't forget to retrieve the squeegee blades from the separate box before installation.
For peak functionality, connect the color-coded cuffs to the vacuum motor and hose.
Finally, allow a little give at the bottom of the dirty water collection hose to guarantee proper suction and drainage.
With these adjustments, you're all set for effective cleaning!
Filling the Clean Water Tank
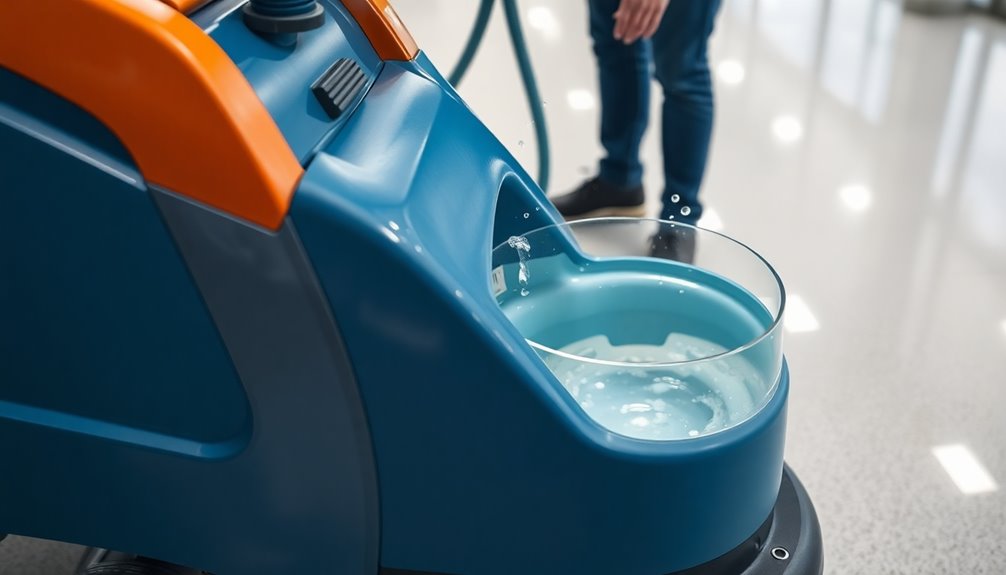
To fill the clean water tank effectively, you can either connect it directly to a tap or use a bucket with a hose.
If you're using the hose, remember to lift the ball on the hose to prevent airlock and guarantee a smooth flow of water.
The clean water tank has a capacity of 40 liters, so keep an eye on the level to avoid overfilling it.
Once filled, check that the tank fits snugly on top of the machine to prevent leaks during operation.
For ideal cleaning efficiency, don't forget to adjust the water flow setting to around 50% after filling the tank.
This guarantees you get the best results while using your Numatic floor scrubber.
Charging the Machine
Charging your Numatic floor scrubber is vital for keeping it running smoothly and efficiently.
To charge the machine, plug the charging cable, which looks like a kettle plug, into the three-point socket located inside the handle. It's important to charge the machine fully before use to guarantee peak performance during your cleaning tasks.
Regularly check the battery to maintain its efficiency. Always keep one key with the machine for operation, while a second key should be held by a supervisor for safety.
Following the manufacturer's guidelines for charging will help prolong the battery life and guarantee safe operation.
Operating the Controls
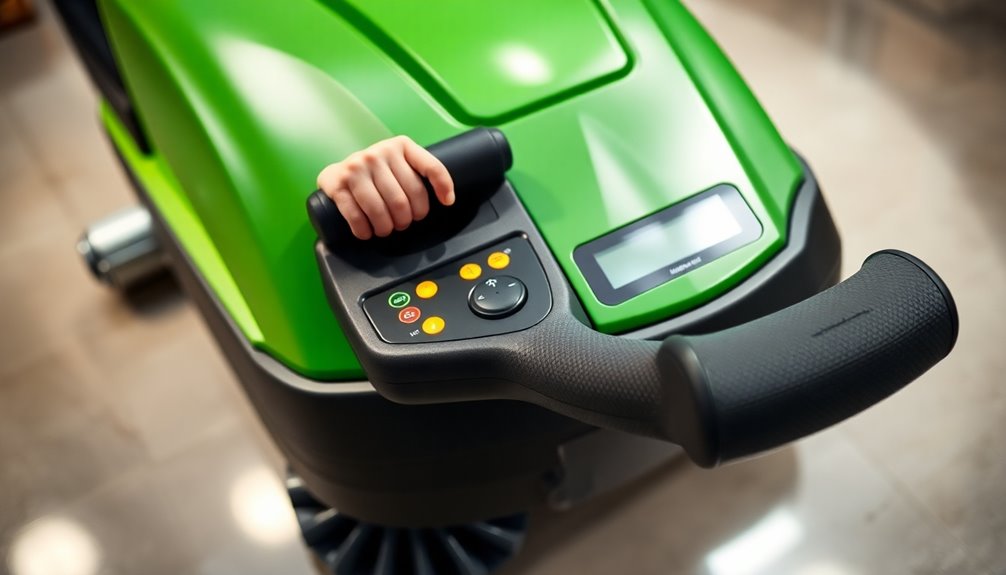
To get started with your Numatic floor scrubber, insert and turn the key to activate the machine.
Once you're set, adjust the suction and water flow settings for ideal cleaning performance.
Choosing the right levels will help you achieve efficient results without wasting resources.
Key Activation Process
Before you can start cleaning, you'll need to activate the Numatic floor scrubber by inserting and turning the key in the designated ignition slot.
Once the key's in place, adjust the handle height using the pulley system to guarantee it operates at waist height for ideal control.
To start the machine, press the two blue handles located under the unit, then click the yellow button to activate operation.
At this point, you can choose between high or low suction options; low suction is often recommended for greater efficiency during cleaning.
Remember to adjust the water flow setting to approximately 50% for ideal cleaning performance.
With these steps complete, you're ready to tackle your cleaning tasks effectively.
Suction and Water Settings
Once you've activated the Numatic floor scrubber, it's essential to set the suction and water flow for ideal cleaning performance.
You'll find two suction settings: high and low. For more efficient cleaning, opt for the low suction setting.
To adjust the water flow, head to the control panel and set it to around 50%. This combination will give you best results.
Activate the suction by clicking the yellow button located under the unit after turning the key.
Also, remember to adjust the handle height using the pulley system for comfortable operation.
Finally, verify the dirty water collection hose has a little give at the bottom to maintain proper suction and drainage during cleaning.
Adjusting Suction and Water Flow
Adjusting the suction and water flow on your Numatic floor scrubber is essential for achieving ideal cleaning results. The machine offers high and low suction options, but using low suction is recommended for greater efficiency. Set your water flow to around 50% to effectively remove dirt while optimizing performance.
Here's a quick reference table to help you:
| Setting | Recommendation |
|---|---|
| Suction | Low for efficiency |
| Water Flow | 50% for effective cleaning |
| Surface Type | Adjust based on surface type |
| Filter Check | Regularly to prevent blockages |
Make sure to use the controls on the machine to fine-tune these settings and remember to maintain them throughout the cleaning process for the best results.
Maintenance and Cleaning

To keep your Numatic floor scrubber operating at its best, regular maintenance and cleaning are essential.
Start by cleaning the filter system weekly under tap water to remove sediments, guaranteeing peak performance.
Don't forget to maintain the barrel filter; scrub it and reinstall weekly to capture light sediment effectively.
After each use, empty the larger dirt basket to prevent clogging and maintain efficient operation.
Regularly check and clean the dirty water dump hose on the side to guarantee proper drainage and avoid backups.
Finally, inspect and clean the clean water dampers periodically to maintain efficient water flow during operation.
Following these steps will help extend the life of your scrubber and enhance its efficiency.
Emptying the Dirty Water Tank
Emptying the dirty water tank is a crucial step to guarantee your Numatic floor scrubber runs efficiently.
First, locate the dirty water dump hose on the side of the machine. Remember, the recovery tank holds up to 40 liters, so don't let it overfill.
To empty the tank, gently pull the dump hose out and direct it over a suitable drainage area.
After you've emptied it, inspect the dirty water tank and clean the larger dirt basket for any trapped debris.
Always make it a point to clean the dirty water tank after every use. This not only maintains peak machine performance but also guarantees hygiene, keeping your cleaning routines effective and safe.
Frequently Asked Questions
How Do You Operate a Floor Scrubber?
To operate a floor scrubber, you'll start by powering it on.
Adjust the handle height to waist level for comfort, then press the blue handles to begin scrubbing.
Activate the function with the yellow button.
Choose your suction settings based on the job, and set the water flow to about 50% for efficient cleaning.
Don't forget to check the filter regularly to keep it functioning well and guarantee effective cleaning results.
Why Is My Floor Scrubber Not Putting Out Water?
If your floor scrubber isn't putting out water, check a few key areas.
First, make sure the water flow setting's adjusted correctly; aim for about 50%.
Next, inspect the clean water tank—if it's low, refill it.
Look for blockages in the hose or loose fittings, as they can disrupt water flow.
Finally, clean the filter system regularly; sediment buildup can restrict output and affect performance.
Get these checked, and you should see improvement!
How Do You Use a Floor Scrubber Ride?
To use a floor scrubber ride, you'll want to start by inserting and turning the key to power it up.
Adjust the handle to a comfortable height, then activate the scrubbing function. Set the water flow and suction levels based on your cleaning needs.
As you scrub, keep an eye on the dirty water tank.
After you're done, remember to empty it and clean the filters to keep everything running smoothly.
Do Floor Scrubbers Really Work?
Imagine a magic wand that transforms grimy floors into sparkling surfaces; that's what floor scrubbers do! Yes, they really work.
With powerful scrubbing brushes and efficient suction, these machines tackle dirt and grime like a superhero in action. You'll notice a significant reduction in cleaning time, leaving your floors cleaner and drier than traditional methods.
Just keep the scrub brushes and filters maintained, and you'll unleash their full potential for a deep clean every time!
Conclusion
By mastering your Numatic floor scrubber, you're not just cleaning floors; you're transforming your space into a sanctuary, much like a sculptor chiseling a masterpiece from stone. With proper setup, maintenance, and operation, you'll keep your environment spotless and inviting. So, embrace this tool with confidence, knowing you're equipped to tackle even the toughest grime. After all, cleanliness isn't just next to godliness—it's the foundation of productivity and peace in your daily life.