
To get a perfect epoxy floor, mix resin and hardener in the right ratios—usually 2:1 or 3:1 by volume or weight—depending on the product instructions. For larger areas, measure in liters per gallon (L/Gal), and for smaller or detailed sections, use square meters or square feet (m²/ft²) to calculate the correct amount. Precise mixing guarantees durability and a smooth finish. Keep exploring to learn more about achieving ideal results for your project.
Key Takeaways
- Typical epoxy mix ratios range from 2:1 to 3:1 resin to hardener by volume or weight.
- For coverage, approximately 1.5-2 kg of epoxy mixture covers 1 m² at a thickness of 1-2 mm.
- Convert liters or gallons to weight using manufacturer specifications for accurate mixing ratios.
- To calculate for area, multiply the desired coverage per square meter or foot by total surface area.
- Always follow manufacturer-recommended ratios in L/Gal and m²/ft² for optimal performance and durability.

Creating a durable and smooth epoxy floor starts with choosing the right solution mix. The correct ratio of resin to hardener is essential for achieving peak strength, adhesion, and longevity. Typically, manufacturers recommend specific ratios, often expressed in liters or gallons of resin to hardener, such as 2:1 or 3:1. Measuring accurately is vital; too much resin can cause a sticky, weak surface, while too much hardener might result in a brittle finish. When mixing, stick to these ratios diligently to guarantee a consistent, high-quality application.
Once you’ve established the proper ratios, consider how the mix impacts your project’s overall appearance and application process. The solution’s consistency influences how easily you can spread it across the surface. For example, a well-mixed epoxy should flow smoothly without runs or bubbles, allowing for a seamless, uniform finish. Understanding the application techniques is essential here. Whether you’re applying with rollers, brushes, or squeegees, a properly mixed solution ensures better workability and reduces issues like pinholes or uneven coverage. For larger areas, a roller or notched squeegee often provides the most efficient and even application, while smaller or detailed sections may require brushes for precision.
Color options also play a significant role in your project’s success. Epoxy floors are available in a broad spectrum of colors, from neutral tones to bold, vibrant shades. Before mixing, decide on your desired color palette. Many epoxy products come with tintable pigments, allowing you to customize hues to match your aesthetic. When adding color, do so gradually and mix thoroughly to prevent streaks or inconsistent shading. Properly mixed, colored epoxy not only enhances visual appeal but also helps in identifying application issues early on, such as uneven coverage or missed spots.
Applying epoxy with the right technique is equally important to achieve a smooth, glossy finish. Start by ensuring the surface is clean, dry, and free of debris. Mix your solution in a well-ventilated area, following the manufacturer’s instructions precisely. Pour the epoxy onto the surface and spread it evenly using your chosen tool. Work systematically to cover each section before the material begins to set. For best results, work in sections, maintaining a wet edge to prevent lap marks. Using the right application techniques, combined with a carefully measured and mixed solution, guarantees a professional-looking finish that’s both durable and visually appealing.

LET'S RESIN 1/2 Gallon Epoxy Resin,Crystal Clear Resin Epoxy Kit for Crafts
- Volume: 1/2 Gallon Casting Epoxy Resin
- Ease of Use: Simple 1:1 mixing ratio for beginners
- Bubble-Free: Anti-foaming agents ensure clear finish
As an affiliate, we earn on qualifying purchases.
As an affiliate, we earn on qualifying purchases.
Frequently Asked Questions
How Does Temperature Affect Epoxy Mixture Ratios?
Temperature effects markedly impact epoxy mixture ratios because as temperature rises, viscosity changes occur, making the epoxy thinner and easier to work with. Conversely, colder temperatures increase viscosity, causing the mixture to become thicker and harder to spread evenly. You should adjust your mix ratios accordingly, using slightly more solvent in colder conditions to compensate for increased viscosity and guarantee proper curing and adhesion.
Can I Adjust Ratios for Different Epoxy Brands?
You can’t just adjust ratios like turning a dial; each epoxy brand has its own recipe. Think of it as fitting puzzle pieces together—brand compatibility and proper mixing techniques are key. Always follow the manufacturer’s instructions closely, as different brands may require different ratios. Mixing incorrectly risks poor adhesion or curing issues, so stick to recommended ratios, and don’t improvise unless you’re sure it won’t compromise your floor’s strength and durability.
What Tools Are Best for Measuring Mix Ratios Accurately?
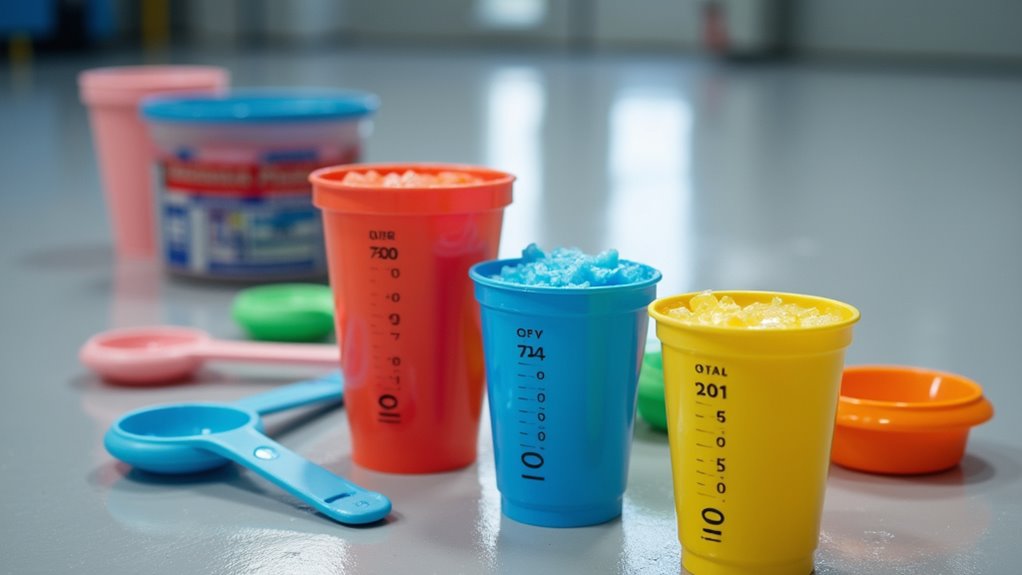
You should use precise measuring tools like digital scales for resin and hardener, ensuring accurate mixing ratios and ideal mixing accuracy. Graduated mixing cups with clear measurement markings help you measure liquids consistently. For larger projects, consider using a calibrated pump or dispensing system to maintain accuracy. These tools make it easier to achieve the correct epoxy mix ratio, resulting in a durable and smooth floor finish.
How Long Can Mixed Epoxy Be Stored Before Use?
You should use mixed epoxy within its recommended shelf life, typically 24 hours, but this varies with formulation. Proper storage conditions are essential—keep it in a cool, dry, airtight container away from sunlight and heat sources. Poor storage can reduce epoxy shelf life, making it harder to work with and potentially compromising the final result. Always follow manufacturer guidelines for best results and safety.
Are There Safety Concerns When Mixing Epoxy Solutions?
Think of epoxy mixing as handling a fragile secret. You need safety goggles and skin protection because fumes and splashes can be harmful. Always work in a well-ventilated area, avoid skin contact, and wear gloves. These precautions safeguard your health, ensuring your project remains a safe journey rather than a risky gamble. Respect the process, and you’ll unleash stunning results without risking your well-being.
Conclusion
Now that you know the right ratios for epoxy floor solutions, you’re all set to achieve a flawless finish. Remember, precision is key—think of it as your secret weapon, like the craftsmanship of old masters. Mix carefully, follow the guidelines, and don’t rush the process. With patience and care, you’ll create a durable, stunning surface that stands the demonstration of time—truly a testament to your skill and dedication, no less than a knight’s armor for your floors.