
To give your new home’s garage a fresh, polished look in just one afternoon, start by thoroughly clearing and cleaning the space—remove tools, debris, and vehicles. Then, strip any old paint or coatings and repair cracks or holes for a smooth surface. Sand the floor lightly, vacuum, and wipe it down. Proper prep guarantees your epoxy bonds well and lasts longer. Keep going, and you’ll learn more tips for achieving a professional, durable finish quickly.
Key Takeaways
- Fully clear and clean the garage, removing all tools, debris, and vehicles for unobstructed working space.
- Remove existing paint or coatings using paint stripper or sanding for a smooth, prepared surface.
- Repair cracks and holes with epoxy filler, then sand smooth for an even foundation.
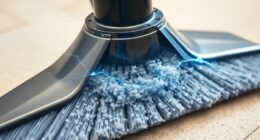
- Lightly sand the entire floor to promote epoxy adhesion, then vacuum and wipe to remove dust.
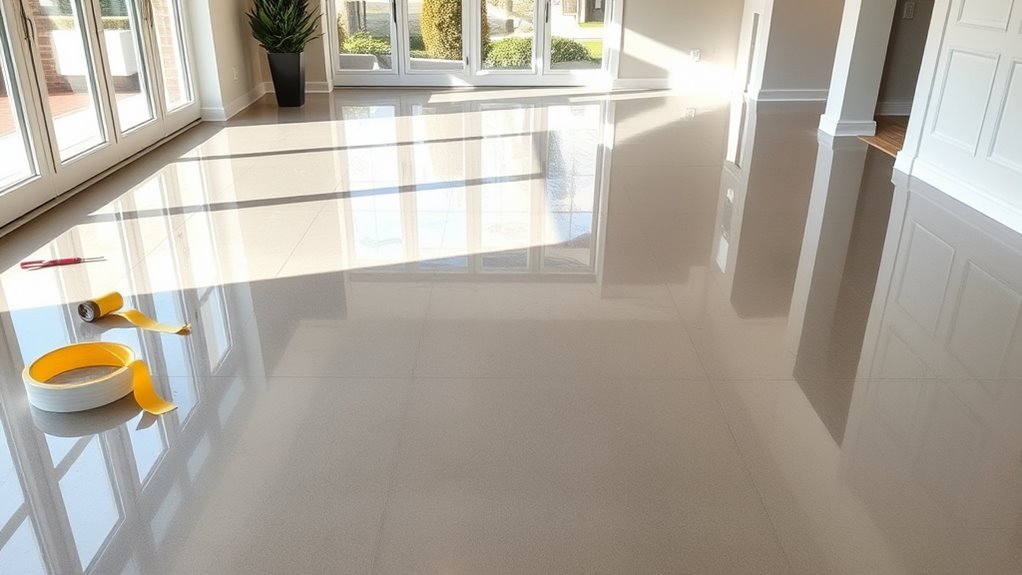
- Ensure the surface is dry, clean, and properly prepped to achieve a fresh, durable epoxy finish in one afternoon.
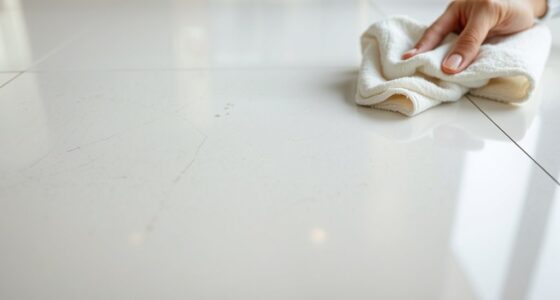
When moving into a new space, resetting your epoxy floors is vital to guarantee they look their best and stay durable. The first step is garage preparation. Clear out everything from the area, including all tools, boxes, and vehicles. You want a clean, unobstructed space to work efficiently. Sweep thoroughly to remove loose debris, dust, and dirt, which can interfere with any repair or cleaning process. If your epoxy floor has spots of grease, oil, or stubborn stains, tackle them with a degreaser or a specialized cleaning solution. A spotless surface ensures superior adhesion for any new epoxy coating or touch-up you plan to do. Using the right cleaning agents can also help eliminate odors and residues that might compromise the finish. Paint removal is often necessary if your floors have existing coatings or patches of old paint that have chipped or peeled. Using a paint stripper or solvent, carefully strip away any loose or flaking paint. This step is critical because old paint can prevent new epoxy from bonding properly, leading to peeling or uneven surfaces over time. For stubborn paint, a power sander or a floor grinder can be effective, but make sure to wear protective gear to avoid inhaling dust or fumes. After removing the paint, vacuum up all debris and thoroughly wash the floor with a mild detergent and water. Allow it to dry completely, as moisture can compromise the adhesion of your new epoxy. Once the surface is clean and free of old paint, inspect the floor for cracks or holes. Fill these with an appropriate epoxy patch or filler, then sand the area smooth once it cures. This process prevents imperfections from telegraphing through your new coating. When you’re ready, sand the entire surface lightly with a high-grit sander to create a rough texture, which helps the new epoxy adhere better. Make sure to vacuum again to pick up all dust, and wipe the surface with a damp cloth to remove any residual particles. Proper surface preparation, including adhesion promotion, is key to a professional-looking finish and long-lasting durability. Preparing your garage properly makes all the difference in achieving a sleek, durable epoxy finish. By dedicating time to garage preparation and paint removal, you ensure your floors are perfectly prepped for the next step—applying the epoxy coating. This attention to detail not only makes your new floors look fresh but also extends their lifespan, keeping your space looking sharp for years to come. A well-executed reset turns your new home into a clean, polished, and inviting environment, all in just an afternoon of work.
Frequently Asked Questions
How Long Does the Epoxy Floor Installation Typically Take?
Epoxy floor installation usually takes about one to two days. First, you’ll need to prepare the floor, which involves cleaning and repairing any cracks. Then, the epoxy is applied, and it typically requires a curing time of 24 hours before walking on it. Depending on the size of the area and the complexity of the prep work, the entire process can be completed quickly, often within a single afternoon for small spaces.
Can Epoxy Floors Be Installed Over Existing Flooring?
You can install epoxy floors over existing flooring if you guarantee proper surface compatibility. Coincidentally, the key is thorough floor preparation; you’ll need to clean, repair, and sometimes etch the current surface to create a strong bond. When done right, epoxy adheres well to many surfaces like concrete, tile, or sealed wood. Just make sure the existing floor is stable and free of debris for a flawless, long-lasting finish.
Is There Any Special Maintenance Required After the Reset?
After your epoxy floor reset, you should follow simple cleaning routines to keep it looking fresh. Use a soft mop and mild detergent regularly, avoiding harsh chemicals that can damage the finish. To prevent stains, clean spills promptly and use mats in high-traffic areas. Avoid abrasive scrubbers. With consistent care, your epoxy floor stays glossy and durable, making stain prevention and easy cleaning routines your best friends.
What Are the Costs Involved in a Move-In Epoxy Reset?
The cost estimates for a move-in epoxy reset typically range from $3 to $7 per square foot, depending on factors like floor size, condition, and desired finish. Pricing factors include surface prep, epoxy type, and labor. You should get a detailed quote from professionals to understand exact costs, but overall, epoxy resets are a cost-effective way to refresh your floors quickly and dramatically.
How Durable Are Epoxy Floors in High-Traffic Areas?
You’ll find epoxy floors in high-traffic areas stand the test of time, like a rock in a flood. They offer excellent traffic resistance and scratch resistance, making them perfect for busy spaces. While no surface is impervious, epoxy’s durability means you won’t be constantly fixing or replacing flooring. With proper maintenance, your epoxy floors will continue to look great and hold up well, even under heavy use.
Conclusion
Imagine walking into your new home just hours after the epoxy floors are done, feeling that fresh, clean vibe everywhere. It’s like the universe aligned perfectly, giving you a quick reset without the mess or delay. You start your new chapter effortlessly, with stunning floors that set the tone for everything ahead. Sometimes, the best surprises happen when things fall into place just right—making your move-in truly feel like a fresh start.