To plan a strip-and-refinish cycle, start by inspecting your floor for scratches, dullness, or stains to determine if spot repairs suffice or a full refinish is needed. Next, thoroughly clean and sand the surface, removing old finish and opening the wood grain. Choose a finish based on your desired look and durability, then carefully follow application instructions to guarantee a smooth, long-lasting result. Continue exploring for detailed steps to perfect your project.
Key Takeaways
- Assess the current floor condition to determine if spot repairs or a full strip is necessary.
- Schedule surface preparation, including thorough cleaning and sanding, to ensure proper adhesion.
- Choose the appropriate finish based on durability, appearance, and lifestyle needs for the space.
- Set a timeline considering drying and curing times for each coat to avoid delays.
- Plan for remote collaboration or professional assistance if needed to ensure quality and efficiency.
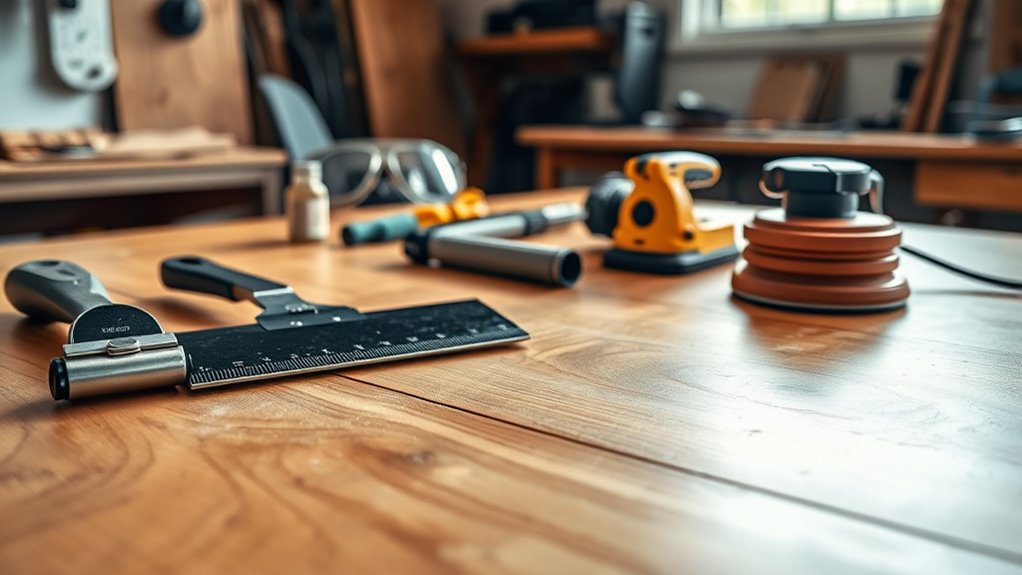
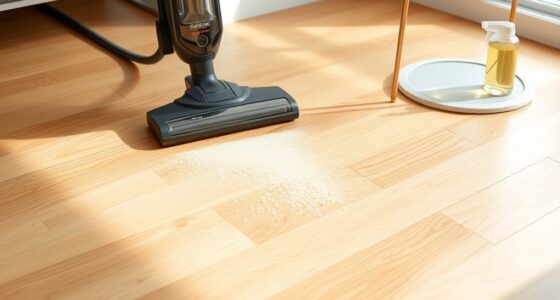
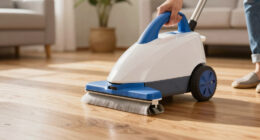
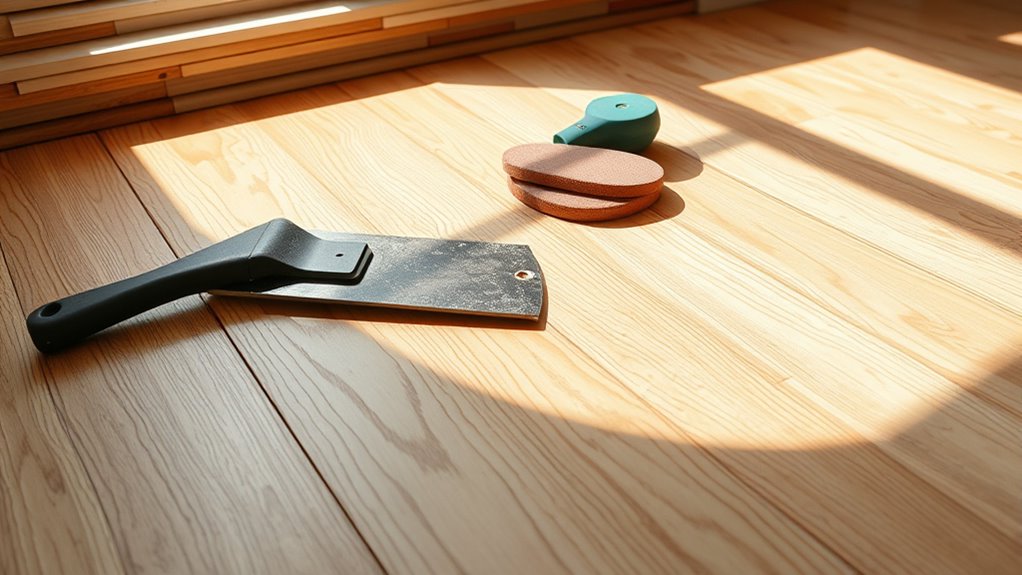
Planning a strip-and-refinish cycle is essential for maintaining the beauty and longevity of your hardwood floors. Before you start, you need to assess the current condition of your flooring. This involves checking for scratches, dullness, or deep stains. Once you’ve evaluated the condition, you can determine whether a full strip and refinish will restore its original luster or if spot repairs will suffice. Proper planning begins with understanding your floor’s specific needs, which directly influence your surface preparation and finish selection. Surface preparation is a crucial step; it ensures your floors are ready for a new finish and that the new coat adheres properly. You’ll want to thoroughly clean the surface by sweeping and vacuuming to remove loose debris, then use a damp mop with a gentle cleaner to eliminate dirt and oils. Sanding is typically necessary to strip the old finish, smooth out scratches, and open the wood grain for better adherence. Use the right grit of sandpaper—starting with a coarser grit to remove the existing finish and gradually moving to finer grits for a smooth surface. Always sand in the direction of the wood grain to prevent scratches. Once the surface is smooth and dust-free, you can move on to finish selection. Picking the right finish depends on your desired look, durability needs, and lifestyle. For high-traffic areas, a polyurethane finish offers excellent protection, while a matte or satin finish provides a softer, more natural appearance. If you prefer a more environmentally friendly option, water-based finishes are low in VOCs and dry faster, but oil-based finishes tend to be more durable. When selecting a finish, consider the sheen you want—glossy for a shiny appearance or matte for a subtle, understated look. Remember that the finish will also influence the final look and feel of your floors, so choose accordingly. Once you’ve selected the appropriate finish, follow the manufacturer’s instructions carefully, ensuring proper application techniques and drying times. Keep in mind that your preparation and finish choice will directly impact the longevity of your refinished floors. Properly facilitating remote collaboration can also enhance your project by allowing input from experts or team members who are not onsite. Taking the time to do surface preparation thoroughly and choosing the right finish tailored to your needs will ensure your hardwood floors look stunning and last for years to come. Planning this process carefully helps you avoid costly mistakes and guarantees a professional-looking result that enhances the beauty of your home.
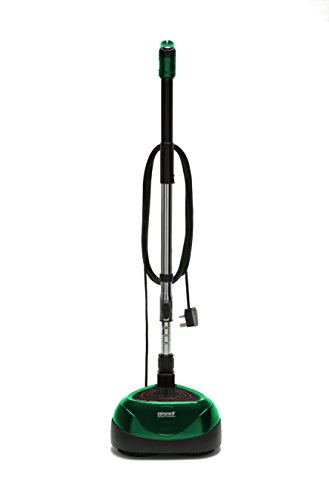
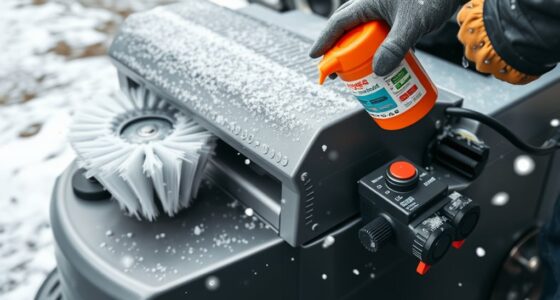
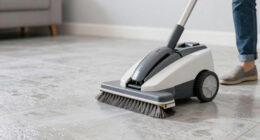
Bissell Commercial BigGreen BGFS650 Hercules Scrub and Clean Floor Machine, Green
Brush Speed (Rpm): 2200 Rpm
As an affiliate, we earn on qualifying purchases.
Frequently Asked Questions
How Often Should a Floor Be Stripped and Refinished?
You should strip and refinish your floor every 2 to 3 years to maintain ideal floor maintenance and finish durability. Regular cleaning and light buffing can extend this interval, but deep stripping removes built-up dirt and worn finish. Keep an eye on scratches, dullness, or wear, and don’t wait too long, as neglecting proper maintenance can shorten your floor’s lifespan and compromise its appearance.
What Safety Precautions Are Necessary During Stripping and Refinishing?
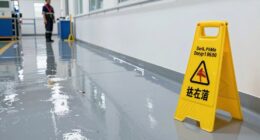
You should always wear protective gear like gloves, goggles, and a respirator to avoid chemical exposure during stripping and refinishing. Confirm proper ventilation measures are in place by opening windows and using fans to disperse fumes. Keep the workspace clear of unnecessary personnel, and follow manufacturer instructions carefully. These precautions help protect your health and ensure a safe, effective process throughout the stripping and refinishing stages.
Can I Refinish a Floor Myself or Should I Hire a Professional?
You can refinish a floor yourself, but consider DIY challenges like mastering proper stripping, sanding, and finishing techniques. If you’re comfortable with tools and safety precautions, it can save you money and give a sense of accomplishment. However, professional costs might be worth it if you lack experience or want a flawless result. Weigh your skills and budget carefully before deciding whether to DIY or hire a pro.
What Are the Signs That a Floor Needs Stripping and Refinishing?
You notice your floors starting to look dull, and then suddenly, surface scratches become more visible, signaling trouble. Discoloration might creep in, giving your floor an uneven, faded look. These signs—discoloration and deep scratches—are your cue that it’s time to strip and refinish. Don’t ignore these hints, as waiting too long can make repairs more difficult. Taking action now restores your floor’s beauty and prolongs its life.
How Long Does the Entire Strip-And-Refinish Process Typically Take?
The entire strip-and-refinish process usually takes between 3 to 7 days, depending on the floor size and condition. You should consider timing considerations like drying times for each coat and the availability of your space for limited use. Proper project planning helps guarantee you allocate enough time for each step, from stripping to finishing, so you get a smooth, durable result without rushing through critical stages.

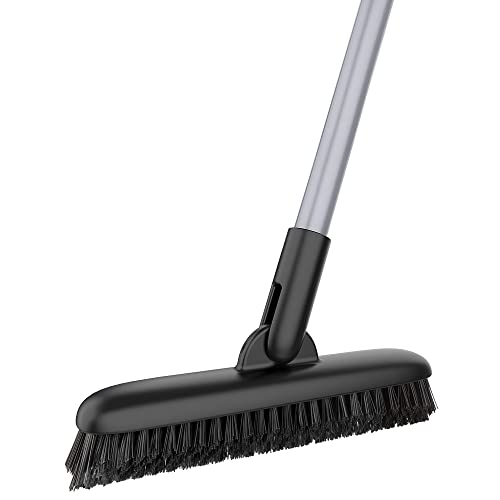
Floor Scrub Brush with Long Handle, 3 in 1 Scrape and Heavy-Duty Stiff Bristle Scrubber Brush for Cleaning Shower Bathroom, Patio, Pool, Garage, Kitchen, Wall and Deck (White, 1 Pack)
【Innovative 3-in-1 Floor Scrub Brush】: Our floor scrub brush is a game-changer! Combining a dual-sided scrub brush and...
As an affiliate, we earn on qualifying purchases.
Conclusion
Now that you know how to plan your strip-and-refinish cycle, think of it as tending to a garden—you’ll need patience, care, and a steady hand to bring back its natural beauty. With each step, you’re peeling away the old to reveal the fresh, vibrant layers beneath. Approach it like a craftsman shaping a masterpiece, and soon, you’ll enjoy a surface that’s as smooth and shining as a mirror, reflecting your hard work and dedication.

HHQ Commercial Floor Scrubber Machine with Brushes and Pads, Heavy Duty Floor Cleaner Polisher and Buffer- Deep Cleaning Tile and Grout, Hardwood Floors and Carpets without Getting on Hands and Knees
Kit Included: 1 Orbital Floor Buffer & Scrubber Machine, 2 Polishing/ Stripping Pads, 3 Scrub Brushes, 1 Microfiber...
As an affiliate, we earn on qualifying purchases.
MR.SIGA Heavy Duty Grout Scrub Brush with Long Handle, Shower Floor Scrubber for Cleaning, Tile Scrub Brush with Stiff Bristles
HEAVY DUTY & LONG LASTING - MR.SIGA grout brush is built with durable plastic and sturdy steel pole,...
As an affiliate, we earn on qualifying purchases.