
To map tile floors like a pro and create quick, precise room zones, start by sketching your design to visualize pattern flow. Choose a pattern that suits your space, like grid or herringbone, and plan your layout carefully to guarantee proper alignment. Use accurate measurements and cuts to maintain pattern consistency, and seal grout lines for a polished finish. With these tips, you’ll master the process—keep exploring for even more expert techniques.
Key Takeaways
- Sketch your map design and layout before installation to visualize zones and ensure pattern accuracy.
- Choose a clear, consistent tile pattern that complements your room’s purpose and enhances visual flow.
- Measure carefully and plan precise cuts to maintain pattern integrity and align zones seamlessly.
- Use proper grout sealing techniques to define boundaries, protect against stains, and improve overall clarity.
- Pay close attention to spacing, alignment, and finishing details for a professional, long-lasting map tile floor.
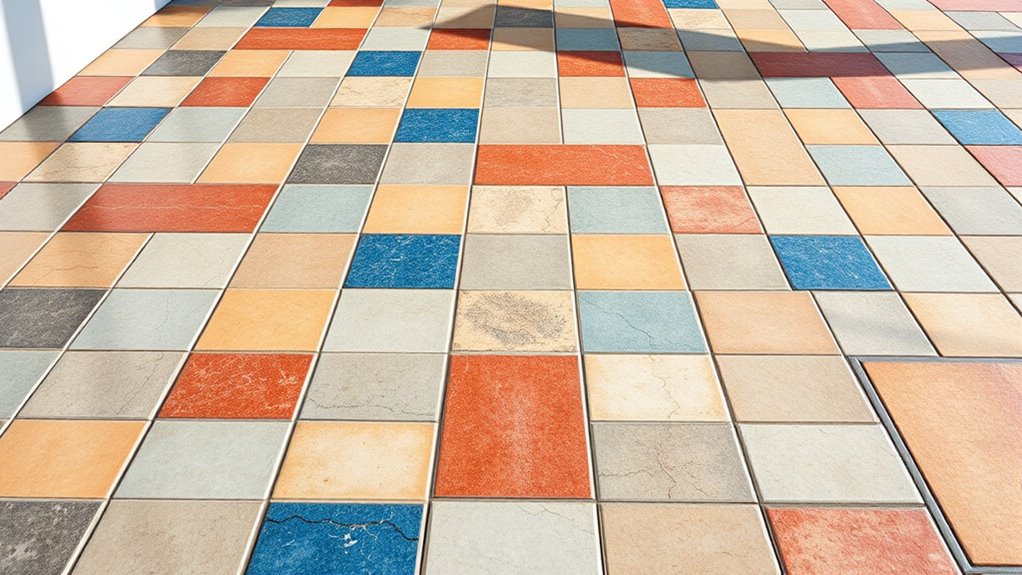
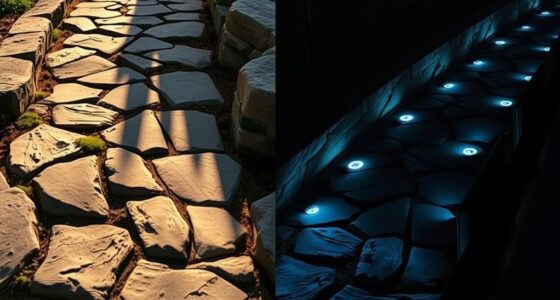
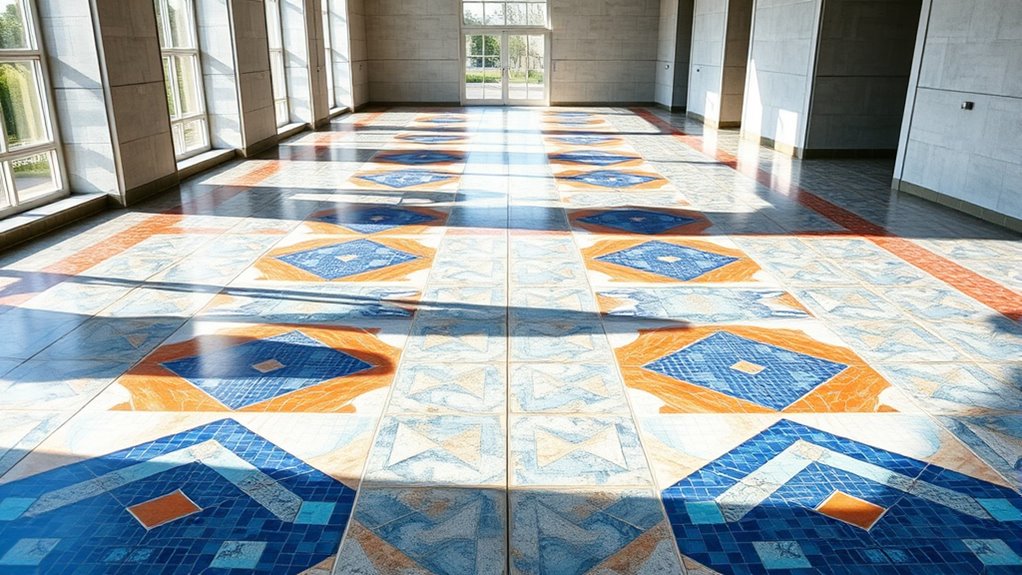
Have you ever considered how map tile floors can transform a space? When you approach designing or installing tile flooring with a map-like concept, you’re creating a visually engaging environment that guides the eye and defines room zones effortlessly. The key to achieving this look lies in choosing the right tile pattern and paying close attention to grout sealing. The tile pattern you select can mimic geographical features or city layouts, giving your floor a sense of direction and purpose. Whether you opt for a grid, herringbone, or more intricate mosaic designs, your choice will influence how the space feels and functions.
To make your map tile floor look professional and cohesive, you need to plan your layout carefully. Start by sketching out your design, considering how tiles will align and how the pattern will flow across the room. This planning stage helps you visualize the zones and avoid any misalignments that could disrupt the map-like appearance. As you lay the tiles, pay special attention to the grout lines, which are *essential* in defining each “region” of your map. Grout serves as the boundaries between tiles, and when sealed properly, it enhances the overall clarity of your design. Grout sealing is *important* because it protects against moisture, dirt, and stains, keeping your map floor looking sharp over time. It also prevents the grout from cracking or discoloring, which can distort the visual map you’re creating.
Applying grout sealant might seem like a small step, but it makes a *significant* difference in the durability and appearance of your floor. You should seal the grout after it’s fully cured—usually 48 to 72 hours after installation—and then periodically reapply as needed to maintain a clean, crisp map design. Proper sealing techniques can also enhance color vibrancy and improve the longevity of your tile surface. As you work, keep in mind that consistent spacing and precise cutting are *imperative* to maintaining the integrity of the map pattern. Even small deviations can throw off the visual flow, so take your time with measurements and cuts. The combination of an engaging tile pattern and meticulous grout sealing ensures your map tile floor will be both striking and long-lasting, creating a functional art piece within your space. When done right, you’ll find that your map-inspired floor not only defines room zones but also becomes a conversation starter, showcasing your attention to detail and design flair.
Frequently Asked Questions
What Tools Are Best for Precise Tile Measurement?
For precise tile measurement, you should use a digital laser and a tape measure. The digital laser provides quick, accurate distance readings, helping you measure large or tricky areas effortlessly. The tape measure is essential for shorter, detailed measurements and verifying laser readings. Together, these tools guarantee your tile layout is exact, saving you time and reducing errors during installation. Always double-check measurements for perfect results.
How Do I Fix Uneven Floor Surfaces Before Tiling?
To fix uneven floor surfaces before tiling, start with thorough surface preparation. Identify high and low spots, then use a floor leveling compound to fill dips and smooth out bumps. Sand down any excess compound once it dries. Make sure the surface is clean and dry before applying the leveling material. Proper floor leveling creates a stable base, preventing tile cracking and ensuring precise, professional-looking results.
What Are Common Tile Layout Mistakes to Avoid?
Are you aware of the common tile layout mistakes that can ruin your project? To avoid them, plan your layout carefully, ensuring proper grout sealing and avoiding uneven cuts. Don’t forget to clean tiles thoroughly during installation to prevent adhesive buildup. Rushing or misaligning tiles can lead to uneven surfaces, so take your time. Regular tile cleaning and proper grout sealing will keep your floor looking polished and professional.
How Long Should Grout Cure Before Walking on Tiles?
You should wait at least 24 to 48 hours for grout drying time before walking on your tiles. During this period, avoid putting any pressure on the freshly grouted area, as walking on grout too soon can cause shifting or cracks. Protect your work by keeping foot traffic minimal until the grout is fully cured, ensuring strong, long-lasting results and a professional finish.
Can I Reuse Cut Tiles for Other Projects?
You can usually reuse cut tiles if they’re still in good condition, like a diamond in the rough. Just clean off any old tile adhesive and make certain they’re not cracked or damaged. When reapplying, use fresh grout color to match your new project. Keep in mind, reused tiles might have slight imperfections, but with careful prep, they can seamlessly blend into your new design. They’re like hidden treasures waiting to shine again!
Conclusion
Now that you know how to map tile floors precisely, you’re ready to transform any space with confidence. It’s like turning a blank canvas into a masterpiece—fast and accurate. While the process may seem meticulous, the results speak volumes. So, embrace the challenge, enjoy the process, and watch your room come alive with perfectly zoned tiles. After all, mastery isn’t just about speed; it’s about creating something you’ll be proud of every time you step inside.