
To map vinyl plank floors like a pro, start by gathering all your tools—measuring tapes, chalk line, spacers, and markers. Measure your space accurately, noting irregularities, and create a scaled floor plan. Establish key reference points and draw a center line for symmetry. Divide the room into zones, marking boundaries clearly. Adjust for obstacles and uneven surfaces. Mastering these steps guarantees fast, precise zones that lead to a flawless installation—keeping your project on track and looking professional.
Key Takeaways
- Measure and record precise room dimensions, including doorways and irregularities, to plan accurate zone layouts.
- Establish a central reference point using midpoint measurements and chalk lines for balanced plank installation.
- Identify and mark primary walls and zones clearly, ensuring alignment with natural traffic flow and focal points.
- Use a chalk line tool to create straight, visible guide lines for consistent, professional-looking plank placement.
- Adjust layout around obstacles and uneven surfaces with precise cuts and shims for seamless, fast installation.

Oreck Commercial Orbiter Hard Floor Cleaner Machine, Multi-Purpose Floor Cleaning, Random Orbital Drive, Wide Cleaning Path, 50-Foot Long Cord, ORB550MC, Gray/Red
MULTI-PURPOSE CLEANING: Commercial grade cleaner and effective on all types of flooring surfaces. Sand, refinish, strip, scrub, wax,...
As an affiliate, we earn on qualifying purchases.
Gathering the Necessary Tools and Materials
Before beginning your vinyl plank flooring project, you need to gather all the essential tools and materials. Start with a tape measure to ensure accurate measurements, a utility knife for cuts, and a straight edge or T-square for guiding your cuts. You’ll also need a spacers to maintain expansion gaps along walls, a rubber mallet to snug planks together, and a tapping block to prevent damage. Don’t forget a level to check for uneven surfaces and a pencil for marking cuts. For materials, have your vinyl planks ready, along with underlayment if required, adhesive or click-lock connectors, and safety gear like gloves and goggles. Gathering everything beforehand keeps your project smooth, saves time, and helps you avoid interruptions once you’re in the zone. Additionally, understanding ventilation considerations can improve indoor air quality during installation and long-term use.

HHQ Commercial Floor Scrubber Machine with Brushes and Pads, Heavy Duty Floor Cleaner Polisher and Buffer- Deep Cleaning Tile and Grout, Hardwood Floors and Carpets without Getting on Hands and Knees
Kit Included: 1 Orbital Floor Buffer & Scrubber Machine, 2 Polishing/ Stripping Pads, 3 Scrub Brushes, 1 Microfiber...
As an affiliate, we earn on qualifying purchases.
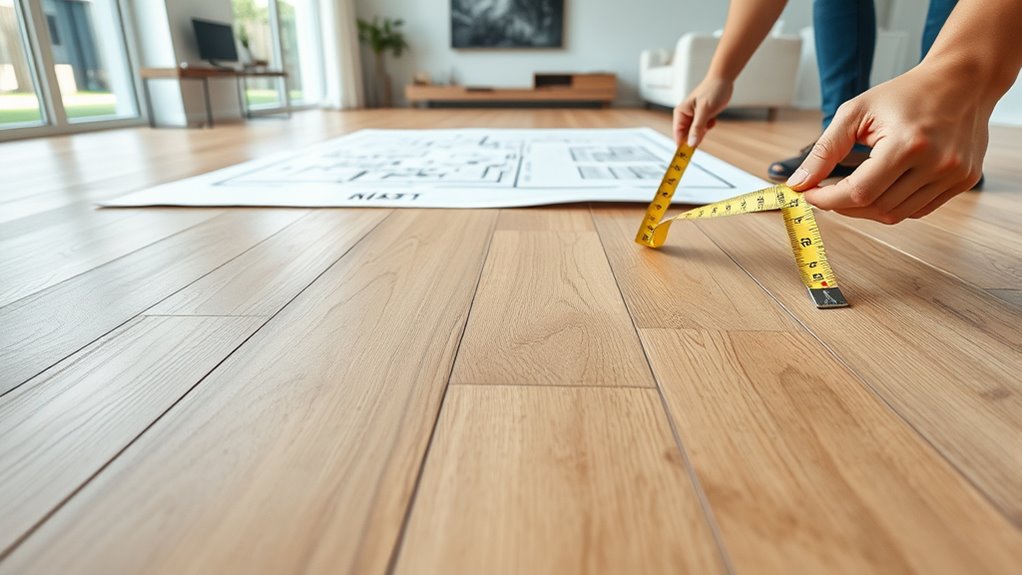
Measuring Your Space Accurately

To guarantee your vinyl plank flooring fits perfectly, you need to measure your space accurately. Start by measuring the length and width of each room in multiple spots, noting the smallest measurement to account for irregularities. Don’t forget to include doorways, closets, and alcoves. Use a tape measure for precision, and double-check your numbers. To stay organized, record your measurements clearly. Here’s a quick reference:
| Room Area | Length (ft) | Width (ft) |
|---|---|---|
| Living Room | 15.2 | 12.8 |
| Kitchen | 10.5 | 8.6 |
| Bedroom 1 | 12.3 | 10.4 |
| Bathroom | 6.8 | 5.2 |
| Closet | 4.3 | 2.5 |
Accurate measurements prevent waste and ensure a seamless installation. Additionally, understanding the importance of contrast ratio can help you select a projector that offers vibrant images, which is essential for creating an immersive home cinema experience.

Bissell Commercial BigGreen BGFS650 Hercules Scrub and Clean Floor Machine, Green
Brush Speed (Rpm): 2200 Rpm
As an affiliate, we earn on qualifying purchases.
Planning Your Layout and Design
Planning your layout and design is a crucial step to guarantee your vinyl plank floors look great and function well. Begin by deciding on the direction of your planks—running them parallel to the longest wall can create a sense of space. Consider the natural flow of movement in your rooms and how to minimize cuts and waste. Think about focal points, like fireplaces or large windows, and how to position planks for visual appeal. You should also plan for seams, avoiding them in high-traffic areas for durability. Take note of pattern variations and whether you want a consistent or staggered look. Proper planning ensures your installation is smooth, efficient, and results in a polished, professional appearance. Understanding affiliate disclosures can also help in choosing quality materials and staying transparent about your project.

Battery Powered Walk Behind Mini Automatic Floor Scrubber Machine – Compact & Portable, 15” Cleaning Width, 90-Minute Runtime, 170 RPM – Ideal for Small Commercial Spaces, Offices, Retail & More
Compact & Efficient Cleaning – Designed for small commercial spaces, this mini automatic floor scrubber features a 15-inch...
As an affiliate, we earn on qualifying purchases.
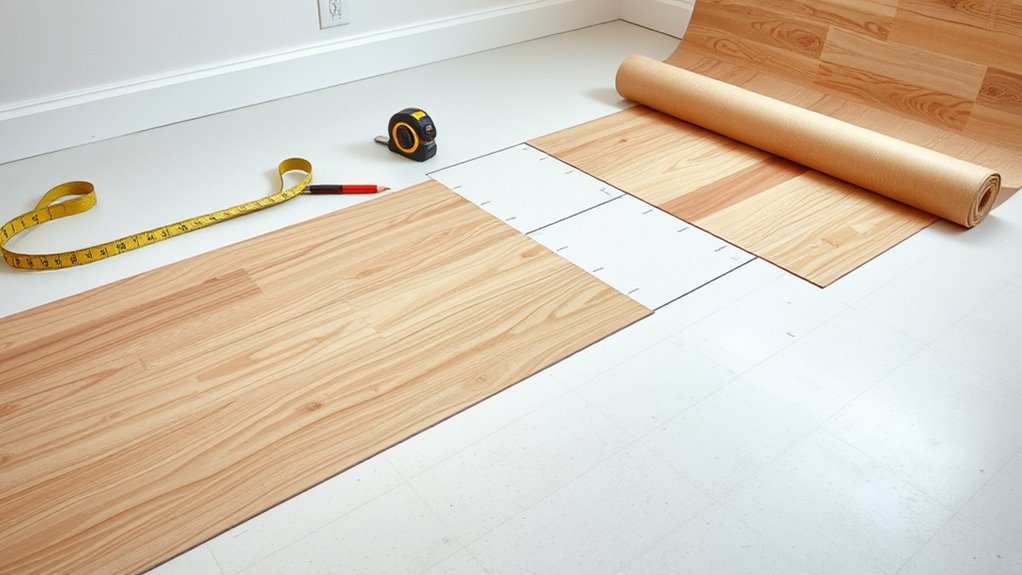
Creating a Floor Plan Template

Start by measuring your space carefully to guarantee accuracy. Next, sketch the room layout, marking key features and measurements. Using a grid can help keep everything aligned and precise as you create your plan. Incorporate accurate measurements to ensure your layout reflects the true dimensions of your space.
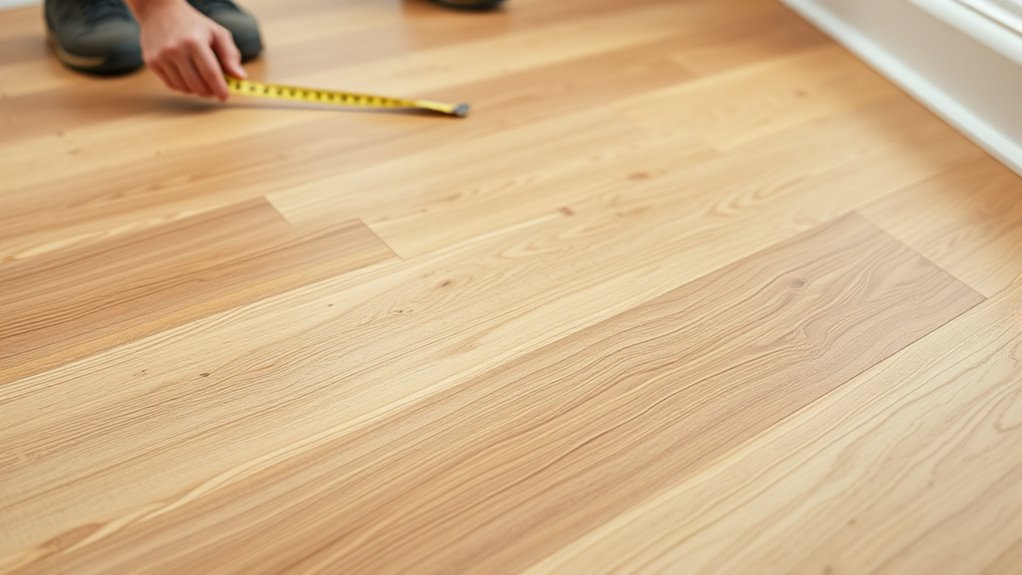
Measure Your Space Precisely
Before laying vinyl plank floors, it’s essential to measure your space accurately and create a detailed floor plan template. Use a tape measure to record the length and width of each room, noting irregularities like alcoves or extensions. Don’t forget to measure doorways, closets, and transitions to guarantee precise cuts. Sketch out a scaled diagram, marking measurements clearly. Double-check your figures to avoid mistakes that could lead to wasted planks or gaps. Consider measuring diagonally across the room to verify squareness. Keep your measurements organized and accessible during installation. Accurate measurements help you plan for the right amount of material, minimize waste, and ensure your vinyl planks fit perfectly, resulting in a professional-looking finish.
Sketch the Room Layout
Creating a clear floor plan template is a crucial step in vinyl plank flooring installation. It helps you visualize the room’s layout, identify key zones, and avoid mistakes. To sketch your room, start by drawing a scaled outline on graph paper or using digital tools. Mark doorways, windows, and fixtures accurately. This plan guarantees you plan the plank direction and pattern effectively. Use the following template to organize your zones:
| Zone Type | Description |
|---|---|
| Main Area | Living room, open spaces |
| Transition Zone | Hallways, entry points |
| Niche | Small alcoves or corners |
| Closet | Storage or closet spaces |
| Accent Area | Feature walls or focal points |
This detailed sketch simplifies measurement and guarantees a professional-looking finish. Additionally, incorporating accurate measurements ensures proper fitting and alignment of vinyl planks.
Use Grid for Accuracy
Using a grid system makes your floor plan much more precise and easier to work with. It helps you accurately measure room dimensions and keep everything aligned. Start by drawing a grid on your paper or digital tool, dividing the space into equal sections. This creates reference points that guarantee your measurements stay consistent. When mapping out your room, use the grid to mark key features like walls, doorways, and outlets, maintaining proper scale. The grid also makes it simple to visualize how vinyl planks will fit and align, reducing mistakes. With this approach, you gain clarity on your layout, streamline measurements, and ensure a professional-looking result. Incorporating a grid into your planning process saves time and boosts accuracy from start to finish. Additionally, understanding how to measure room dimensions accurately is essential for a successful installation.
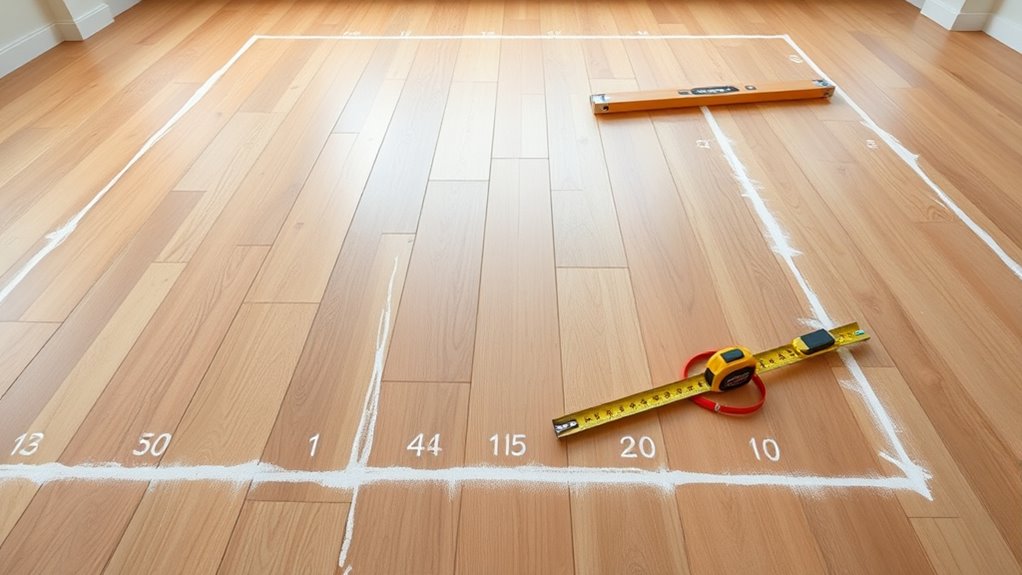
Marking Key Reference Points on the Floor

Marking key reference points on the floor is a crucial step to make certain your vinyl plank installation stays straight and aligned. Start by identifying the main walls and corners of the room, then use a chalk line or painter’s tape to mark these boundaries. Next, measure equal distances from the walls to establish reference points where planks will begin and end. These points act as guides to keep your rows straight and consistent. Be precise with your measurements, and double-check your markings before starting to lay planks. Using a carpenter’s square or straightedge helps ensure your reference points are perpendicular and aligned. Clear, accurate markings set the foundation for a professional-looking vinyl plank floor that stays true to your design. Additionally, incorporating diverse designs and colors in your marking process can help visualize how different zones will look once the floor is complete.
Establishing a Center Line for Symmetry

Start by finding the room’s midpoint to guarantee your layout is balanced. Next, mark the primary wall line to serve as your reference. Finally, use a chalk line tool to draw a straight, clear center line that guides your vinyl plank installation. Incorporating professional equipment can help ensure your lines are precise and clean.
Find the Room’s Midpoint
Before laying down vinyl plank flooring, determining the room’s midpoint is essential to establish a symmetrical layout. To find it, measure the length and width of the room with a tape measure. Mark the midpoint on each wall by dividing the total measurement by two. Use a pencil to make small marks at these points. Then, connect the midpoint marks across the length and width of the room with a chalk line or painter’s tape, creating two intersecting lines. The intersection of these lines is the room’s center point. This midpoint serves as a reference for aligning your planks and ensuring an even, balanced installation. Accurately finding this spot prevents uneven patterns and helps achieve a professional, polished look. Utilizing precise measurements from your tools enhances the accuracy of this process.
Mark the Primary Wall Line
Have you considered how establishing a primary wall line can guarantee your vinyl plank flooring remains straight and balanced? First, identify the longest wall or the one you’d like to serve as your main reference. Use a tape measure to mark a straight line along this wall, ensuring it’s level and even. This line acts as your primary guide, helping you align all subsequent planks and avoid crooked rows. Once marked, use a straightedge or level to double-check the line’s accuracy. By establishing this central reference, you create a solid foundation for your flooring layout, ensuring symmetry across the room. This step minimizes errors and simplifies the installation process, making your project look professional and polished. Additionally, understanding room zones can help you plan the layout more effectively and achieve a balanced appearance.
Use a Chalk Line Tool
Using a chalk line tool is an efficient way to establish a precise center line for your vinyl plank flooring. First, locate the midpoint of your room by measuring across the width and length, then snap a chalk line connecting these points. This line serves as your reference for symmetry and ensures your planks are aligned properly. Stretch the chalk line taut to prevent sagging, then snap it against the subfloor, leaving a straight, visible guideline. This method guarantees accuracy when placing planks, helping you maintain straight rows and consistent spacing. By establishing a clear center line, you create a balanced layout that simplifies installation and improves the overall appearance of your floor.
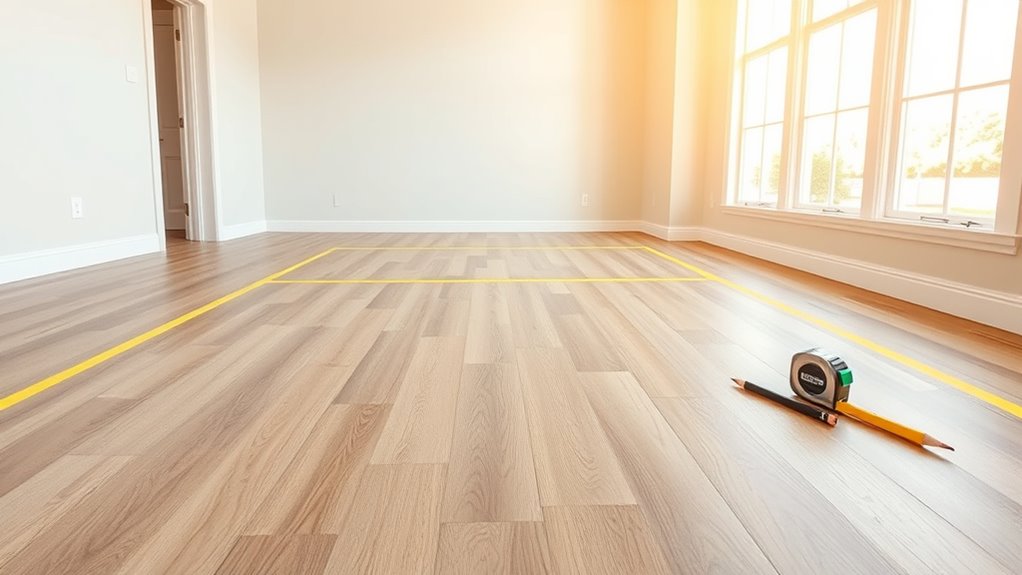
Dividing the Room Into Zones for Installation
Dividing your room into zones for vinyl plank floor installation helps guarantee a smooth and organized process. It allows you to focus on manageable sections, reducing mistakes and material waste. Start by identifying the main areas you want to cover, such as living rooms, hallways, or entryways. Use painter’s tape or chalk lines to mark these zones clearly. Consider the room’s layout, natural light, and traffic flow to make logical divisions.
Some key points to keep in mind:
- Break large rooms into smaller, workable sections
- Plan the starting point for each zone
- Ensure zones are accessible and not isolated
- Use visual guides like tape for precise boundaries
- Keep zones aligned to maintain a consistent look across the floor
Adjusting for Obstacles and Irregularities

When installing vinyl plank flooring, obstacles like door casings, pipes, or uneven surfaces can complicate the process. To guarantee a clean, professional look, you need to adjust your layout accordingly. Measure the obstacle’s dimensions and mark where the planks will need to cut to fit around it. For uneven surfaces, identify high or low spots and plan to level them with thin-set or shims before installation. When dealing with pipes or irregular shapes, cut the planks precisely using a jigsaw or utility knife, leaving enough space for expansion. Always double-check your measurements and make small adjustments to your layout. Taking these steps helps you avoid gaps, overlaps, or awkward cuts, resulting in a seamless, polished floor.
Finalizing Your Room Zones Before Laying Planks
Before you start laying down the vinyl planks, make sure to finalize your room zones to guarantee a cohesive and visually appealing layout. Confirm each zone’s boundaries and plan the plank direction to enhance the space’s flow. Check that your zones are proportionate and balanced, avoiding awkward cuts or narrow strips. Consider the natural light and furniture placement to create a harmonious look. Review your measurements, and mark the zones clearly with painter’s tape or chalk for easy reference. Keep these tips in mind:
Finalize room zones for a cohesive vinyl plank installation and seamless flow.
- Guarantee consistent plank direction within each zone
- Avoid placing seams directly across from each other
- Plan for expansion gaps along walls
- Account for doorways and transitions
- Verify measurements before cutting or laying planks
Finalizing your zones now prevents mistakes and streamlines the installation process.
Frequently Asked Questions
How Can I Ensure Consistent Plank Alignment Across Zones?
To guarantee consistent plank alignment across zones, start by planning your layout carefully, marking reference lines on the floor. Use spacers and a chalk line to keep planks straight and aligned. Regularly check the edges during installation, adjusting as needed. Keep the same direction for planks across zones, and stagger seams for a seamless look. Taking your time and double-checking your work will make your floors look professional.
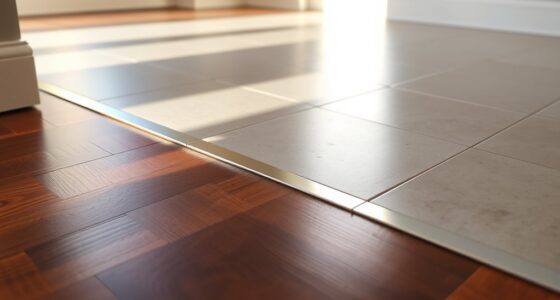
What Are the Best Practices for Handling Doorways and Transitions?
Handling doorways and shifts is like guiding a river through a narrow canyon. You should cut your planks precisely to fit door frames, using a saw to trim edges smoothly. Install transition strips where different flooring types meet to create a seamless flow. Make certain to leave a small gap for expansion, then secure everything tightly. This approach guarantees your floor transitions are clean, professional, and durable.
How Do I Maintain a Uniform Expansion Gap During Installation?
To maintain a uniform expansion gap during installation, you should use spacers consistently along the perimeter of each room. Place spacers at regular intervals to ensure an even gap, and double-check your measurements frequently. As you lay each row, keep the gap consistent by adjusting spacers as needed. This approach prevents buckling and ensures your vinyl planks look professional and stay in place long-term.
What Should I Do if My Room Has Multiple Irregular Shapes?
If your room has multiple irregular shapes, don’t panic—think of it as sculpting a masterpiece. You should measure each section carefully, then cut the vinyl planks precisely to fit those unique contours. Use a flexible putty knife to gently mold around curves, and consider creating custom templates for complex areas. By taking your time and adjusting as you go, you’ll achieve a flawless, professional-looking finish.
How Can I Prevent Visible Seams Between Different Zones?
To prevent visible seams between zones, guarantee your vinyl planks are properly aligned and installed with tight, consistent joints. Use spacers to maintain even gaps, and cut planks precisely to fit each zone. Apply a high-quality adhesive to secure the planks, and consider using seam sealant or transition strips at zone borders. Regularly check your work for gaps or misalignments, fixing issues immediately for a seamless, professional look.
Conclusion
With a clear plan and precise points, you’ll perfectly partition and position your vinyl planks. By balancing boundaries and barring obstacles, you bring your beautiful floor to life. Remember, meticulous measurements and mindful markings make your mastery manageable. So, stay sharp, stay structured, and enjoy the process. With these tips, you’ll create a consistently enthralling, professionally polished floor that’s both functional and fabulous. Your flawless finish is just a few steady steps away!