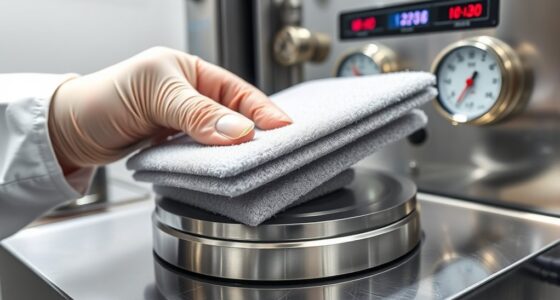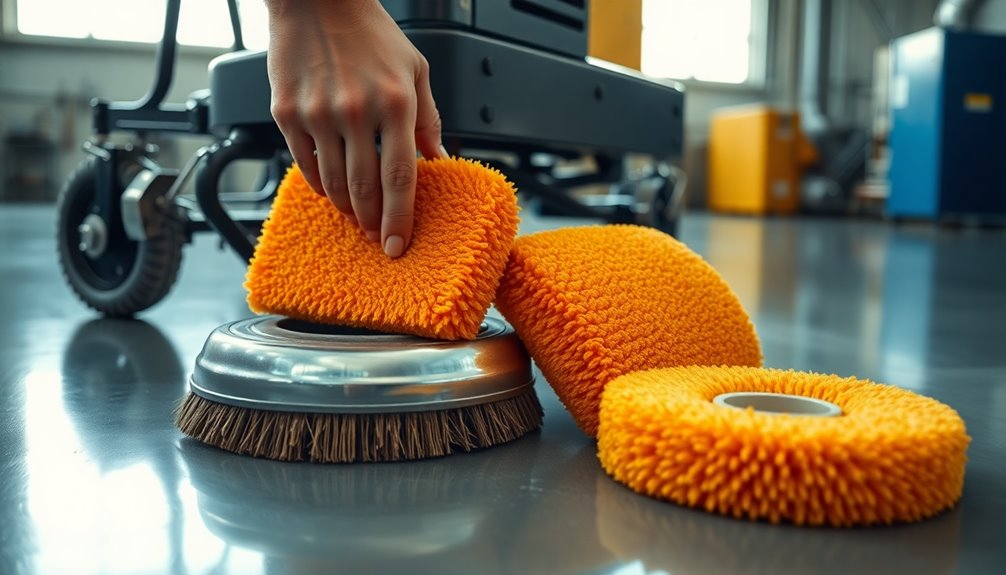

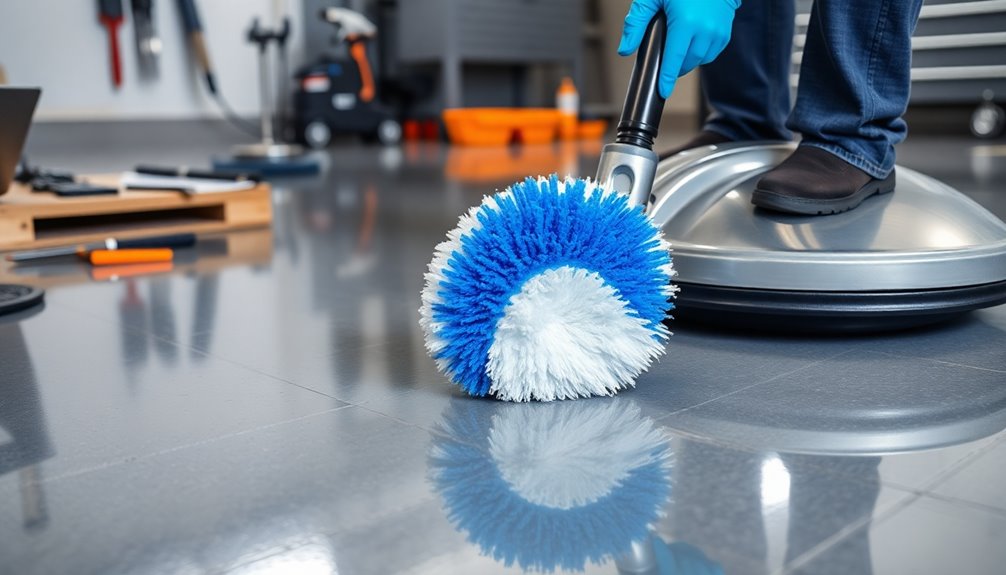
To change pads on your floor scrubber, simply depress the plunger to release the old pad. Remove it and check for wear in the viewing slots. Then grab a new compatible pad, align it with the mounts, and press until it clicks into place. It's essential to inspect pads regularly and clean them after each use for peak performance. If you're curious about more maintenance tips and benefits, there's plenty more to discover!
Key Takeaways
- Depress the plunger to release the existing scrubber pad easily without tools.
- Remove the old pad and inspect viewing slots for signs of wear or damage.
- Select a compatible new pad for i28 or i32 models and align it with the mounts.
- Press the new pad onto the mounts until you hear a click, ensuring a secure fit.
- Regularly inspect and clean pads to maintain performance and extend their lifespan.

HHQ Commercial Floor Scrubber Machine with Brushes and Pads, Heavy Duty Floor Cleaner Polisher and Buffer- Deep Cleaning Tile and Grout, Hardwood Floors and Carpets without Getting on Hands and Knees
Kit Included: 1 Orbital Floor Buffer & Scrubber Machine, 2 Polishing/ Stripping Pads, 3 Scrub Brushes, 1 Microfiber...
As an affiliate, we earn on qualifying purchases.
Understanding the Pad Release Mechanism
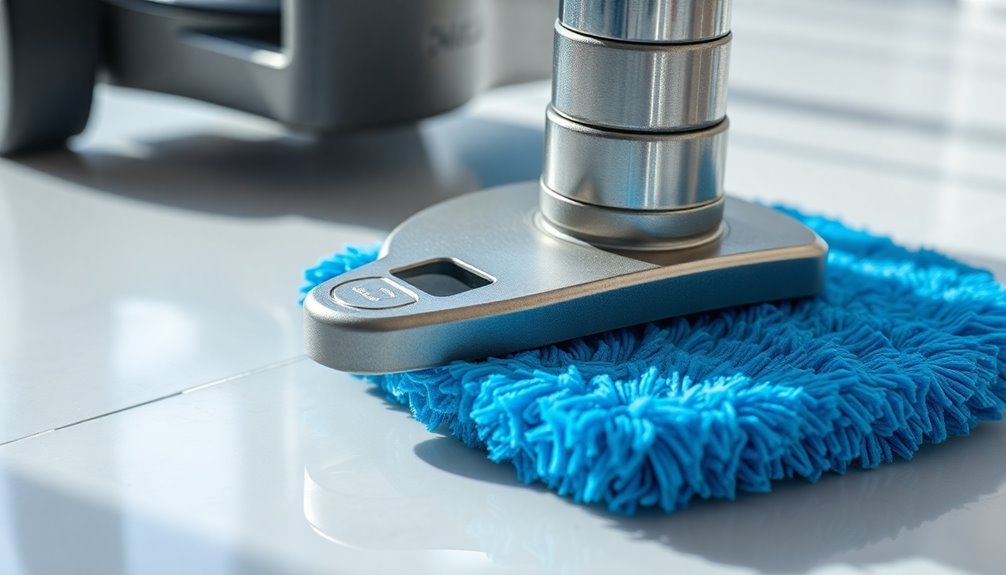
To effectively change pads on your floor scrubber, it's vital to understand the pad release mechanism.
On Ice Energy scrubbers like the i28 and i32 models, you'll find a simple process: just depress a plunger to detach the pad from the mounts. This tool-free mechanism makes pad replacements quick and hassle-free, greatly streamlining your maintenance tasks.
The Quick Connect Center Hub design enhances your convenience, allowing for easy access during pad changes. Make sure to regularly inspect the plunger mechanism to confirm it functions properly for efficient pad changes.
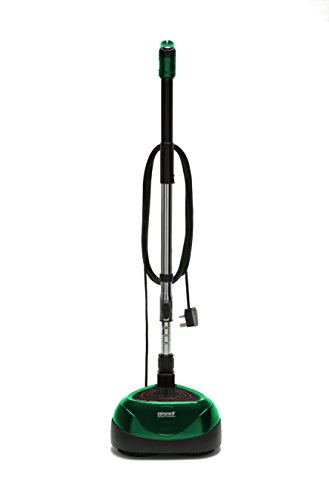
Bissell Commercial BigGreen BGFS650 Hercules Scrub and Clean Floor Machine, Green
Brush Speed (Rpm): 2200 Rpm
As an affiliate, we earn on qualifying purchases.
Steps for Replacing the Scrubber Pad
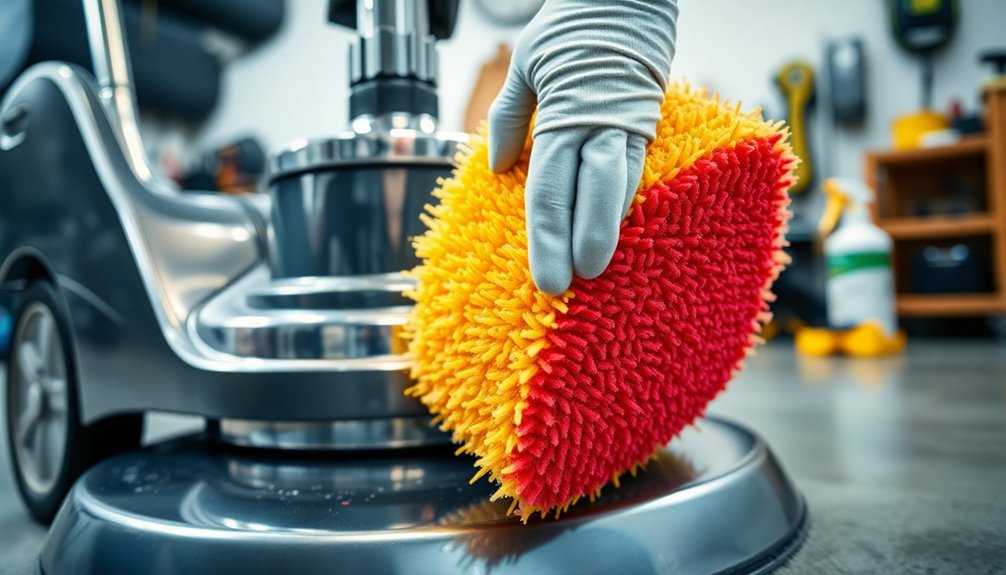
Replacing the scrubber pad is a straightforward process that can be done in just a few quick steps. First, depress the plunger to release the existing pad from the Quick Connect Center Hub. Once you've done that, remove the pad from the mounts and check the viewing slots for any wear or damage. Afterward, grab a new pad that's compatible with your i28 or i32 models. Align the new pad with the mounts and press it into place until you hear a satisfying click.
| Emotion | Action |
|---|---|
| Relief | Easy replacement |
| Satisfaction | Clean floors |
| Confidence | Reliable equipment |
| Productivity | Efficient cleaning |
Regularly check and replace pads for peak performance.

VEVOR Walk-Behind Hand Push Floor Sweeper, 25.6" Sweeping Width Floor Sweeper Manual Non-Electric, 5-Gallon Waste Container, Angle & Height Adjustable Folding Handle for Walkway, Yard, Garage, Patio
Sweeping Faster and Smarter: VEVOR walk-behind hand push floor sweeper adopts human-powered sweeping mechanism, breaking free from the...
As an affiliate, we earn on qualifying purchases.
Inspecting the Pad Condition

Inspecting the pad condition is essential for maintaining your floor scrubber's performance. Before removal, check the viewing slots on the existing pad to evaluate its wear.
Look for signs of fraying, discoloration, or excessive wear on the surface; these may signal it's time for a replacement. Additionally, inspect for any debris or buildup that could hinder cleaning efficiency.
Confirm the pad is securely mounted; a loose pad can lead to uneven cleaning results. Regularly inspecting the pad not only helps you identify issues early but also contributes to the overall longevity of your scrubber pads.

CLEANHOME 36" Commercial Dust Mops for Floor Cleaning Heavy Duty Floor Duster Mop with Long Handle Hotel Gym Household Cleaning Supplies for Hardwood, Tiles, Marble Floors (Green)
39" X 8.5" Large Microfiber Mop Pad: Good absorbent polyester surface perfect for wet mopping and dry sweeping.With...
As an affiliate, we earn on qualifying purchases.
Maintenance Tips for Longevity
Maintaining your floor scrubber pads is essential for guaranteeing they last longer and perform effectively. Regularly check the pads' condition, replacing them promptly when worn to keep your cleaning performance at its best.
After each use, clean the pads thoroughly to prevent dirt and debris buildup, which can hinder efficiency. Make sure the plunger mechanism for pad release works smoothly; this simplifies replacements and minimizes downtime.
Periodically inspect the Quick Connect Center Hub for any signs of wear or damage to guarantee you can always change pads easily.
Finally, utilize the viewing slots on your scrubber to assess the pad condition visually, helping you identify when replacement is necessary before performance is compromised.
Benefits of Gimbal Mounted Pads
Gimbal mounted pads revolutionize floor scrubbing by providing superior surface contact, which means you'll achieve better cleaning results on uneven surfaces.
Their design allows pads to maintain consistent pressure on the floor, improving overall scrubbing efficiency.
You'll find that the enhanced maneuverability of gimbal mounts makes it easier to navigate around obstacles and corners, guaranteeing no spot is overlooked.
Plus, the flexibility of these pads reduces wear and tear, extending the lifespan of both the pads and your scrubber.
By adapting to the contours of various floor surfaces, gimbal mounted pads guarantee thorough dirt removal, making your cleaning routine more effective.
With these benefits, you'll enjoy a cleaner space with less effort! Additionally, using gimbal mounted pads can lead to improved air quality in your environment by ensuring a more efficient cleaning process.
Frequently Asked Questions
How to Change Pads on Scrubber?
Changing pads on a scrubber's simple.
First, depress the plunger to release the current pad from the mounts.
Next, remove the pad and check its condition through the viewing slots.
If it needs replacing, align the new pad with the mounts and press it securely into place until you hear a click.
Remember to inspect and clean the pad regularly to keep your scrubber running efficiently and extend its lifespan.
How to Change Floor Buffer Pad?
To change a floor buffer pad, you start by pressing the plunger to release the current pad from the hub.
Remove the pad and check its condition. If it's worn or damaged, grab a compatible new pad.
After placing the new pad, securely remount it, ensuring it's properly engaged.
Finally, remember to clean and check the pads regularly after use to keep them in top shape and extend their lifespan.
What Is the Life Expectancy of a Floor Scrubber?
Imagine your trusty floor scrubber as a loyal companion, lasting anywhere from 5 to 10 years. Its lifespan hinges on how often you use it and the care you give.
Regular maintenance, like cleaning those pads and checking components, can work wonders. If you've got a heavy-duty model, you might even see it outlast lighter ones.
Just remember, treating it well and replacing worn pads can keep your scrubber running strong!
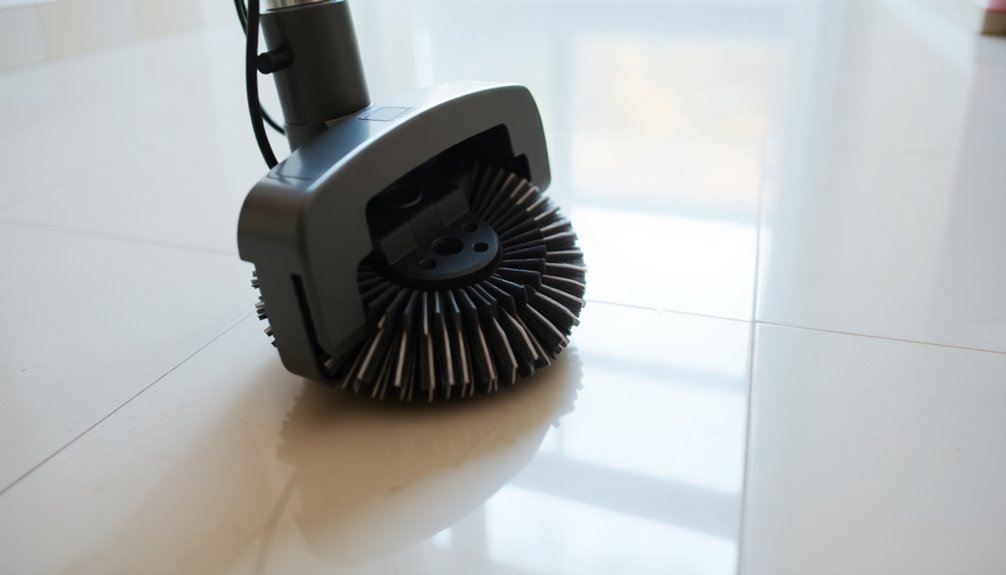
How to Change a Scrubber Brush?
To change a scrubber brush, start by pressing the plunger to release the old brush from the Quick Connect Center Hub.
Carefully remove it and check for any wear or damage.
Next, align the new brush with the gimbal mounts, ensuring it fits snugly.
Press it into place until you hear a click, confirming it's locked in.
Finally, test the plunger mechanism to make sure the new brush is secured for effective cleaning.
Conclusion
To summarize, changing the pads on your floor scrubber isn't just a simple task; it's essential for maintaining efficiency and cleanliness. By understanding the pad release mechanism and regularly inspecting pad conditions, you can prolong the life of your scrubber. Gimbal-mounted pads offer added benefits, ensuring better contact with the surface. So, next time you change your pads, remember: it's not just about replacing them—it's about enhancing your cleaning performance and achieving that spotless shine you desire.