
To map laminate floors like a pro, start by clearing your workspace and marking room boundaries with painter’s tape. Measure carefully with a reliable tape or laser device, double-check your distances, and use a chalk line or straightedge to mark zone boundaries. Arrange scrap pieces to visualize your layout, ensuring minimal cuts and smooth progressions. For a flawless finish, verify floor flatness and proper alignment—keep going to discover more expert tips for perfect zone planning.
Key Takeaways
- Clear the workspace and mark room boundaries with painter’s tape for accurate visualization.
- Use a laser measure or reliable tape measure to precisely record room dimensions and zone limits.
- Mark zone boundaries with a chalk line or painter’s tape, double-checking measurements for accuracy.
- Arrange scrap laminate pieces to plan pattern flow and minimize cuts before installation.
- Ensure seamless transitions by aligning planks in adjoining zones and using spacers or transition strips.

HHQ Commercial Floor Scrubber Machine with Brushes and Pads, Heavy Duty Floor Cleaner Polisher and Buffer- Deep Cleaning Tile and Grout, Hardwood Floors and Carpets without Getting on Hands and Knees
Kit Included: 1 Orbital Floor Buffer & Scrubber Machine, 2 Polishing/ Stripping Pads, 3 Scrub Brushes, 1 Microfiber...
As an affiliate, we earn on qualifying purchases.
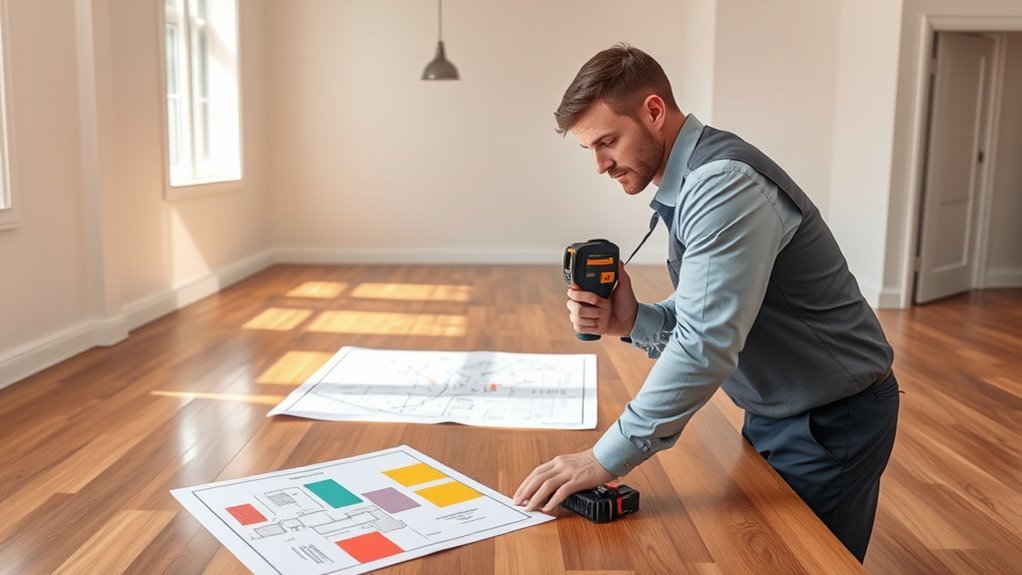
Preparing Your Workspace for Accurate Planning
Before you begin measuring and laying out your laminate flooring, it is essential to prepare your workspace for accurate planning. Clear the area of furniture, rugs, and any obstructions that could interfere with measurements. Sweep or vacuum the floor to remove dust and debris, ensuring precise markings. Check the room’s lighting—good illumination helps you see measurements clearly. Set up a large, flat surface nearby to organize your tools, such as a tape measure, pencil, and spacers. Make certain your workspace is dry and free of clutter, which reduces mistakes. Mark out the room’s boundaries with painter’s tape if needed, so you can visualize the layout without damaging the floor. Proper preparation guarantees accurate measurements, making your entire flooring project smoother and more efficient. Incorporating vertical storage solutions can also help keep your workspace organized and free of unnecessary clutter during the project.

Oreck Commercial Orbiter Hard Floor Cleaner Machine, Multi-Purpose Floor Cleaning, Random Orbital Drive, Wide Cleaning Path, 50-Foot Long Cord, ORB550MC, Gray/Red
MULTI-PURPOSE CLEANING: Commercial grade cleaner and effective on all types of flooring surfaces. Sand, refinish, strip, scrub, wax,...
As an affiliate, we earn on qualifying purchases.
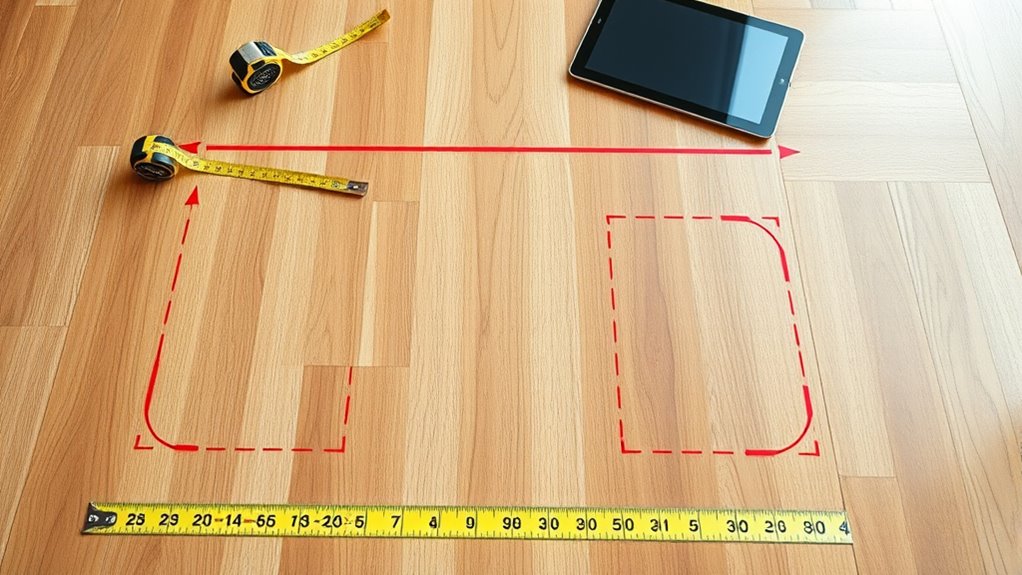
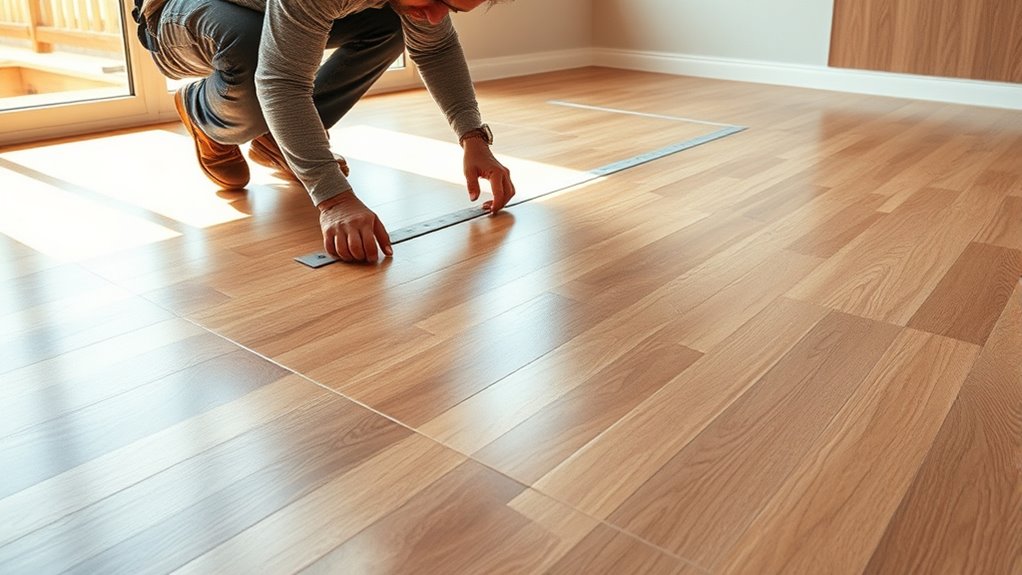
Measuring and Marking Room Zones Precisely
Accurately measuring and marking your room zones is essential for a seamless laminate flooring installation. Precise measurements ensure your planks fit perfectly and your pattern stays consistent. To do this effectively:
Accurate measurements and clear markings ensure a smooth, professional-looking laminate flooring installation.
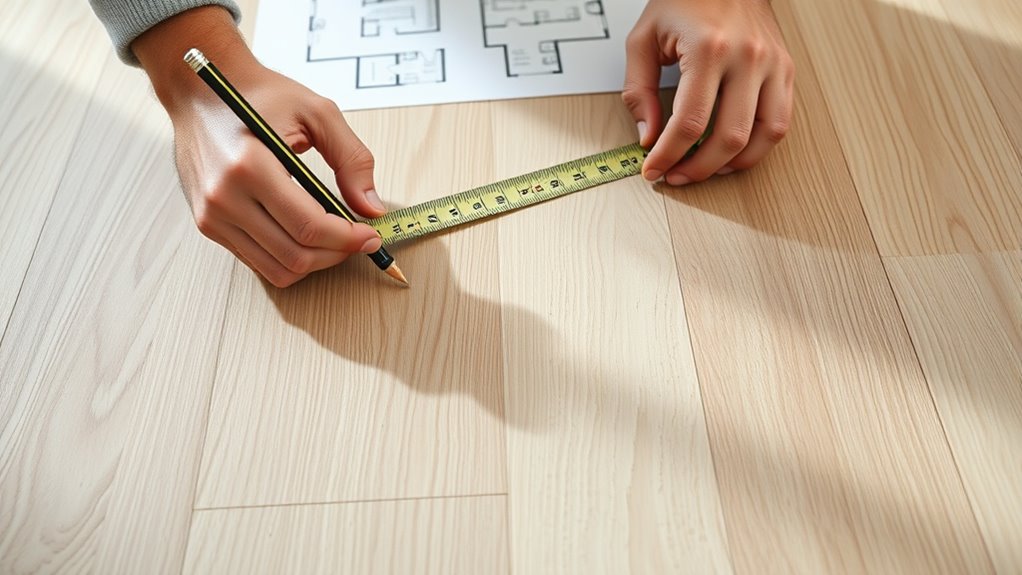
- Use a reliable tape measure to record room dimensions, including corners and doorways.
- Mark your zone boundaries with a pencil, avoiding smudges or smears.
- Check measurements twice to prevent errors before marking.
- Use a straightedge or chalk line to create clear, straight lines for your zones.
- For added accuracy, consider using a laser measure to obtain precise distance readings.

Bissell Commercial BigGreen BGFS650 Hercules Scrub and Clean Floor Machine, Green
Brush Speed (Rpm): 2200 Rpm
As an affiliate, we earn on qualifying purchases.
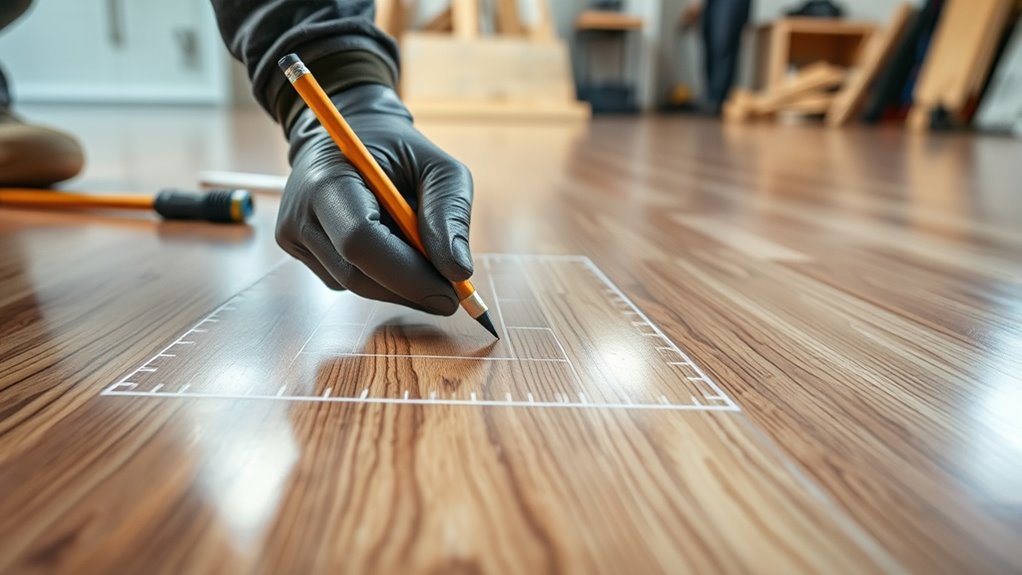
Choosing the Right Tools for Zone Mapping
Choosing the right tools for zone mapping is essential to guarantee your measurements are accurate and your layout is clean. Start with a reliable tape measure or a laser distance finder to ensure precise room dimensions. Use a chalk line or painter’s tape to mark straight, clear boundaries on the floor, making it easier to visualize zones. A carpenter’s square helps keep your lines perpendicular and accurate. Consider a level to verify the floor’s flatness, preventing future installation issues. For complex layouts, a digital planning app or floor plan software can streamline your zone mapping. Having sharp pencils or markers also helps you make clear, visible marks. Additionally, understanding industry trends can help you choose the most effective tools for your project. Selecting the right tools ensures your laminate flooring project proceeds smoothly, with accurate zones guiding your installation.

Battery Powered Walk Behind Mini Automatic Floor Scrubber Machine – Compact & Portable, 15” Cleaning Width, 90-Minute Runtime, 170 RPM – Ideal for Small Commercial Spaces, Offices, Retail & More
Compact & Efficient Cleaning – Designed for small commercial spaces, this mini automatic floor scrubber features a 15-inch...
As an affiliate, we earn on qualifying purchases.
Creating a Visual Layout for Laminate Placement

Creating a visual layout for your laminate placement is a crucial step that helps you see how each plank will come together in the space. It allows you to plan the pattern, avoid awkward cuts, and guarantee a balanced look. To start, measure your room accurately and sketch a rough outline. Then, follow these steps:
- Cut scrap pieces to represent your planks’ length and width.
- Arrange the pieces on the floor according to your planned pattern.
- Adjust the layout to minimize small or narrow cuts.
- Take photos of the final arrangement for reference during installation.
- Familiarize yourself with home renovation tools to ensure precise measurements and cuts.
This process prevents surprises and saves time, ensuring your laminate floors look seamless and professional. Visualizing your design beforehand guarantees a smoother, more precise installation.
Ensuring Seamless Transitions Between Zones
Ever wondered how to make your laminate floors flow seamlessly from one zone to another? The key is consistent direction and joint placement. When installing, guarantee the planks in adjoining zones run parallel and align perfectly. Use spacers to maintain even gaps, preventing uneven transitions. If your zones have different patterns or colors, transition strips can help create a smooth visual shift, hiding minor misalignments. For a more seamless look, stagger the seams at the boundary, avoiding straight-line joints across zones. Pay close attention to the subfloor beneath each zone—uneven surfaces can cause gaps or misalignments that disrupt flow. Additionally, selecting appropriate wall organization solutions can enhance the overall aesthetic and functionality of your space, ensuring a cohesive design. By carefully planning joint positioning and maintaining uniformity, you ensure your laminate zones connect effortlessly, giving your floors a professional, cohesive appearance.
Final Checks Before Starting the Installation
Before you begin installing your laminate floors, conducting a thorough final check of your workspace is vital. This ensures everything is ready for a smooth installation. First, verify your subfloor is clean, dry, and level—any imperfections can cause issues later. Second, double-check the room measurements and your zone markings to confirm accuracy. Third, ensure all necessary tools and materials are within reach and in good condition. Fourth, inspect your laminate planks for defects or damage before opening packages. Taking these steps helps prevent surprises during installation and guarantees a professional finish. Additionally, understanding floor protection techniques can help preserve your flooring during the process. By addressing these points, you set yourself up for a seamless, efficient flooring project with minimal setbacks.
Frequently Asked Questions
How Can I Prevent Laminate Warping During Installation?
To prevent laminate warping during installation, always acclimate the planks in the room for at least 48 hours. Keep the environment stable with proper humidity and temperature levels. Use spacers to maintain expansion gaps around the edges, and avoid installing on uneven or wet surfaces. Also, lay the planks flat and avoid forcing them into place, which helps prevent warping and guarantees a smooth, professional finish.
What Are Common Mistakes to Avoid in Room Zone Planning?
Think of yourself as a seasoned navigator avoiding treacherous waters. When planning room zones, don’t overlook measuring accurately—errors here ripple through the entire project. Avoid starting your layout from an uneven wall, which throws off the whole pattern. Also, don’t forget to account for expansion gaps; neglecting these can cause warping. Keep these mistakes in mind, and your laminate flooring will turn out smooth and professional, just like a well-charted course.
How Do I Handle Irregularly Shaped or Angled Rooms?
To handle irregularly shaped or angled rooms, start by sketching the room’s outline and marking key points. Use a flexible measuring tape to capture every angle and curve accurately. Then, create a detailed plan, cutting your laminate pieces to fit snugly around corners and angles. Take your time, making precise measurements to avoid gaps or uneven seams, ensuring a professional finish.
Can I Install Laminate Floors Over Uneven Subfloors?
Did you know that installing laminate flooring over uneven subfloors is possible with proper preparation? You can do it by using a high-quality underlayment designed to level minor imperfections. First, clean and inspect the subfloor. Then, apply a self-leveling compound to fill in low spots. Once it’s dry, lay down your laminate flooring as usual. This approach guarantees a smooth, professional finish even over uneven surfaces.
What Are the Best Practices for Maintaining Laminate Floor Aesthetics?
To keep your laminate floors looking their best, regularly sweep or vacuum to remove dirt and debris, preventing scratches. Use a damp mop with a cleaner specifically designed for laminate surfaces, avoiding excessive moisture. Place felt pads under furniture legs to prevent dents, and wipe up spills promptly. Avoid harsh chemicals, and steer clear of waxing or polishing, as these can damage the surface and diminish its appearance over time.
Conclusion
With your careful planning and keen eye for detail, you’ll find the zone mapping process becomes a smooth dance rather than a formidable task. By setting a solid foundation and paying attention to every mark and measurement, you’re gently guiding your project toward a flawless finish. Trust in your prep work, and you’ll enjoy the satisfaction of a beautifully laid laminate floor that looks professionally done—without ever leaving your comfort zone.