
To use a Betco floor scrubber, first set up the equipment by installing the pad drivers and squeegee assembly securely. Fill the water reservoir with clean water, adding cleaning chemicals last. Familiarize yourself with the control panel, adjusting settings for floor type. After use, charge the battery and perform regular maintenance. Keep an eye on water levels and scrubber pads for peak performance. Stick around, and you'll discover more tips for effective cleaning!
Key Takeaways
- Verify all components, including pad drivers and squeegee assembly, are installed securely before operating the Betco Floor Scrubber.
- Fill the water reservoir with clean water, adding cleaning chemicals afterward to prevent foaming, and monitor the fill level.
- Conduct a pre-use inspection for any damage and adjust settings based on the floor type and condition for optimal performance.
- Charge the battery after every use for best results, ensuring it reaches a full capacity within eight hours.
- Regularly clean the reservoir tank and replace scrubber pads to maintain effective cleaning performance and prevent odors.

Oreck Commercial Orbiter Hard Floor Cleaner Machine, Multi-Purpose Floor Cleaning, Random Orbital Drive, Wide Cleaning Path, 50-Foot Long Cord, ORB550MC, Gray/Red
MULTI-PURPOSE CLEANING: Commercial grade cleaner and effective on all types of flooring surfaces. Sand, refinish, strip, scrub, wax,...
As an affiliate, we earn on qualifying purchases.
Equipment Setup
Before you start using your Betco floor scrubber, make certain it's properly set up.
First, check that it has all necessary components, including the squeegee assembly, battery charger, and two pad drivers. For peak battery life, verify the battery is fully charged before use.
Install the right-sided pad driver by rotating it counterclockwise and the left-sided driver by rotating it clockwise. Adjust the three knobs on the machine to their proper positions for effective operation.
When changing scrubber pads, unthread the pad holder clip, remove the old pad, and securely attach the new one to the velcro backing.
If you have any questions or need assistance, please call for support.

HHQ Commercial Floor Scrubber Machine with Brushes and Pads, Heavy Duty Floor Cleaner Polisher and Buffer- Deep Cleaning Tile and Grout, Hardwood Floors and Carpets without Getting on Hands and Knees
Kit Included: 1 Orbital Floor Buffer & Scrubber Machine, 2 Polishing/ Stripping Pads, 3 Scrub Brushes, 1 Microfiber...
As an affiliate, we earn on qualifying purchases.
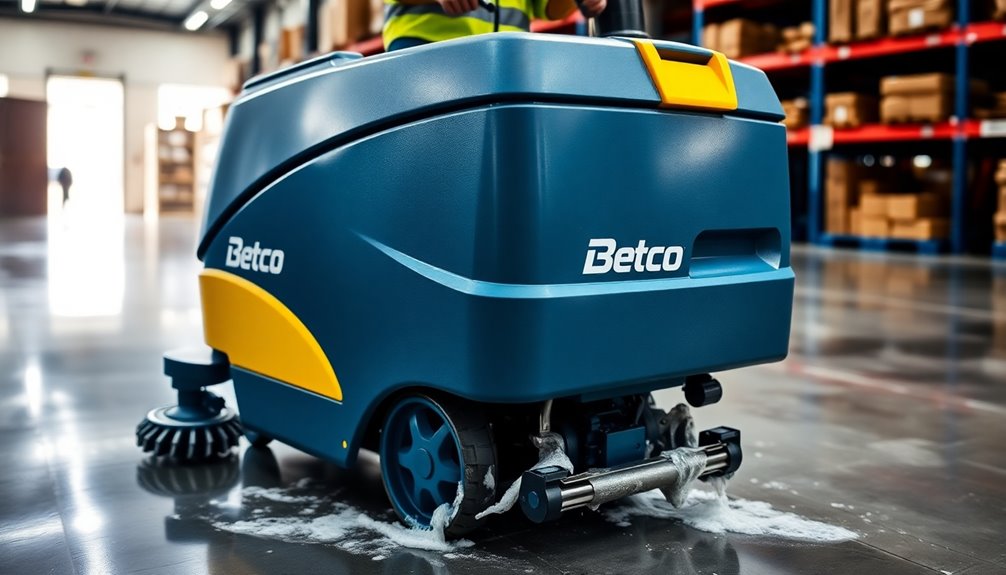
Pad Driver Installation

Installing the pad drivers on your Betco floor scrubber is essential for peak performance, so make certain you follow the correct procedure.
Start with the right-sided pad driver; rotate it counterclockwise until it locks securely in place. Next, move to the left-sided pad driver and rotate it clockwise to make sure it's locked properly.
Always install both pad drivers before you operate the scrubber to avoid any issues with dirty water collection. Once installed, double-check both pad drivers for security and any loose components.
If you need to change pads, simply unthread the pad holder clip, remove the old pad, attach a new pad to the velcro backing, and re-thread the clip.
You're now ready to scrub effectively!

Battery Powered Walk Behind Mini Automatic Floor Scrubber Machine – Compact & Portable, 15” Cleaning Width, 90-Minute Runtime, 170 RPM – Ideal for Small Commercial Spaces, Offices, Retail & More
Compact & Efficient Cleaning – Designed for small commercial spaces, this mini automatic floor scrubber features a 15-inch...
As an affiliate, we earn on qualifying purchases.
Squeegee Assembly Setup
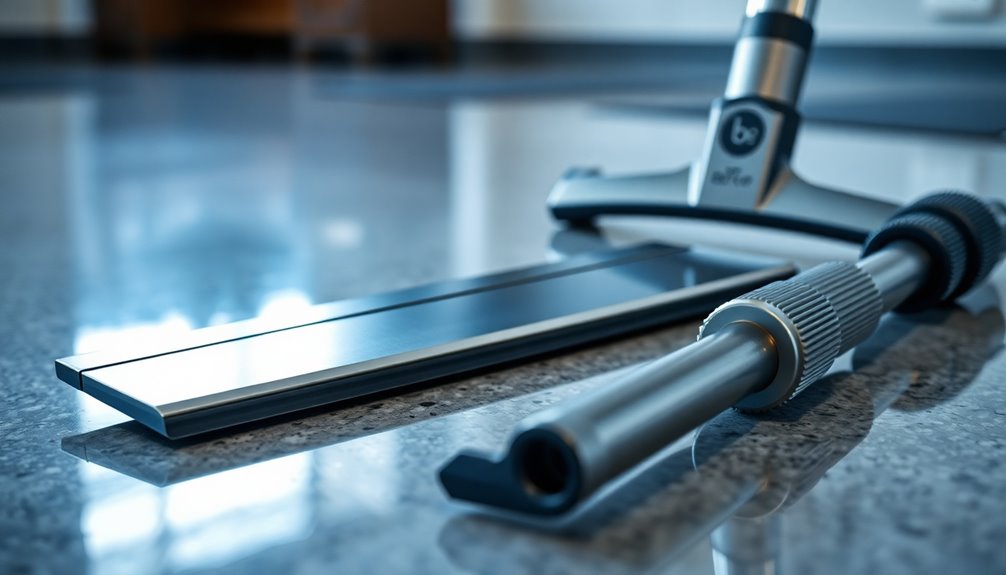
To set up the squeegee assembly effectively, start by sliding the left knob into position and clipping the right knob securely underneath the assembly holder. This guarantees a solid attachment.
Next, install the suction hose onto the squeegee assembly; this is essential for effective water recovery during operation.
When you install the squeegee bar assembly, do it from left to right to assure proper alignment and functionality.
After installation, double-check that both knobs are firmly in place to prevent disconnections while using the machine.
Finally, make it a habit to regularly inspect the squeegee assembly for any signs of wear and tear. Keeping it in good condition will help maintain peak cleaning performance.

Bissell BigGreen BGFS5000 Portable Two Brush Floor Scrubber & Polisher, Polypropylene, 13"" W x 7"" D x 44"" H, White & Green
A small portable scrubbing machine that is perfect for cleaning brick, carpet, ceramic, concrete, cork, hard wood, laminate,...
As an affiliate, we earn on qualifying purchases.
Filling the Auto Scrubber
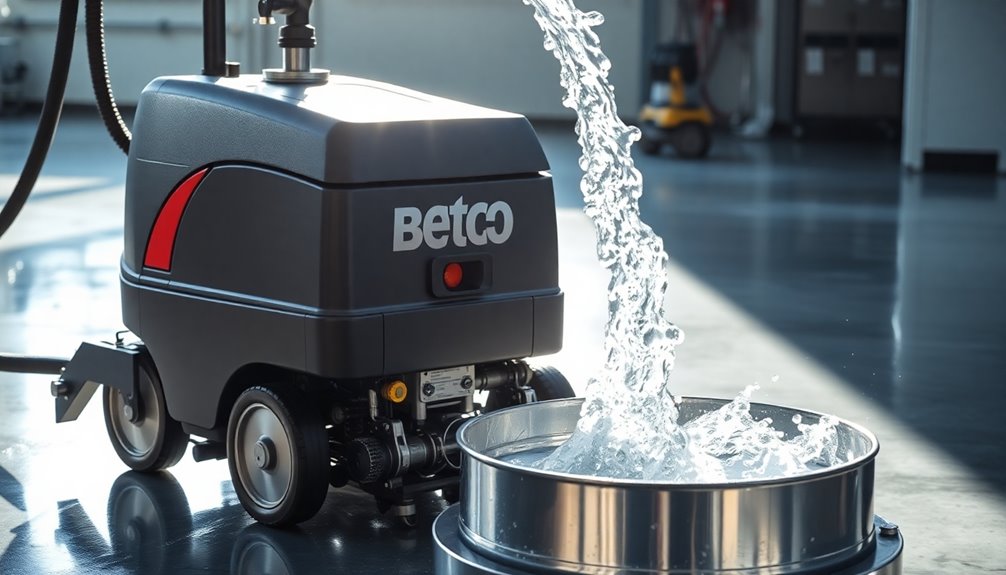
Filling the auto scrubber with water is a straightforward process that guarantees your machine operates effectively.
Start by removing the cap from the front of the machine by unthreading it counterclockwise. Always add water before you pour in the desired cleaning chemical to prevent foaming during operation.
Keep an eye on the site indicator to verify the water reservoir is filled to the appropriate level. After filling, securely replace the cap to avoid any leaks during use.
- Use clean water for peak performance.
- Verify the correct concentration of cleaning chemicals.
- Regularly check the water level before each use.
Following these steps will help maintain the scrubber's efficiency and effectiveness.
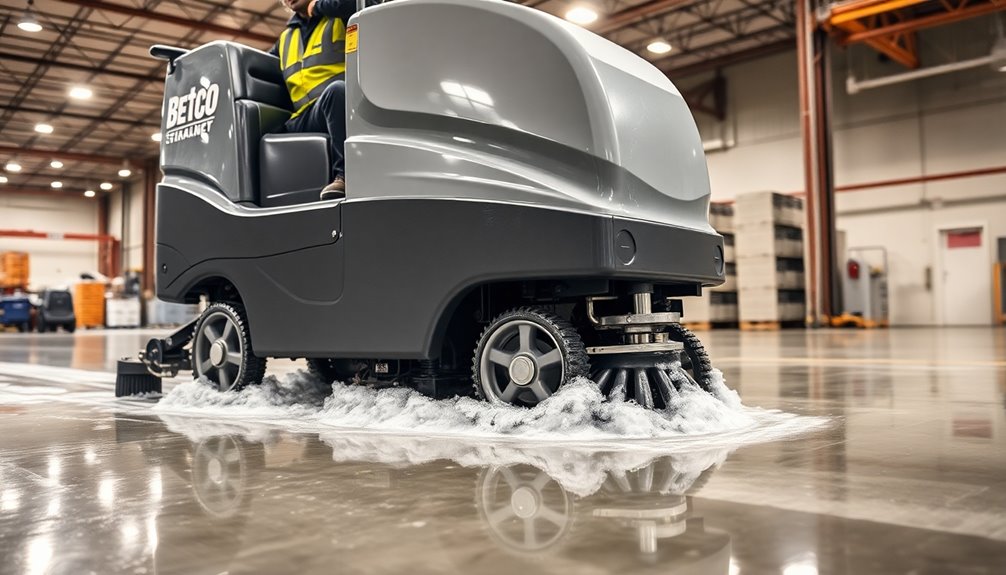
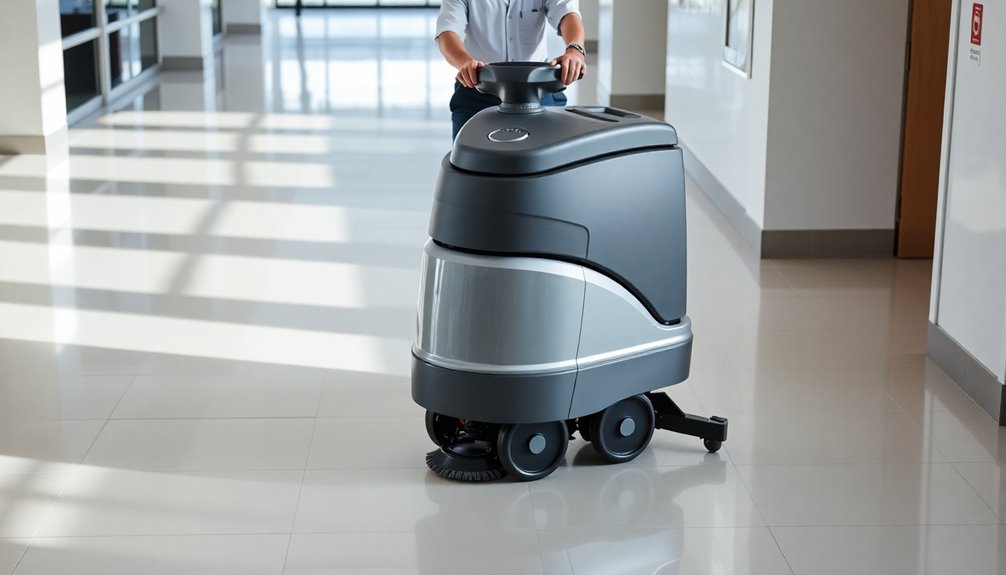
Operating the Machine
Before you begin operating the Betco floor scrubber, make certain to power it on by turning the key switch to the right and checking the battery life on the control panel.
Next, prepare the machine for use by lowering the front chassis. Press the pedal with your right foot and move it to the right. Adjust the cleaning speed by turning the speed knob clockwise to suit the surface and cleaning requirements.
Once you're ready, keep an eye on the site indicator to verify everything's running smoothly.
After you finish, don't forget to remove the reservoir hose to empty the dirty water into a janitor sink, and clean the reservoir tank to keep your machine in top shape.
Monitoring Water Levels
Monitoring water levels is essential for effective cleaning with your Betco floor scrubber.
Always keep an eye on the water indicator to guarantee you don't run out during operation, as this can impact performance and potentially damage the machine.
Importance of Water Levels
To keep your Betco floor scrubber running efficiently, it's crucial to regularly check the water levels. A full water reservoir guarantees effective cleaning by allowing ideal chemical dilution, which prevents streaking on your floors.
If the water level is low, you'll notice diminished performance, leading to inadequate cleaning and possibly requiring multiple passes over the same area.
To enhance your scrubbing experience, remember to:
- Regularly monitor the site indicator to avoid running the machine dry, which can damage components.
- Empty the dirty water reservoir frequently to maintain suction power and prevent overflow.
- Maintain proper water levels to prolong your auto scrubber's lifespan and improve overall cleaning effectiveness.
Stay proactive in monitoring water levels for the best results!
Checking Water Indicator
How often do you check the water indicator on your Betco floor scrubber?
It's essential to monitor this visual cue regularly, both before and during operation. The indicator shows whether the water tank is full or empty, helping you maintain peak cleaning performance.
During extended use, keep a close eye on the water level, as low levels can lead to inadequate cleaning. If the indicator shows empty, stop the machine immediately and refill it to guarantee efficiency.
Also, always fill the tank with water and the desired cleaning chemical to prevent foaming, which can skew the water level reading.
Regular checks will keep your scrubber working effectively and extend its lifespan.
Preventing Machine Damage
Guaranteeing proper water levels in your Betco floor scrubber is essential for preventing machine damage. Always check the site indicator before operating the machine; avoid running it if the reservoir is empty.
If you notice low water levels, refill immediately to protect the pad drivers and motors. When filling the reservoir, add water first while watching for foaming, as excessive foam can block functionality.
After each use, empty the dirty water reservoir completely to prevent corrosion.
- Regularly inspect the water-level monitoring system to guarantee accuracy.
- Schedule routine maintenance checks to catch potential issues early.
- Avoid running the scrubber on low water to extend its lifespan.
Maintenance and Cleaning
Regular maintenance and cleaning of your Betco floor scrubber are essential for peak performance and longevity. Start by removing the reservoir hose to empty dirty water into a janitor sink, preventing buildup and odors.
After each use, clean the reservoir tank thoroughly to guarantee maximum function. Once the tank is empty, open the lid and remove the clamp to access the battery for maintenance checks.
Always connect the battery charger's connector to the battery after use, allowing about eight hours for a full charge.
Additionally, regularly check and replace scrubber pads as needed to maintain effective cleaning performance and protect your floor surface from damage.
Keeping up with these tasks will enhance your machine's efficiency and lifespan.
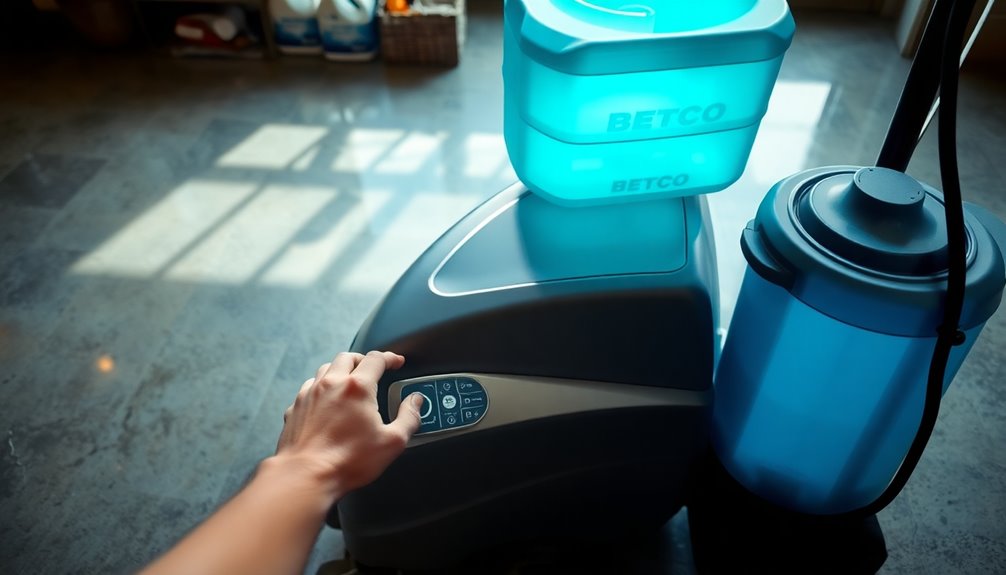
Charging the Battery

To keep your Betco floor scrubber running smoothly, charging the battery properly is crucial.
Start by verifying the auto scrubber is turned off and the lid is open after removing the clamp. Next, connect the battery charger's connector to the battery connector, making certain it's securely attached.
The charging process can take about eight hours to go from empty to full capacity. To maintain peak performance and longevity, charge the battery after each use.
Always monitor the battery life on the control panel before operation to confirm you have enough power.
- Charge after every use for best results.
- Monitor battery status regularly.
- Expect an eight-hour charge time for full capacity.
Frequently Asked Questions
How Do You Use Betco Floor Cleaner?
To use Betco floor cleaner effectively, start by mixing the cleaner with water according to the instructions on the label.
Make certain your mop or cleaning tool is ready, then apply the solution evenly across the floor.
Let it sit for a few minutes to break down dirt and grime.
Afterward, scrub the area thoroughly and rinse with clean water.
Finally, allow the floor to dry completely before walking on it to maintain cleanliness.
How Do You Operate a Floor Scrubber?
To operate a floor scrubber, you'll want to guarantee it's properly equipped and charged.
Start by filling the water reservoir with the appropriate cleaning solution, adding water first. Power it on and adjust the settings as needed.
Lower the front chassis and begin scrubbing while keeping an eye on the battery level.
When the dirty water tank is full, empty it, and make sure to maintain the machine for peak performance.
How Do You Use a Floor Scrubber Ride?
To use a ride-on floor scrubber, start by ensuring it's equipped with the necessary components.
Turn on the machine and check the battery life. Adjust the chassis and set the speed according to your cleaning needs.
Monitor the water level and fill the reservoir with a proper mix of water and cleaning solution.
After cleaning, empty the dirty water tank and clean it before charging the battery for peak performance.
How Do You Drain Water From a Floor Scrubber?
To drain water from a floor scrubber, start by removing the reservoir hose from the machine.
Position the hose over a janitor sink or another suitable drainage area to dispose of the dirty water properly.
After draining, clean the reservoir tank to guarantee hygiene and peak performance.
Always check the site indicator to monitor the water level before and after draining, and make it a habit to empty the reservoir regularly to prevent overflow.
Conclusion
Now that you know how to use the Betco floor scrubber, you might think keeping your floors spotless is a breeze. Ironically, the real challenge lies in maintaining that shine after the initial scrub. It's easy to overlook the regular upkeep and water levels, but neglecting these tasks can quickly turn your gleaming floors into a dull memory. So, while the scrubber does the heavy lifting, it's up to you to guarantee the sparkle lasts.