
To give your sealed hardwood floors a fresh start, clear the space completely and inspect the floors closely. Dust, sweep, and gently mop with a microfiber cloth and mild cleaner, avoiding excess water. Reposition furniture carefully using pads or coasters to protect the surface. Finish with a final inspection, ensuring everything looks spotless and well-protected. If you want to learn more tips for a perfect move-in reset, you’ll find helpful details ahead.
Key Takeaways
- Clear and assess the entire space to prepare for thorough cleaning and inspection.
- Dust and sweep floors with soft tools, removing debris to prevent scratches.
- Clean surfaces with a damp microfiber cloth and mild hardwood cleaner, avoiding excess water.
- Reorganize furniture carefully, using pads or coasters to protect the sealed hardwood.
- Conduct a final inspection to ensure cleanliness, protection, and proper furniture placement.
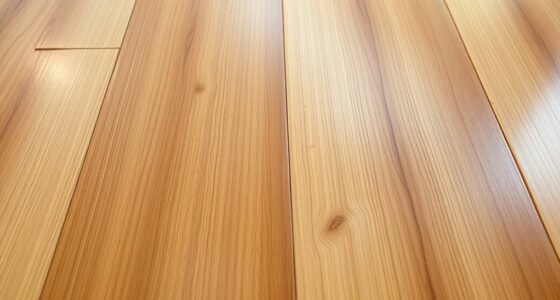
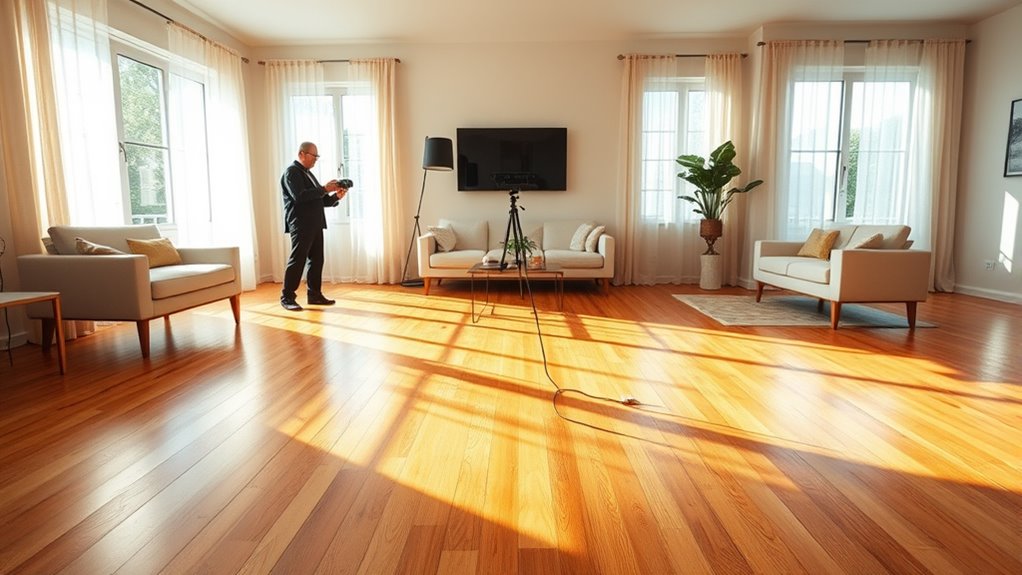
If you’ve recently sealed your hardwood floors, it’s important to perform a move-in reset to guarantee they stay looking their best. This quick routine helps protect your investment and keeps your new home feeling fresh. Start by clearing the entire space so you have a blank slate. This allows you to assess the floors fully and ensures you don’t miss any spots during cleaning. Once the area is cleared, dust and sweep thoroughly to remove loose debris that could scratch or dull the finish. Use a soft-bristled broom or a microfiber dust mop to avoid damaging the sealant.
Next, incorporate some cleaning tips to keep the floors spotless without harming their finish. Opt for a damp microfiber cloth or mop with a gentle hardwood floor cleaner. Avoid excessive water, which can seep into seams and damage the wood over time. Wring out your mop well, and go over the floors in sections, paying close attention to high-traffic areas where dirt and grime tend to accumulate faster. For stubborn spots, a soft cloth dipped in a mixture of water and a few drops of mild dish soap works well. Always dry the area immediately with a clean towel to prevent water spots or damage. Regular maintenance with non-toxic materials ensures the longevity of your sealed hardwood floors.
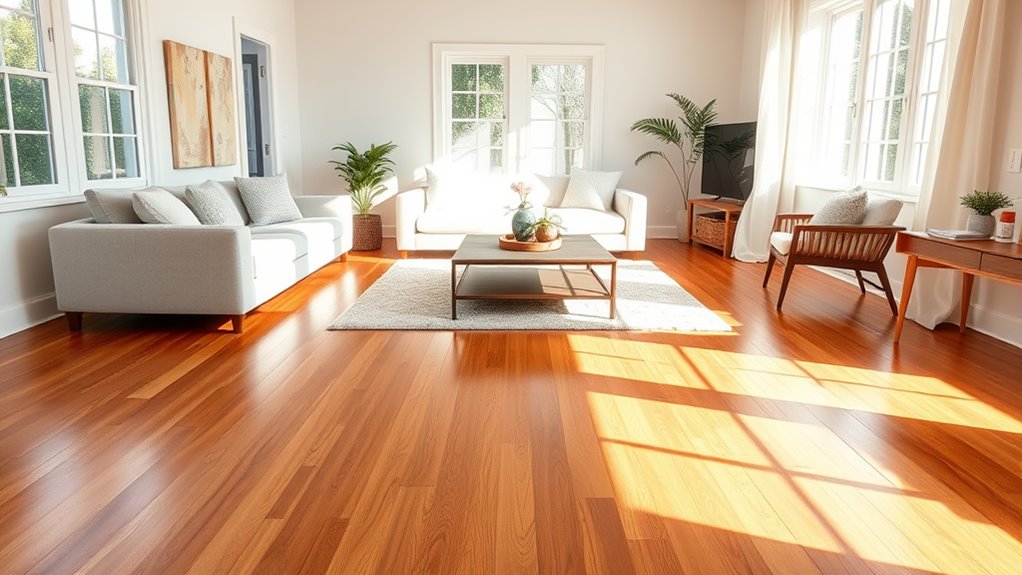
Furniture placement is another critical step during your reset. Before moving your furniture back in, consider rearranging to avoid placing heavy pieces directly on the newly sealed surface for an extended period. Use furniture pads or coasters to distribute weight evenly and prevent scratches. If you’re repositioning large pieces, do so carefully to avoid gouging or denting the floor. This is also a good chance to evaluate your furniture arrangement for better flow or visual appeal, which can make your space feel more spacious and inviting.
After everything is cleaned and furniture is thoughtfully placed, give your floors a final once-over to catch any missed spots. This ensures your hardwood floors look their best and are protected from future wear. Taking just an hour or two to reset your floors after sealing is a simple but effective way to maintain their beauty and durability. A well-executed move-in reset isn’t just about cleanliness; it’s about creating a welcoming environment that showcases your new home’s flooring and sets the tone for the rest of your space.
Frequently Asked Questions
How Often Should Sealed Hardwood Floors Be Resealed?
You should reseal your sealed hardwood floors every 3 to 5 years, depending on foot traffic and wear. Regular floor cleaning helps maintain the sealant, preventing damage. When resealing, choose the right sealant types—polyurethane or acrylic are common options. Keep an eye out for signs like dullness or scratches, which indicate it’s time for a fresh coat. Proper resealing keeps your floors looking new and protected longer.
Can I Walk on the Floors Immediately After Sealing?
Think of your sealed hardwood floors as a freshly painted masterpiece; you wouldn’t rush to walk on it immediately. You should wait at least 24 hours after sealing with high-quality sealing materials before walking on your floors. During this time, avoid floor cleaning or placing furniture to let the seal cure fully. This patience guarantees your floors remain pristine and protected, ready for your footsteps without damage.
What Are the Signs That My Hardwood Needs a Reset?
You’ll notice your hardwood needs a reset if it starts to look dull, develop scratches, or shows uneven gloss. To confirm, do some floor cleaning to see if it restores shine, and moisture testing helps determine if humidity is affecting the wood. If moisture levels are high or cleaning doesn’t improve the appearance, it’s time for a reset to restore your floors’ beauty and durability.
Is Professional Help Necessary for a Move-In Reset?
You don’t always need professional consultation for a move-in reset on your sealed hardwood, especially if you’re comfortable with DIY considerations. However, if your floors show significant damage, deep stains, or uneven wear, it’s wise to seek expert help to guarantee a proper reset. Professionals can handle tricky spots safely and efficiently, saving you time and preventing potential damage. Assess your skills and the condition of your floors before deciding.
How Long Does a Typical Move-In Reset Process Take?
A typical move-in reset for sealed hardwood takes about 2 to 4 hours. You’ll start with thorough hardwood cleaning to remove dust and debris, then proceed with sealing procedures to protect and restore the floor’s shine. While DIY can work, professional help guarantees proper cleaning and sealing, especially for extensive or stubborn areas. This guarantees your hardwood remains beautiful and durable for years to come.
Conclusion
With a sealed hardwood floor, your new home can feel fresh and inviting in just an afternoon. Did you know that sealing hardwood can extend its lifespan by up to 50%? By following this quick move-in reset, you not only protect your investment but also create a beautiful, durable surface for years to come. So, take advantage of this simple process and enjoy your new space with confidence and peace of mind.