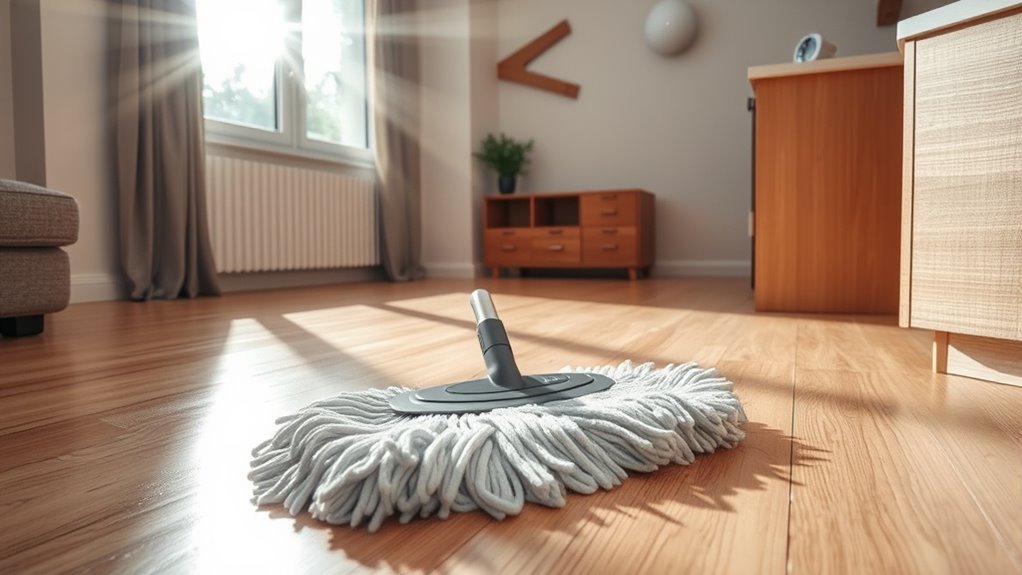
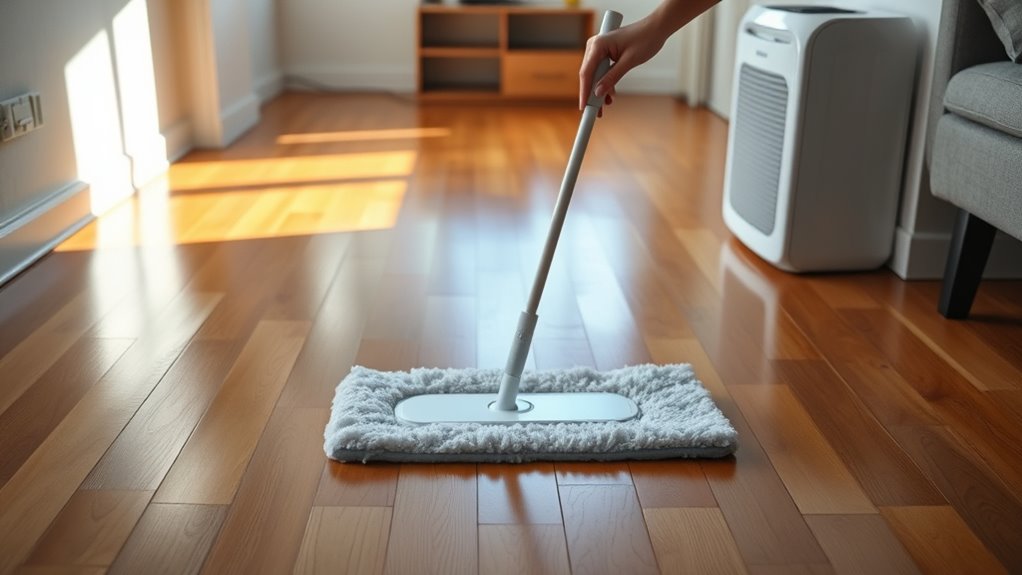
When damp mopping your studio apartment floor, keep the mop just barely damp—avoid soaking it. Wring out excess water thoroughly, and use smooth, controlled strokes to prevent water pooling or seeping into seams. Pay attention to signs of excess moisture like streaks or sticky spots, and dry the surface promptly. Proper ventilation helps moisture evaporate quickly, reducing the risk of mold. Keep exploring to find out how to master safe damp mopping and protect your floors.
Key Takeaways
- Wring the mop thoroughly so it is damp, not soaking wet, to prevent excess water from seeping into the floor.
- Avoid leaving standing water or puddles; use a barely moist mop for effective cleaning without damage.
- Use controlled, gentle strokes to minimize water spread and ensure even, light dampness during mopping.
- Immediately dry and ventilate the area after mopping to help moisture evaporate and prevent mold growth.
- Follow manufacturer guidelines for your flooring type to determine the ideal moisture level for damp mopping.
Top picks for "damp studio apartment"
Open Amazon search results for this keyword.
As an affiliate, we earn on qualifying purchases.
Understanding Your Flooring Material and Its Tolerance to Moisture

Before you start mopping your studio apartment, it’s important to know what kind of flooring you have and how much moisture it can handle. Different materials react differently to water. For example, hardwood floors can warp or swell if exposed to too much moisture, so you’ll want to use a damp mop rather than a soaked one. Tiles like ceramic or porcelain are more water-resistant, making damp mopping safer. Vinyl and laminate floors vary—vinyl is generally durable, but laminate can swell or peel if water seeps in. Always check your flooring manufacturer’s guidelines or consult a professional if you’re unsure. Knowing your flooring type helps you clean effectively without risking damage, ensuring your space stays fresh and in good condition. Additionally, understanding the moisture tolerance of your flooring material can help prevent long-term damage from improper cleaning methods.
Signs of Excess Moisture During Damp Mopping
As you damp mop your floors, it’s important to watch for signs that too much moisture is seeping in. You might notice water pooling or streaks that don’t dry quickly. If your floor feels sticky or leaves a damp residue, that’s a clear sign of excess moisture. Buckling or warping of the flooring material also indicates too much water has penetrated. Additionally, look for discoloration or water stains, especially around edges or seams. A persistent musty smell can suggest moisture trapped underneath the surface. If you see any of these signs, stop mopping immediately and allow the area to dry thoroughly. Using too much water or not wringing out your mop well can quickly lead to these issues, so always monitor your floors during cleaning. Proper drying techniques and avoiding over-wetting are essential for maintaining the integrity of your flooring.
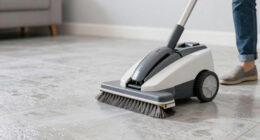
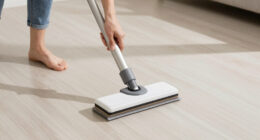
Techniques for Properly Damp Mopping in Small Spaces

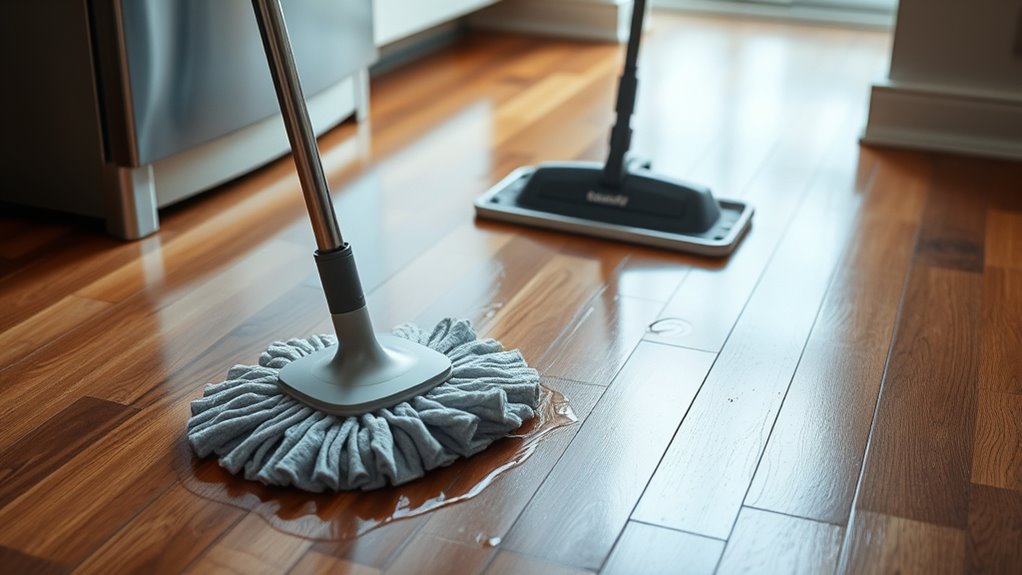
To damp mop effectively in small spaces, you need to focus on controlling moisture and using the right techniques. Start by filling your mop bucket with warm water and adding a gentle cleaning solution, avoiding harsh chemicals. Wring out the mop thoroughly so it’s damp, not soaking wet—excess water can seep into floors and walls. Use smooth, controlled strokes, working from one corner to the next to prevent spreading dirt. Rinse and wring the mop frequently to keep dirt from redistributing. Always keep the mop just damp; this reduces the risk of over-wetting surfaces. Proper technique ensures cleanliness without risking damage from excess moisture. Choosing the right keto-friendly cleaning tools can also help maintain a safe moisture level during cleaning. After mopping, go over the area with a dry microfiber cloth to absorb any remaining moisture.
The Role of Ventilation and Humidity Control
Proper ventilation and humidity control are essential for maintaining the cleanliness and longevity of your studio apartment floors. Good airflow helps evaporate excess moisture after damp mopping, preventing mold and damage. Using exhaust fans or opening windows allows fresh air to circulate, reducing indoor humidity. Humidity levels should stay between 30-50% for ideal safety. To visualize, consider this table:
| Humidity Level | Effect on Floors | Recommended Action |
|---|---|---|
| Below 30% | Dry, potential cracking | Use a humidifier |
| 30-50% | Perfect moisture balance | Maintain ventilation |
| Above 50% | Excess moisture, mold risk | Use dehumidifier |
| 60%+ | High moisture, damage | Increase airflow |
| 70%+ | Severe mold risk | Remove moisture sources |
Controlling humidity keeps your floors dry, prevents mold, and extends their lifespan. Ensuring proper ventilation techniques is crucial for maintaining a healthy indoor environment.
Tips for Preventing Water Damage and Mold Growth
Preventing water damage and mold growth in your studio apartment starts with quick and effective cleanup of any spills or leaks. Immediately dry the affected area with towels or a cloth to prevent moisture buildup. Regularly inspect plumbing, appliances, and fixtures for leaks, and fix issues promptly. Use a dehumidifier or air conditioner to keep humidity levels below 60%, discouraging mold growth. Ensure proper ventilation by opening windows or using exhaust fans, especially after cooking or bathing. Avoid over-wetting floors or surfaces during cleaning, and always dry thoroughly afterward. Keep an eye on hidden areas like under sinks and behind appliances. Proper exfoliation techniques can also help maintain overall surface integrity and prevent mold buildup. By staying vigilant and acting quickly, you reduce the risk of water damage and create a healthier, mold-free environment in your studio.
Frequently Asked Questions
Can I Use a Steam Mop on My Studio Apartment Floor Safely?
Yes, you can use a steam mop on your studio apartment floor safely if you follow a few tips. Make sure to use the lowest steam setting to prevent excess moisture, especially on wood or laminate floors. Keep the mop moving to avoid pooling water, and don’t leave it in one spot for too long. Always check your flooring manufacturer’s recommendations to guarantee steam cleaning won’t cause damage.
How Often Should I Damp Mop to Avoid Moisture Buildup?
You should damp mop your studio apartment floor once a week to prevent moisture buildup. Make sure your mop is only slightly damp—not soaked—to avoid excess water seeping into floors or causing mold. After mopping, open windows or turn on a fan to help the area dry quickly. Regularly check for any damp spots or signs of moisture, and adjust your cleaning frequency if needed to keep your space dry and healthy.
Are There Specific Cleaning Products Best for Damp Mopping Small Spaces?
You should use gentle, pH-neutral cleaners designed for your floor type when damp mopping small spaces. Avoid harsh chemicals that can leave residue or damage surfaces. A mix of a small amount of mild detergent with water works well. Always wring out your mop thoroughly so it’s damp, not soaked. This prevents excess moisture, protects your floors, and keeps your space clean without risking water damage or mold growth.
What Temperature Should the Water Be for Effective Damp Mopping?
You should use warm water, ideally around 110°F (43°C), for effective damp mopping. It’s amusing how many think boiling or icy water works better, but warm water is gentle yet efficient at lifting dirt without damaging surfaces or risking mold growth. Too hot and you might warp flooring; too cold and cleaning suffers. So, aim for warm, not scalding, water for a spotless, safe clean.
How Do I Dry My Floors Quickly After Damp Mopping?
To dry your floors quickly after damp mopping, grab a clean, dry microfiber or cotton cloth and wipe the surface in a gentle, sweeping motion. You can also open windows or turn on fans to increase airflow, speeding up evaporation. If your floors are sealed and durable, using a hairdryer on a low heat setting can help. Just make certain you don’t use excessive heat that could damage the flooring.
Conclusion
By understanding your flooring and mastering proper damp mopping techniques, you can keep your studio spotless without inviting trouble. Think of moisture as a double-edged sword—used wisely, it cleans; misused, it causes damage. Keep ventilation flowing and humidity in check, and you’ll prevent water damage and mold from taking root. With these tips, you’ll navigate damp mopping like a pro, turning your tiny space into a safe, fresh haven rather than a hidden battleground for moisture mishaps.