
To map and seal hardwood floors like a pro, start by gathering quality tools like tape measures, painter’s tape, and sealant suited for your floor finish. Clear your workspace and measure carefully, marking zones with painter’s tape for crisp boundaries. Break large areas into smaller sections to work efficiently and guarantee accurate sealing. Consistently double-check measurements to prevent mistakes. Keep these tips handy—if you keep going, you’ll master the entire process with confidence.
Key Takeaways
- Use precise measurements and multiple reference points to define room zones accurately.
- Mark boundaries with painter’s tape or chalk for clear, professional-looking zones.
- Organize the workspace and tools beforehand to streamline the mapping and sealing process.
- Break large areas into smaller sections for easier sealing and consistent results.
- Verify and double-check measurements to ensure accurate, seamless zone delineation.
Gathering the Right Tools and Supplies

Before you begin sealing your hardwood floors, it’s essential to gather all the necessary tools and supplies. Start with quality sealant designed for hardwood, ensuring it’s suitable for your floor’s finish. You’ll need a high-quality brush or roller for even application, and a clean cloth or applicator pad for touch-ups. Don’t forget painter’s tape to protect baseboards and adjacent surfaces. A putty knife or scraper can help remove debris or old finishes from the surface. Have a vacuum or broom handy to clear dust and dirt, which can interfere with adhesion. You might also want disposable gloves to keep your hands clean and a mask if you’re sensitive to fumes. Gathering everything beforehand keeps your project smooth and prevents unnecessary interruptions. Using professional-grade products can ensure a more durable and uniform sealant application.
Preparing Your Workspace for Precision Mapping

Before you start mapping, make sure your workspace is clear of obstacles and debris to guarantee accuracy. Gather all your mapping tools now so you won’t have to search for them later. Taking these steps helps create a smooth, precise sealing process.
Clear the Area
Have you cleared enough space to work efficiently? Creating a tidy, clutter-free area is essential for accurate mapping. Remove any furniture, rugs, and obstacles that could interfere with your movements or the mapping process. Make sure pathways are clear so you can easily access all parts of the room without tripping or shifting objects. Keep cords and tools organized and out of the way to prevent accidents. A clean workspace minimizes distractions and allows you to focus on precise measurements. Clearing the area also helps you identify potential hazards or uneven surfaces that might affect your mapping accuracy. Additionally, understanding the weight of objects in your workspace can help prevent injuries or damage during setup. Take a few extra minutes to tidy up; it saves time later and ensures your mapping results are as accurate as possible.
Gather Mapping Tools
Are you ready to guarantee your mapping process goes smoothly? Start by gathering all your necessary tools before you begin. You’ll need a tape measure, a laser level or straightedge, a notepad or digital device for notes, and a pencil for marking. Consider using a spirit level to ensure your measurements are accurate, especially on uneven floors. Having everything within reach minimizes interruptions and keeps your workflow efficient. Double-check that your tools are in good condition and calibrated if needed. Preparing your workspace includes clearing clutter to prevent accidents and ensure easy access to your tools. Paying attention to measurement accuracy is essential for professional results, so take the time to verify your tools and measurements. With your gear ready, you can focus on precise measurements, making your mapping faster and more accurate. Proper preparation sets the foundation for professional-quality results.
Assessing the Room Layout and Planning Your Zones

Start by measuring your room dimensions accurately to plan your workspace effectively. Next, identify high-traffic areas that may need extra protection during sealing. Finally, set clear visual boundaries for each zone to guarantee a smooth and organized sealing process. Recognizing patterns in your layout can also serve as angel number signals, guiding you in creating a balanced and harmonious workspace design.
Measure Room Dimensions Precisely
Accurately measuring your room dimensions is essential for planning a seamless hardwood flooring installation. Use a tape measure to record the length and width of each area, noting irregular shapes or alcoves. For better accuracy, measure multiple points across each wall and record the smallest and largest values. Don’t forget to measure doorways, closets, and transitions between rooms, as these affect how planks will fit. Always double-check your measurements to avoid costly mistakes. Sketch a simple floor plan and label each measurement. Precision here guarantees your hardwood planks will align properly and your zones will be correctly mapped. Taking the time to measure thoroughly simplifies the installation process and results in a professional-looking, seamless floor. Additionally, understanding fathers’ influence on character development can inspire you to approach your project with confidence and care, ensuring a job well done.
Identify High-Traffic Areas
After measuring your room dimensions, the next step is to evaluate how different areas will be used. High-traffic zones see more wear and tear, so identifying them helps you plan the sealing process effectively. Focus on spaces like entryways, hallways, and around furniture. Mark these areas clearly to avoid missing them later. Consider the flow of foot traffic to prevent uneven wear. Use the table below to prioritize zones based on activity level:
| Zone Type | Usage Frequency | Priority for Sealing |
|---|---|---|
| Entryways | Daily | High |
| Hallways | Several times a day | High |
| Living Rooms | Weekly | Medium |
| Bedrooms | Rare | Low |
This helps ensure you allocate your sealing effort where it’s needed most. Recognizing the importance of narcissistic traits in understanding behavior patterns can also guide your approach to room management and planning.
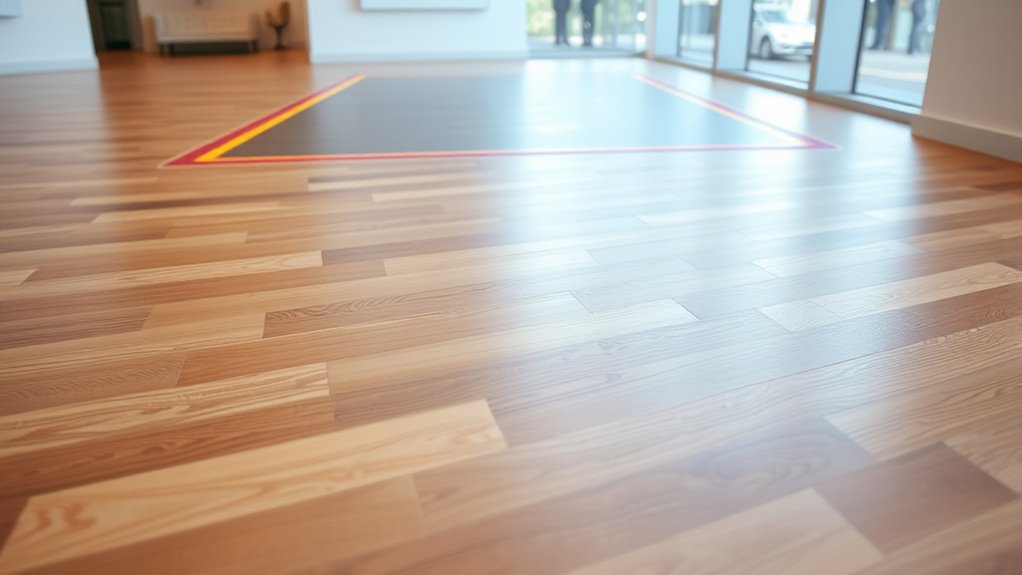
Establish Visual Zone Boundaries
To effectively plan your sealing process, you need to establish clear visual boundaries for each zone within the room. Begin by examining the space and noting natural divisions, such as furniture arrangements, doorways, or architectural features. Use painter’s tape or chalk to mark these boundaries temporarily, helping you visualize each zone’s extent. Consider traffic patterns and high-use areas to ensure zones are practical and manageable. Keep in mind that distinct boundaries will make it easier to apply sealant accurately and prevent overlapping. Once you’ve marked the zones, review your plan to confirm it aligns with your room’s layout and your sealing goals. Clear visual boundaries will streamline your process, saving time and ensuring professional results.
Measuring and Marking the Perimeter Boundaries

Before you start sealing your hardwood floors, it’s essential to clearly define the perimeter boundaries. Accurate measurement ensures your sealing stays within designated areas, preventing messes and rework. Begin by measuring the room’s length and width with a tape measure, recording each dimension. Use painter’s tape or chalk to mark the perimeter, creating a visible guide. Confirm your measurements by double-checking, especially in irregularly shaped spaces. Keep these tips in mind:
- Use a reliable tape measure for precise readings
- Mark boundaries with painter’s tape for easy visibility
- Double-check measurements before marking to avoid errors
- Consider room layout to ensure your boundaries align with the overall space design
This careful approach helps you establish clear, accurate perimeters, making the sealing process efficient and professional-looking.
Dividing Large Areas Into Manageable Sections

To make sealing large hardwood areas easier, you should start by establishing clear boundaries. Use visual markers like tape or chalk lines to keep your work organized. Breaking the space into manageable sections helps you optimize your workflow and guarantees a smooth, even finish. Additionally, identifying the proper sealing technique ensures that each section is sealed effectively without overlaps or gaps.
Establish Clear Boundaries
Breaking down a large hardwood floor into smaller sections makes sealing much easier and more manageable. Clear boundaries help you focus on one zone at a time, ensuring thorough coverage and a professional look. To establish these boundaries, consider marking them with painter’s tape, using a chalk line, or placing temporary barriers. These methods define each section precisely, preventing overlap and missed spots. Regularly assessing and adjusting your zones can also help maintain an organized workflow, similar to how home organization promotes efficiency and clarity during projects.
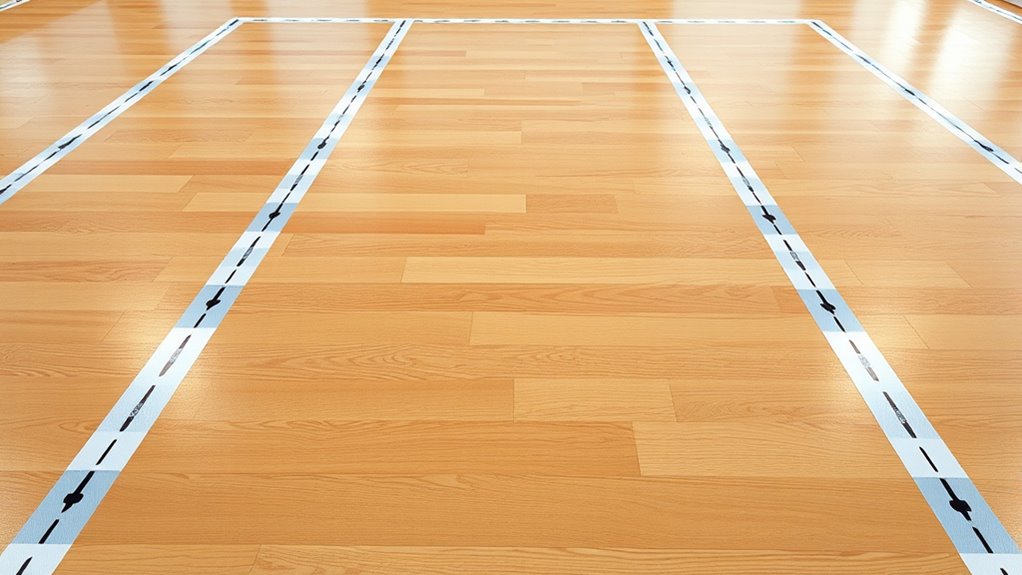
Use Visual Markers
Using visual markers is an effective way to divide large floor areas into manageable sections during sealing. You can use painter’s tape, colored chalk, or temporary paint lines to outline specific zones. These markers help you stay organized, ensuring you don’t miss spots or overlap. Place them along edges, across the room, or at natural breaks like doorways and progressions. This visual guidance keeps your workflow steady and prevents accidental sealing outside designated areas. Be sure the markers are clearly visible and don’t interfere with your tools or finish. As you work, follow these lines carefully, sealing one section at a time. Utilizing visual markers can also help you achieve a more consistent and professional finish across the entire space.
Optimize Workflow Segments
Dividing large hardwood floor areas into manageable sections is essential for a smooth sealing process. It helps prevent overlaps, keeps your work organized, and ensures even coverage. To optimize your workflow, start by breaking the space into zones based on size, natural divisions, or furniture placement. Use tape, chalk lines, or temporary barriers to clearly mark these sections. Focus on sealing one zone at a time to maintain a steady pace and avoid rushing. This approach also makes it easier to track progress and identify areas needing touch-ups. Remember, proper segmentation reduces fatigue and improves accuracy, resulting in a professional finish. Keep these tips in mind:
- Divide the floor into sections matching your drying time
- Use visual markers for clear boundaries
- Seal each zone thoroughly before moving on
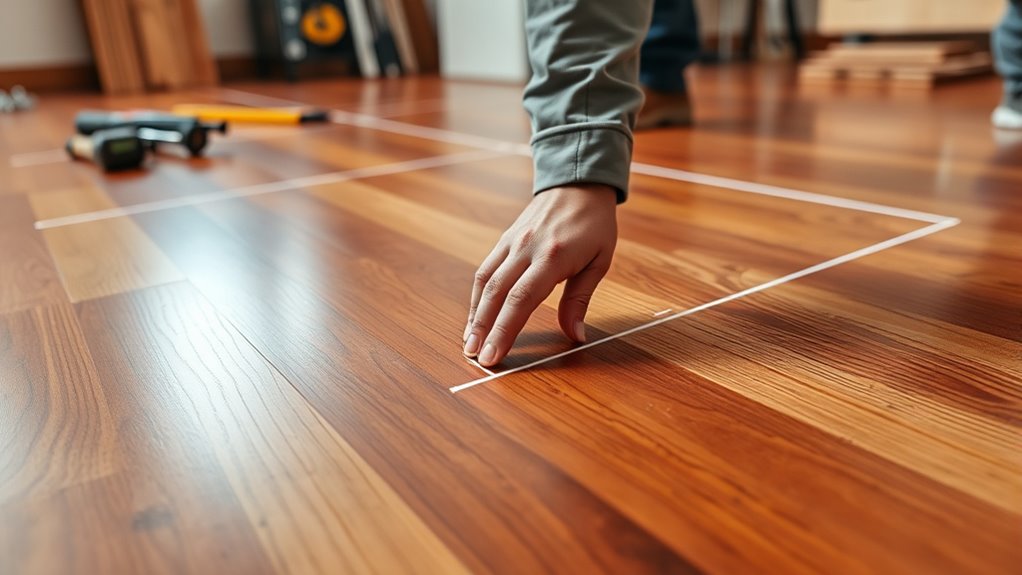
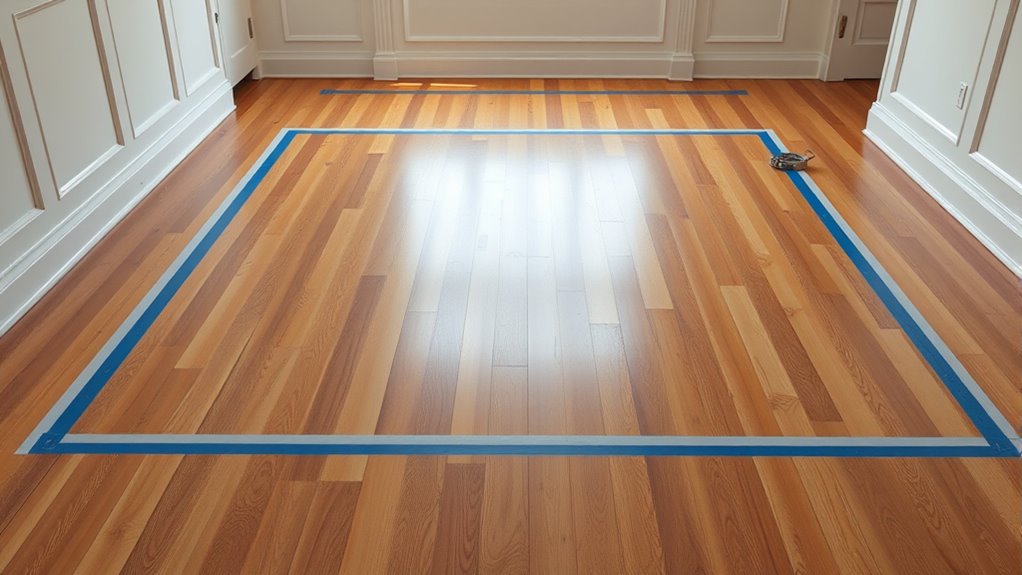
Using Tape and Markers for Clear Zone Demarcation
To guarantee a clear and visible boundary during sealing, applying tape and markers is an effective method. Begin by measuring and marking the zones with a pencil to ensure accuracy. Then, lay painter’s tape along these lines to create a sharp, clean edge. The tape acts as a physical barrier, preventing sealant from spreading outside designated areas. Use a marker to label each zone, especially if working on multiple sections or different room parts. This visual cue helps you stay organized and focused. Keep the tape taut and press it down firmly to prevent seepage. Once sealing is complete, you can carefully remove the tape for crisp, professional-looking boundaries. This simple step greatly improves the accuracy and neatness of your hardwood sealing process.
Establishing Dry Lines for Seamless Transitions
Establishing dry lines is essential for creating smooth, seamless shifts between sealed and unsealed areas on your hardwood floor. These lines act as clear boundaries, preventing accidental overlaps and guaranteeing precise sealing. To do this effectively:
- Use painter’s tape along the planned transition zone to mark the boundary.
- Ascertain the tape is straight and firmly pressed down to prevent paint or sealant from seeping underneath.
- Double-check measurements and alignments before proceeding to avoid misplacement.
Dry lines help you visualize the transition clearly and maintain control during sealing. They also protect finished areas from accidental drips or smudges. By establishing these boundaries early, you set yourself up for a professional, clean finish with minimal rework.
Tips for Ensuring Accurate and Consistent Measurements

Accurate and consistent measurements are the foundation for a professional hardwood floor sealing job. To achieve this, always use a reliable tape measure and double-check your readings. Take measurements at multiple points across each zone to account for uneven surfaces or irregularities. Record each measurement carefully to avoid mistakes later. When marking zones, use a straight edge or chalk line to ensure clean, straight boundaries. Avoid rushing; measuring slowly and deliberately improves accuracy. Keep your tools clean and in good condition, as dirt or damage can skew readings. If you’re uncertain about a measurement, recheck it before proceeding. Consistency in your approach minimizes errors, ensuring a smooth, professional finish when sealing your hardwood floors.
Double-Checking Your Zone Layout Before Sealing
Double-checking your zone layout before sealing is a crucial step to prevent costly mistakes and guarantee a professional finish. It guarantees all areas are correctly mapped and ready for sealing, reducing the risk of missed spots or overlaps. Take a moment to review the layout for accuracy and completeness. Confirm that all zones are properly defined and that no sections were overlooked. Also, verify the placement of expansion gaps and transitions to avoid surprises during sealing.
- Review your zone boundaries against original measurements
- Check for any missed or misaligned zones
- Ensure all transition areas and gaps are properly planned
Final Preparations to Ensure Smooth Sealing Process
To guarantee a smooth sealing process, you need to make final preparations that eliminate potential issues and keep the project on track. Start by clearing the entire room of furniture, rugs, and any loose items. Vacuum the floor thoroughly to remove dust, dirt, and debris that could interfere with the sealant’s adhesion. Protect adjacent surfaces by masking baseboards, door frames, and vents with painter’s tape. Ensure proper ventilation by opening windows and using fans if necessary. Check your tools and materials—make sure the sealant is fresh and that brushes, rollers, or applicators are ready. Finally, review your plan one more time, confirming your zone boundaries and drying times. These steps help prevent mishaps and enable a smooth, efficient sealing process.
Frequently Asked Questions
How Do I Choose the Best Tools for Precise Zone Mapping?
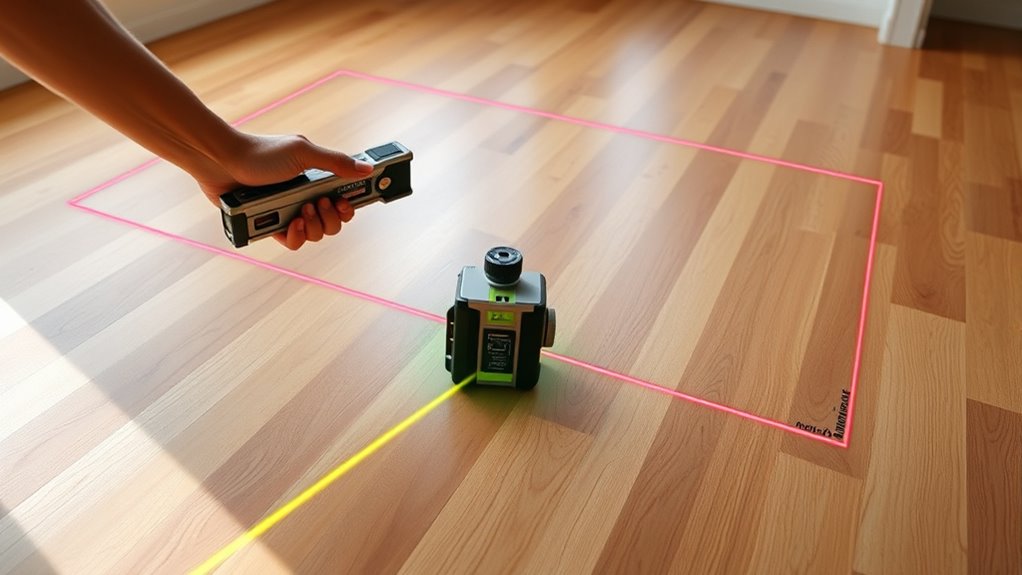
To select the best tools for precise zone mapping, start by considering laser distance meters for accuracy and ease. Invest in a quality measuring tape for smaller spaces. Use a digital planner or mapping software compatible with your devices to visualize zones clearly. Look for tools with user-friendly features, durability, and good reviews. Combining high-tech gadgets with basic tools guarantees your mapping is fast, accurate, and professional-looking.
What Common Mistakes Should I Avoid During Room Zone Planning?
Imagine your project’s success hinges on avoiding pitfalls—don’t rush the planning or skip measuring accurately. You should double-check room dimensions and consider furniture placement before marking zones. Overlooking shifts or neglecting proper sealing can cause issues later. Keep your focus sharp, plan for expansion, and avoid assumptions. Mistakes are like cracks in a foundation; catch them early to ensure your hardwood mapping stands strong and true.
How Can I Speed up the Mapping Process Without Losing Accuracy?
You can speed up the mapping process by using a laser distance meter for quick, precise measurements, and plan your zones in advance to avoid backtracking. Use a reliable mapping app with automatic room detection features to save time. Keep your device steady and consistent, and avoid over-measuring or making unnecessary adjustments. These steps help maintain accuracy while substantially reducing the overall mapping time.
What Are the Signs of an Uneven or Unreliable Measurement?
Think of your measurements like a tightrope walk—any wobble signals trouble. Signs of uneven or unreliable measurements include inconsistent data points, sudden jumps in readings, or gaps in your map. If your device struggles to find stable signals or gives wildly different results in the same area, it’s time to recalibrate or double-check your setup. Trust your instincts; if something feels off, it probably is.
How Do I Adjust My Plan if Room Dimensions Change Unexpectedly?
If room dimensions change unexpectedly, you should quickly update your measurements on your plan. Use your measuring tool to get the new dimensions, then adjust your zone layout accordingly. Recalculate the area and modify your material estimates to match the revised size. This way, you stay accurate and avoid shortages or excess, ensuring your hardwood installation stays smooth and efficient despite any surprises.
Conclusion
Sealing hardwood like a pro is quicker and more accurate when you plan carefully. Did you know that properly mapped zones can cut sealing time by up to 30%? By gathering your tools, marking precise boundaries, and double-checking your layout, you’ll guarantee a seamless finish. With these tips, you’ll achieve professional results faster, saving time and money. Ready to transform your space? Start your zoning today and enjoy flawless hardwood sealing every time.