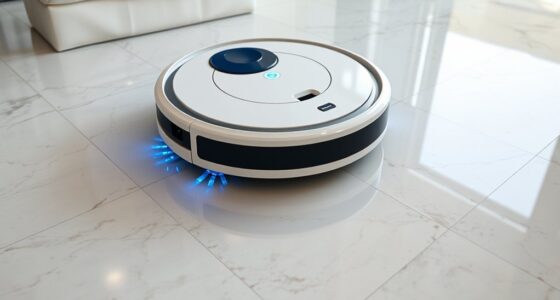
To prevent cliff and wall errors on vinyl plank floors, regularly clean your sensors by turning off the device first. Carefully locate sensors near walls, corners, and under furniture, then gently remove dust and debris using a microfiber cloth or cotton swabs. Avoid harsh chemicals or abrasive tools. Keep sensors free of dirt and damage, ensuring they stay properly aligned. Following these steps can improve performance. Continue here to discover detailed techniques for effective sensor maintenance on vinyl floors.
Key Takeaways
- Regularly clean sensors with a soft microfiber cloth and isopropyl alcohol to prevent dust buildup that causes cliff and wall errors.
- Inspect sensor mounting and positioning to ensure they are secure and correctly aligned near walls and edges.
- Keep vinyl floor surfaces clean and free of debris to minimize sensor interference and false obstacle detection.
- Avoid using harsh chemicals or excessive moisture that can damage sensors or affect their sensitivity.
- Schedule routine maintenance and deep cleaning to maintain sensor accuracy and prevent navigation errors on vinyl plank floors.

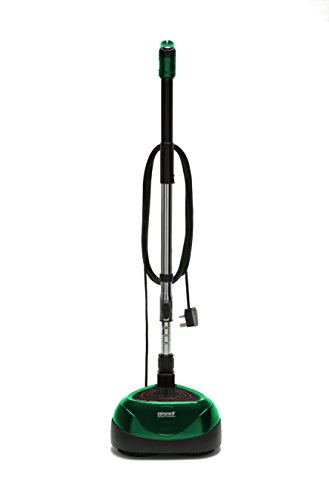
Oreck Commercial Orbiter Hard Floor Cleaner Machine, Multi-Purpose Floor Cleaning, Random Orbital Drive, Wide Cleaning Path, 50-Foot Long Cord, ORB550MC, Gray/Red
MULTI-PURPOSE CLEANING: Commercial grade cleaner and effective on all types of flooring surfaces. Sand, refinish, strip, scrub, wax,...
As an affiliate, we earn on qualifying purchases.
Identifying Sensor Locations on Vinyl Floors

To effectively clean the sensors on your vinyl floors, you first need to locate where they are positioned. Typically, sensors are installed near the edges of the floor, often close to walls or under furniture. Look for small, discreet panels or embedded areas that might differ slightly in color or texture from the rest of the surface. Common spots include along baseboards, near doorways, or in corners. In some cases, sensors are embedded just beneath the surface or concealed behind removable panels. Take your time to carefully scan these areas. Knowing their exact locations helps guarantee you target the right spots for cleaning and avoid damaging sensitive components. Proper identification is vital for effective maintenance and maximum sensor performance. Additionally, understanding the power requirements of your appliances can help prevent issues during maintenance or repairs.

HHQ Commercial Floor Scrubber Machine with Brushes and Pads, Heavy Duty Floor Cleaner Polisher and Buffer- Deep Cleaning Tile and Grout, Hardwood Floors and Carpets without Getting on Hands and Knees
Kit Included: 1 Orbital Floor Buffer & Scrubber Machine, 2 Polishing/ Stripping Pads, 3 Scrub Brushes, 1 Microfiber...
As an affiliate, we earn on qualifying purchases.
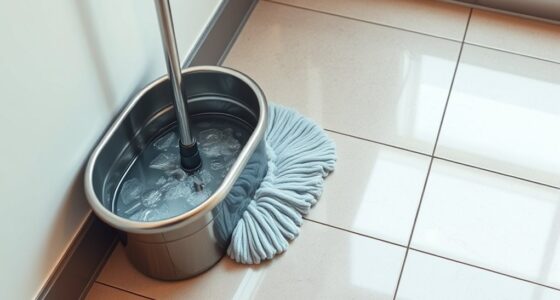
Gathering the Right Cleaning Supplies
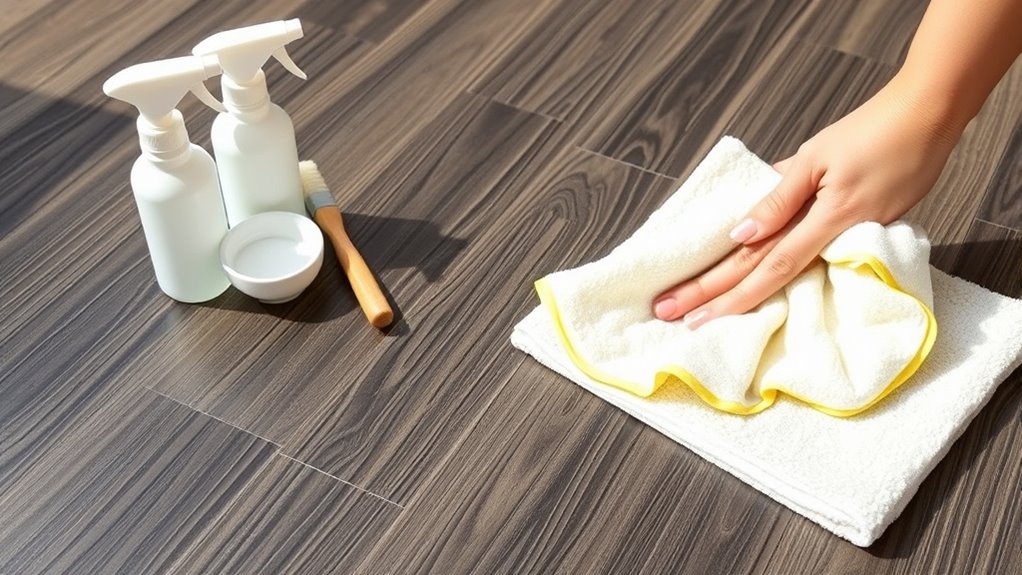
To clean your sensors effectively, you need the right tools and solutions. Make sure you have gentle cleaning cloths, soft brushes, and a mild cleaning solution suitable for vinyl floors. Using proper techniques will help you clean without causing damage or residue buildup.
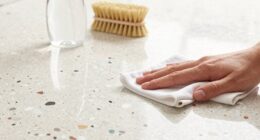
Essential Cleaning Tools
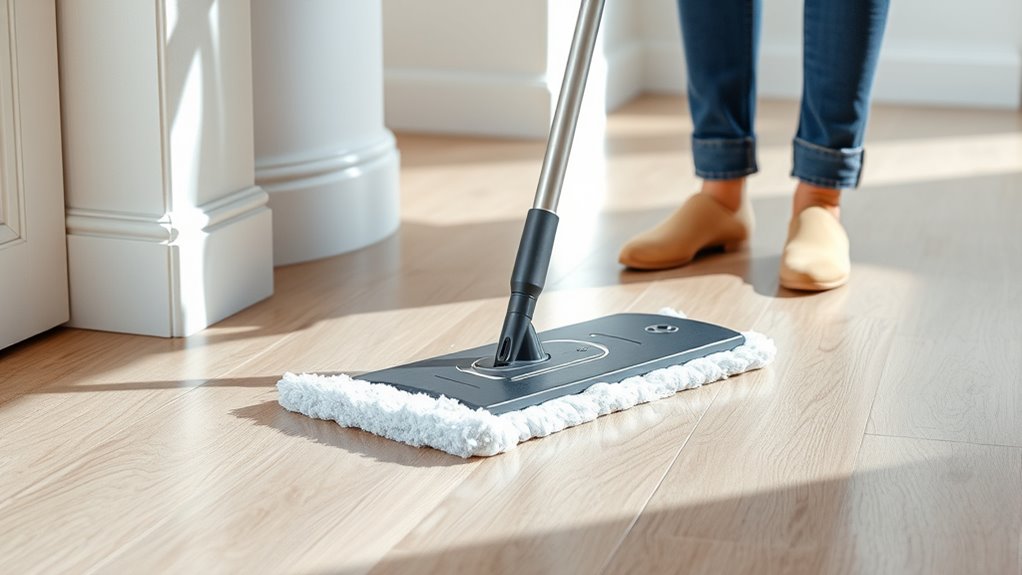
Having the right cleaning tools is essential for effectively maintaining your vinyl plank floors and ensuring your sensor stays free of dust and debris. Start with a soft microfiber cloth to gently wipe the sensor without scratching or damaging it. A small, soft-bristled brush helps loosen dirt from crevices and hard-to-reach areas. Keep a handheld vacuum with a brush attachment nearby to quickly remove loose dust and debris from the floor surface and around the sensor. Compressed air cans are also useful for blowing dust out of tight spots without touching sensitive components. Additionally, using a Bluetooth connection can facilitate wireless updates and troubleshooting for compatible sensors. Avoid abrasive scrubbers or harsh chemicals that could harm the vinyl or sensor. Using these tools properly guarantees your floors stay clean and your sensor remains accurate without risking damage.
Suitable Cleaning Solutions
Choosing the right cleaning solutions is essential for preserving the integrity of your vinyl plank floors and ensuring your sensor functions accurately. Stick to pH-neutral cleaners or gentle solutions specifically designed for vinyl floors. Avoid harsh chemicals like bleach, ammonia, or abrasive detergents, as they can damage the surface and leave residue that interferes with sensor performance. Microfiber mops dampened with water or a mild cleaner are ideal for cleaning without scratching. If you opt for commercial vinyl floor cleaners, ensure they’re compatible with your flooring type. Always read labels carefully and test new solutions in a small, inconspicuous area first. Properly selected cleaning solutions protect your floors and keep your sensors operating smoothly, preventing errors caused by residue or surface damage. Additionally, using appropriate cleaning methods can help maintain the performance of electric sensors in your environment, ensuring accurate readings and preventing issues related to surface residues.
Proper Application Techniques
Gathering the right cleaning supplies is essential for effective and safe floor maintenance. To guarantee proper application techniques, follow these steps:
- Use a soft microfiber cloth or mop to avoid scratching your vinyl planks.
- Lightly dampen the cloth with your chosen cleaning solution—never soak it.
- Apply the cleaner evenly across the surface, avoiding excessive moisture.
- Focus on pressing gently to lift dirt without damaging the finish.
- Ensuring the use of appropriate cleaning solutions helps maintain the color accuracy and overall appearance of your vinyl planks. Proper technique involves working in small sections, ensuring the cleaner is spread smoothly. Always follow manufacturer instructions for cleaning products. Never use harsh chemicals or abrasive tools, as they can harm your vinyl planks. Consistent, gentle application preserves the floor’s appearance and sensor accuracy, preventing errors like cliffs or walls caused by improper cleaning.
Bissell Commercial BigGreen BGFS650 Hercules Scrub and Clean Floor Machine, Green
Brush Speed (Rpm): 2200 Rpm
As an affiliate, we earn on qualifying purchases.
Preparing Your Workspace for Sensor Maintenance
Before you start cleaning your sensor, clear any clutter from your workspace to stay organized and avoid accidents. Make sure you’ve gathered all the cleaning supplies you’ll need so you won’t have to leave your work area. A tidy, well-stocked space makes the maintenance process smoother and more efficient. Additionally, having the right grocery savings strategies in mind can help you allocate your budget effectively for maintenance supplies.
Clear Clutter First
To guarantee effective sensor cleaning on your vinyl plank floors, you need to clear the clutter first. A tidy workspace prevents accidents and ensures you can access all sensor areas easily. Start by removing:
- Small objects like toys or tools that could obstruct your view
- Loose rugs or mats that might shift during cleaning
- Dust or debris that can interfere with sensor accuracy
- Cables or cords that could trip you or get in the way
- Cleaning surfaces free of unnecessary items helps maintain sensor functionality and prolongs the lifespan of your flooring.
Clearing these items creates a safe, open space to work efficiently. It also helps avoid knocking over things that might damage the sensor or create additional mess. A clutter-free area makes the entire process smoother, quicker, and more effective.
Gather Cleaning Supplies
Having the right cleaning supplies ready before starting guarantees you can efficiently complete the sensor maintenance without interruptions. Gather all necessary tools to ensure a smooth process. You’ll need a soft microfiber cloth, gentle cleaning solution, and a small brush. Keep these within reach to save time. Organize your workspace to prevent accidental spills or misplaced items. Use the table below to check off supplies as you gather them:
| Supplies | Purpose |
|---|---|
| Microfiber cloth | Gently wipes sensor surface |
| Cleaning solution | Removes dust and grime |
| Small brush | Clears hard-to-reach spots |
| Gloves | Protect your hands |
Preparing your supplies in advance makes sensor cleaning quick, safe, and effective. Additionally, understanding the importance of proper maintenance can help prevent errors like Cliff and Wall issues during calibration.

Bissell BigGreen BGFS5000 Portable Two Brush Floor Scrubber & Polisher, Polypropylene, 13"" W x 7"" D x 44"" H, White & Green
A small portable scrubbing machine that is perfect for cleaning brick, carpet, ceramic, concrete, cork, hard wood, laminate,...
As an affiliate, we earn on qualifying purchases.
Powering Down the Device Safely
Make sure you power down the cleaning device properly to prevent damage or safety hazards. Proper shutdown steps include:
- Press the power button and hold it until the device turns off completely.
- Unplug the charger if it’s connected to avoid electrical issues.
- Remove the battery if your device allows for easy access.
- Wait a few moments before handling the device further, ensuring all internal components are fully powered down.
- Implementing consistent messaging during shutdown procedures helps reinforce safe handling practices and maintains device integrity.
Following these steps helps prevent accidental activation or electrical problems. It also protects sensitive sensors from potential damage caused by abrupt shutdowns. Always consult your device’s manual for specific instructions, as different models may have unique procedures. Taking these precautions ensures your device stays in good condition and operates safely during sensor cleaning.
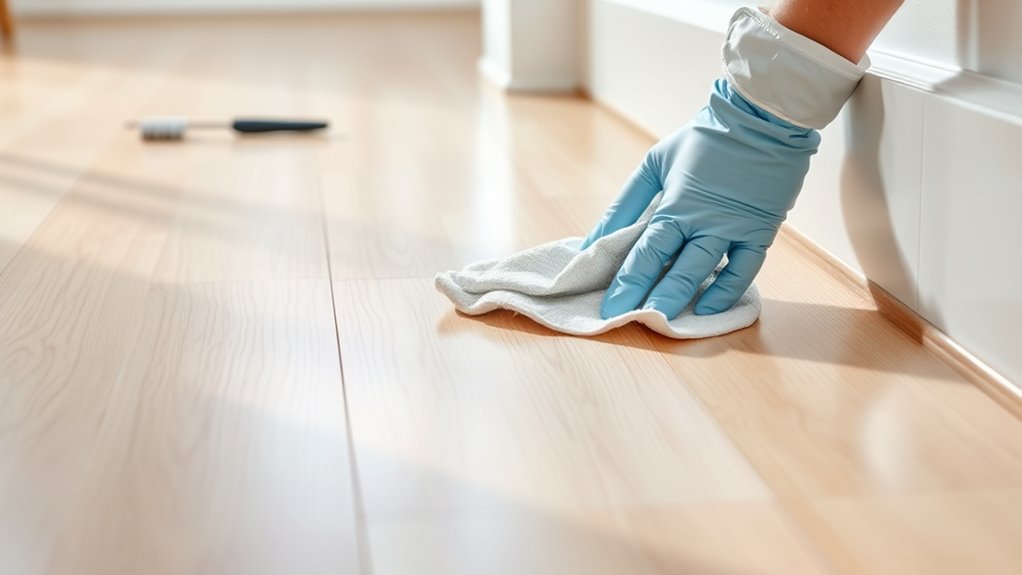
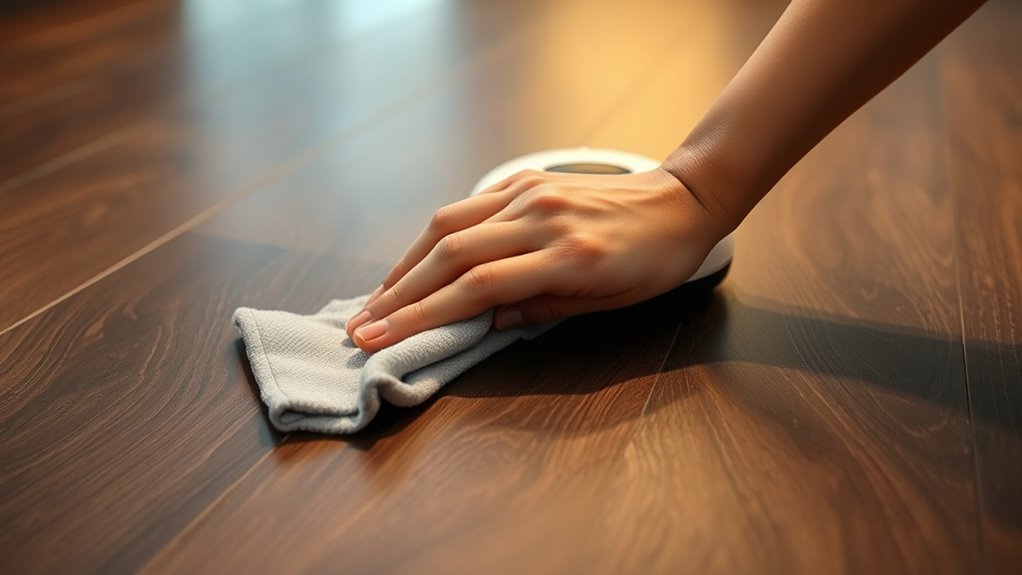
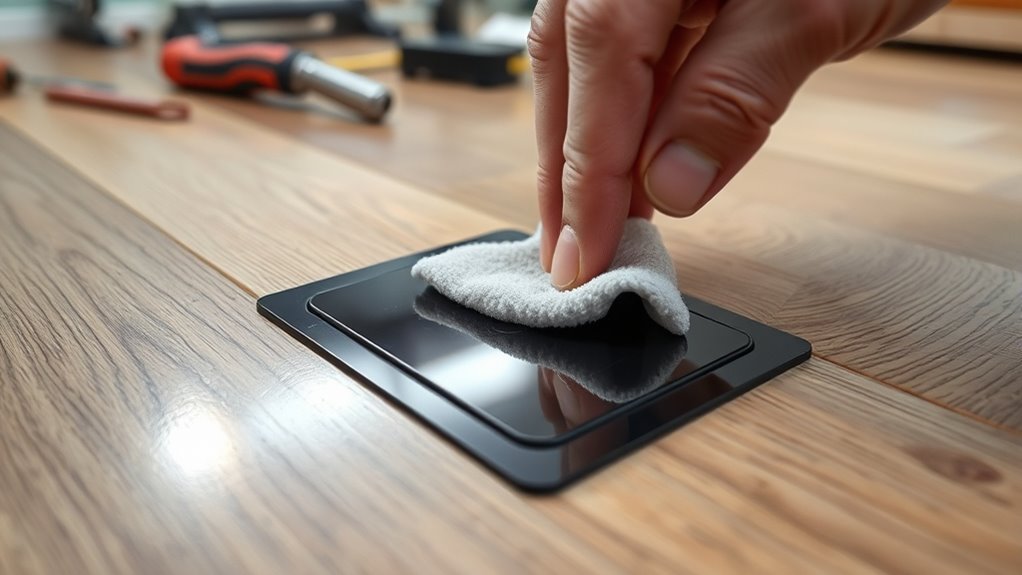
Gently Removing Dust and Debris From Sensors

Dust and debris can easily accumulate on your device’s sensors, potentially impairing their accuracy and performance. To keep them functioning properly, start by turning off your device to prevent accidental errors. Use a soft, lint-free cloth or a microfiber cloth to gently wipe the sensor surfaces. Avoid pressing too hard, as applying excessive force might damage delicate parts. If dust is stubborn, lightly dampen the cloth with water or a sensor-safe cleaning solution, then gently clean the area. Never use abrasive materials, harsh chemicals, or compressed air, as these can scratch or damage the sensors. Regular, gentle cleaning helps maintain sensor sensitivity and guarantees your device operates smoothly without false readings or errors. Incorporating literary humor into your routine can also make the task more enjoyable and less tedious.
Using Appropriate Cleaning Techniques and Tools
To effectively clean your sensors, it’s important to choose the right techniques and tools. Using improper methods can damage the sensors or leave residues that cause errors. Here are four essential tools and techniques:
- Soft microfiber cloths – gentle and non-abrasive, perfect for wiping surfaces without scratching.
- Isopropyl alcohol (70%) – safely dissolves dirt and oils; apply lightly with the cloth.
- Cotton swabs – ideal for reaching tight spots or crevices on sensors.
- Compressed air – removes loose dust and debris without contact.
Stick to gentle motions and avoid harsh chemicals or abrasive materials. Proper tools and techniques guarantee your sensors stay clean and functional, preventing errors and prolonging their lifespan. Additionally, regularly inspecting and cleaning sensors can help prevent cliff and wall errors caused by dust buildup or debris.
Inspecting Sensors for Damage or Wear
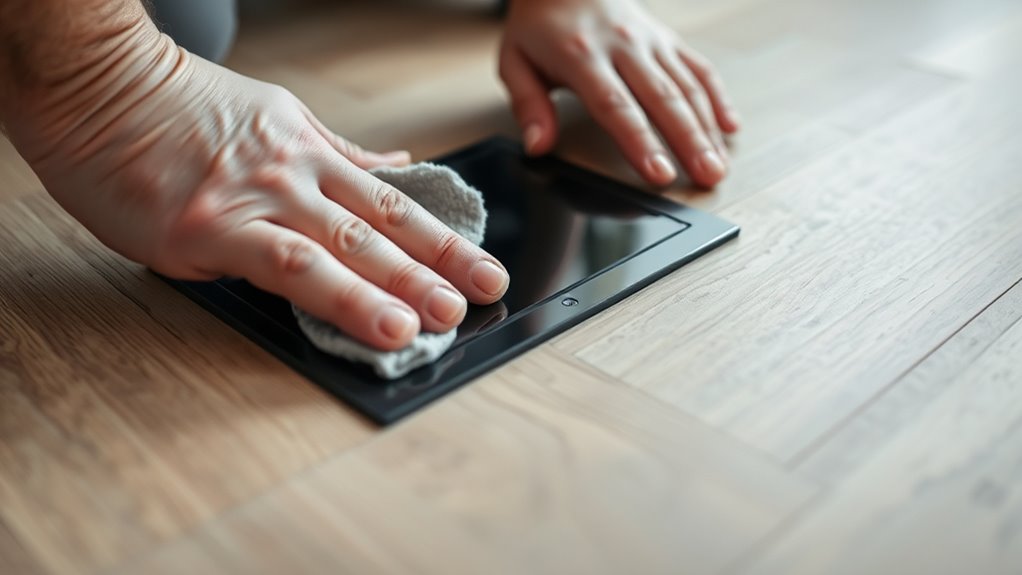
Before performing any cleaning, it’s essential to carefully inspect your sensors for signs of damage or wear. Look for cracks, chips, or broken edges that could affect their performance. Check the sensors’ surfaces for corrosion, dirt buildup, or scratches that might interfere with accurate readings. Verify the sensors are securely mounted and haven’t shifted out of position. Examine the wiring and connectors for signs of fraying, corrosion, or loose connections. Any damage or wear could cause false signals, leading to errors like cliffs or wall collisions. If you notice any issues during your inspection, note them before cleaning. Addressing these problems promptly helps maintain sensor accuracy and prevents future errors during operation on your vinyl plank floors.
Reassembling and Testing the Sensors
Once you’ve cleaned and inspected your sensors, it’s important to carefully reassemble them and verify their proper function. Follow these steps to ensure everything works smoothly:
- Align the sensors correctly with their mounting points.
- Secure all screws or clips tightly without overtightening.
- Power on your device to check sensor responsiveness.
- Observe the system’s calibration, ensuring it detects obstacles accurately.
Proper reassembly guarantees sensors are positioned correctly and free of debris. Testing confirms they respond to environmental changes and prevent errors like cliff or wall misdetections. If any sensor shows inconsistent signals, recheck alignment or cleaning. Performing these steps carefully helps maintain the device’s accuracy and prolongs sensor lifespan, reducing the risk of operational errors.
Implementing a Regular Maintenance Schedule

Establishing a regular maintenance schedule is essential for keeping your vinyl plank floors and sensors in ideal condition. Set a routine to clean sensors weekly with a soft cloth or a gentle brush to prevent dust buildup. Regularly inspect the sensors for debris or damage, especially after heavy foot traffic or cleaning. Schedule deep cleanings monthly to remove stubborn dirt and ensure sensors remain responsive. Don’t forget to check for any signs of wear or misalignment that could cause errors. Keep a log of maintenance tasks to track when each sensor was last cleaned or inspected. By adhering to this routine, you reduce the risk of cliff and wall errors, prolong the lifespan of your sensors, and maintain smooth operation of your floors.
Frequently Asked Questions
How Often Should Sensor Cleaning Be Performed to Prevent Errors?
You should clean your sensors at least once a month to prevent errors like cliffs and walls. Regular cleaning removes dust, dirt, and debris that can interfere with the sensors’ accuracy. If your floors get particularly dirty or if you notice your device misjudging obstacles, consider cleaning the sensors more frequently. Use a soft cloth and gentle cleaner to avoid damaging the sensors and guarantee smooth operation.
Can Cleaning Solutions Damage the Sensor Surfaces or Circuitry?
Think of your sensor like a delicate garden gnome—careful cleaning keeps it safe. Cleaning solutions can damage sensor surfaces or circuitry if they’re harsh or abrasive. You should use a soft cloth with a mild, electronics-safe cleaner, avoiding excessive moisture. This gentle approach guarantees your sensor stays in top shape, much like tending to a cherished garden, preventing errors without risking damage.
What Signs Indicate Sensors Need Immediate Cleaning or Replacement?
If your device starts missing spots, making unexpected stops, or shows error messages related to navigation, it’s time to clean or replace the sensors. You might also notice decreased performance or erratic movement, indicating dirty or faulty sensors. Regularly inspect the sensor areas for dust, smudges, or debris, and clean them gently. If issues persist after cleaning, consider replacing the sensors to restore proper function.
Are There Specific Cleaning Techniques for Different Sensor Types?
Think of sensors as the eyes guiding your floors—they need gentle care. For optical sensors, use a soft, lint-free cloth lightly dampened with isopropyl alcohol to wipe away dust and smudges. Infrared sensors benefit from a gentle blast of compressed air to remove debris without contact. Avoid harsh chemicals or abrasive materials, as they can scratch or damage delicate components, ensuring your sensors stay sharp and responsive.
How Do Environmental Factors Affect Sensor Longevity and Maintenance Needs?
Environmental factors like dust, humidity, and temperature fluctuations can considerably impact your sensor’s longevity and maintenance needs. Dust accumulation can cause false readings, so you should regularly clean sensors with a soft cloth. High humidity may lead to corrosion or moisture buildup, requiring more frequent inspections. Extreme temperatures can stress sensor components, so keep your environment within recommended ranges. Monitoring these factors helps you maintain the best sensor performance and extend their lifespan.
Conclusion
By following these simple steps, you’ll keep your vinyl plank floors sparkling and your sensors functioning flawlessly. Neglecting sensor maintenance can cause errors that feel like a thousand earthquakes shaking your home—trust me, you don’t want that chaos. Regular cleaning and inspections will save you from costly repairs and endless frustration, making your flooring experience smooth as butter. Stay vigilant, and your floors will stay pristine, ensuring your space remains a haven of perfection.