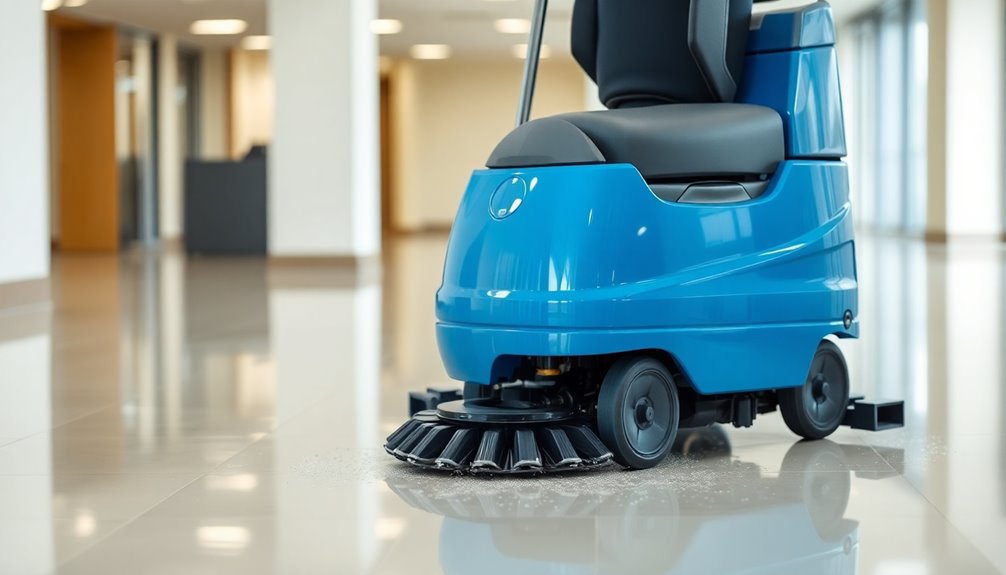

To use a walk-behind floor scrubber, start by clearing the area of obstacles and filling the solution tank with the right cleaning solution. Begin at the furthest corner of the room, working in straight, overlapping rows to ensure thorough coverage. Keep an eye on the recovery tank and empty it when needed to maintain suction power. Afterward, clean the equipment to prevent odors and preserve its performance. You'll discover more tips for effective cleaning as you continue!
Key Takeaways
- Prepare the area by removing obstacles and filling the solution tank with water and detergent according to manufacturer's specifications.
- Begin cleaning from the furthest corner, working in straight, overlapping rows for complete coverage.
- Monitor the recovery tank regularly, emptying it as needed to maintain suction power and avoid redistributing dirt.
- Clean the scrubber equipment after use, rinsing both tanks to prevent odors and maintain performance.
- Use the right detergent to maximize cleaning effectiveness and ensure thorough maintenance of commercial floors.
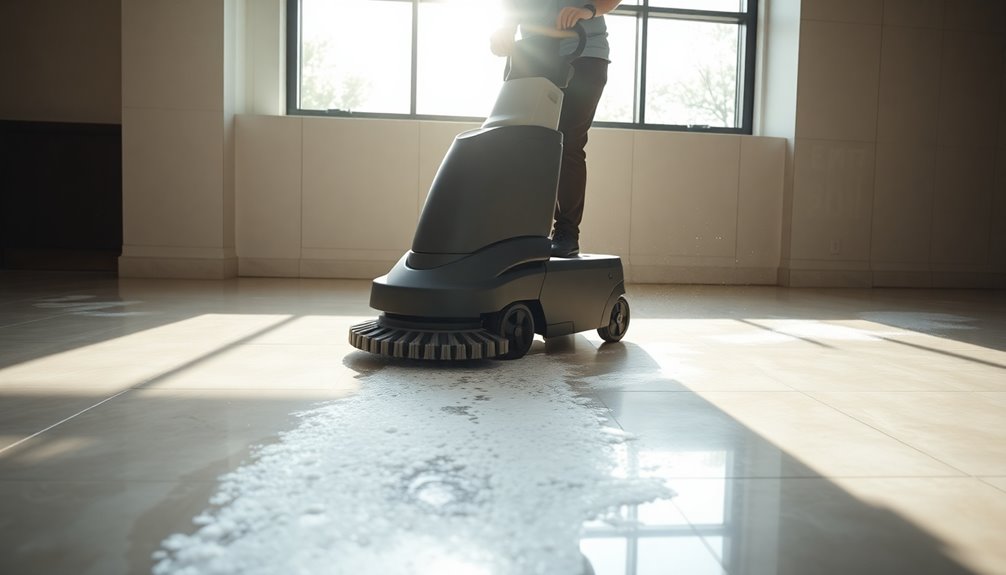
Using a walk-behind floor scrubber can transform your cleaning routine, making it faster and more efficient. When you're tackling a large commercial floor, these machines are invaluable. To get started, you'll want to clear the area of any obstacles or debris. This ensures a smooth and efficient cleaning process, allowing your janitorial staff to focus on what really matters—effective cleaning.
Once the area is clear, fill the solution tank with water and the appropriate cleaning solutions according to the manufacturer's specifications. This step is crucial because using the right detergent maximizes your cleaning effectiveness.
After you've prepared the machine, it's best to start cleaning from the furthest corner of the room. By working in straight, overlapping rows, you avoid missing spots and ensure thorough coverage of the entire floor. This methodical approach is essential for achieving optimal results.
As you scrub, keep an eye on the recovery tank. Monitoring it's important because you'll want to empty it as needed. A full recovery tank can lead to a loss of suction power, which may cause dirt to be redistributed rather than removed. That's the last thing you want in your cleaning process! By maintaining the suction, you ensure that dirt and grime are effectively lifted from the floor.
After you've finished floor scrubbing, don't forget to clean your equipment. Rinse both the recovery and solution tanks thoroughly to prevent odors and maintain the scrubber's performance for future tasks. Neglecting this step can lead to buildup that compromises the efficiency of your walk-behind floor scrubber over time.

USANOOKS Microfiber Cleaning Cloth Grey - 12 Pcs (12.5"x12.5") - High Performance - 1200 Washes, Ultra Absorbent Microfiber Towel Weave Grime & Liquid for Streak-Free Mirror Shine - Car Washing Cloth
- High Absorbency Grip Root Weave: Locks in 8-10x weight in liquids
- Lint-Free and Scratch-Resistant: Ensures streak-free mirror shine
- Durable for 1200+ Washes: Long-lasting reusable microfiber cloths
As an affiliate, we earn on qualifying purchases.
Frequently Asked Questions
How to Operate Walk Behind Floor Scrubber?
To operate a walk-behind floor scrubber, start by clearing the area of obstacles and loose debris.
Fill the solution tank with the right cleaning solution, then adjust the brush pressure and water flow based on your flooring.
Turn on the scrubber, working from the farthest corner and using straight, overlapping passes.
Keep an eye on the recovery tank, emptying it as needed.
Afterward, rinse the recovery tank and clean the scrubber to maintain efficiency.
How Do You Use a Floor Scrubber Ride?
Picture a knight on a quest, armed with a trusty steed—your ride-on floor scrubber.
To embark on your cleaning adventure, fill the solution tank with the right mix and set your controls for the battle ahead.
Start from the farthest corner, making wide turns to cover every inch. Keep an eye on the recovery tank, ensuring your knight doesn't falter.
After the mission, clean your trusty steed, preparing it for the next journey.
Is Scrubbing Better Than Mopping?
Yes, scrubbing is better than mopping. When you scrub, you're not just spreading water around; you're actively removing dirt, grime, and bacteria.
A floor scrubber combines cleaning solutions, scrubbing action, and suction, leaving floors cleaner and drier in one pass. You'll save time, as scrubbing can cut cleaning time by up to 50%.
Plus, it prevents re-soiling, ensuring your floors stay looking great longer without needing costly repairs.
How to Fill Floor Scrubber With Water?
To fill your floor scrubber with water, first, make sure the solution tank is clean.
Then, use clean water and the manufacturer-recommended floor cleaner, mixing them at the correct ratio.
Avoid overfilling to prevent spills and operational issues.
Once you've filled it, securely close the solution tank lid to prevent leaks.
Following these steps will help ensure effective cleaning performance and maintain the durability of your equipment.
Conclusion
In conclusion, using a walk-behind floor scrubber can transform your cleaning routine from a chore into a breeze. With just a few simple steps, you'll glide through your tasks like a dancer on a polished stage. Remember to prep your space, adjust settings, and let the machine do the hard work. Soon enough, you'll see sparkling floors that shine like the morning sun, making your efforts worthwhile and leaving you with a sense of accomplishment.