
To give your new home a fresh, polished look in just one afternoon, start by clearing the space and ensuring your subfloor is clean, dry, and level. Plan your vinyl plank layout to minimize waste, leaving a ¼ inch expansion gap around the edges. Follow the click-and-lock installation process, keeping rows straight and aligned. Finish by cleaning and adding furniture. Keep going to discover expert tips that will help you achieve a seamless and professional-looking floor quickly.
Key Takeaways
- Clear the entire area of furniture, debris, and obstacles for a smooth reset process.
- Verify the subfloor is clean, dry, level, and free of dust to ensure proper vinyl plank adhesion.
- Plan and lay out the new vinyl planks to minimize waste and keep rows straight during installation.
- Use a click-and-lock method, maintaining even gaps and alignment for a professional, fresh look.
- Finish with routine cleaning and furniture placement, including felt pads, to maintain the new flooring’s appearance.

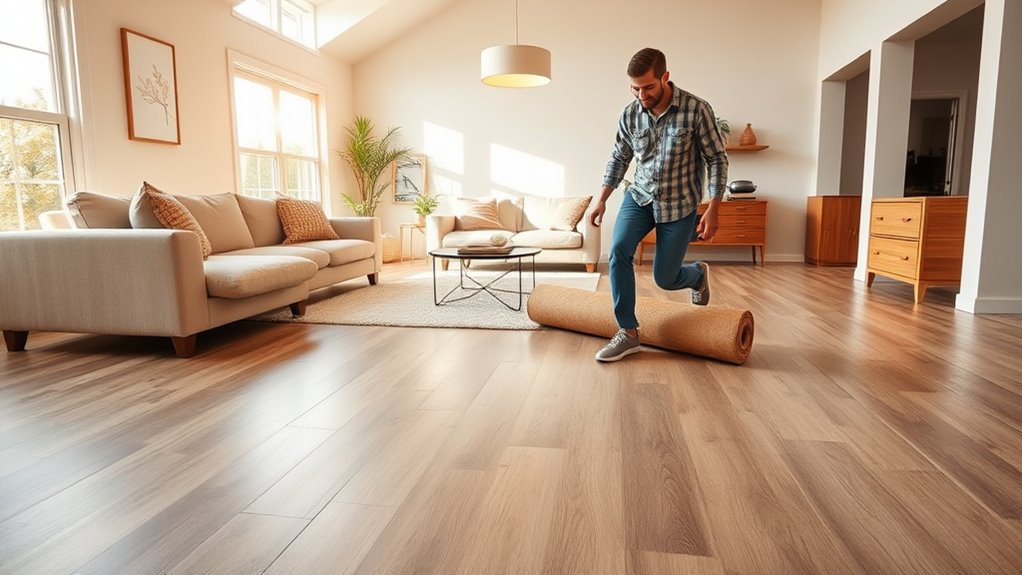
Moving into a new space often requires a thorough reset, especially when it comes to vinyl plank flooring. If you’re enthusiastic to give your new home a fresh look without spending a fortune or waiting for professionals, a DIY installation is a smart choice. Vinyl planks are designed for easy, click-and-lock installation, making them perfect for a weekend project. Before you start, clear the area of furniture and debris, and verify your subfloor is clean, dry, and level. This initial preparation sets the foundation for a smooth installation and helps prevent future issues like gaps or shifting.
Once you’ve prepared the space, lay out your vinyl planks to plan the best pattern and minimize waste. You’ll want to work from one corner to the other, clicking each plank into place as you go. Remember to leave a small expansion gap around the perimeter—about ¼ inch—to allow for natural expansion and contraction with temperature changes. Use spacers to keep this gap consistent and make your installation look professional. As you click the planks together, double-check that each row stays straight, using a straightedge or chalk line as a guide. This guarantees your floor will be level and visually appealing.
Lay out planks from corner to corner, leaving a ¼ inch gap for expansion, and ensure rows stay straight.
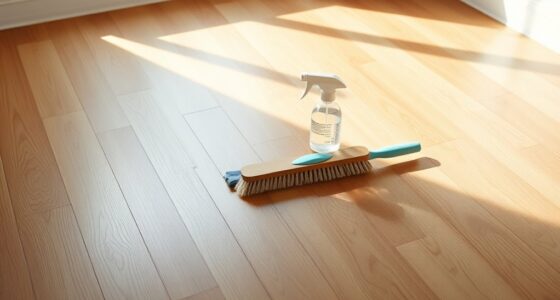
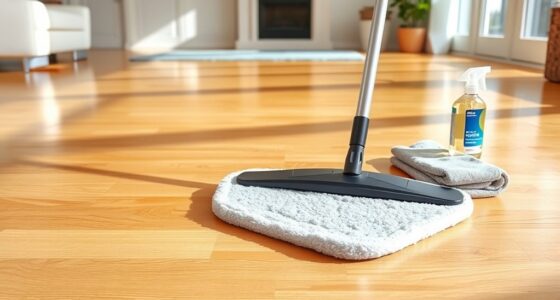
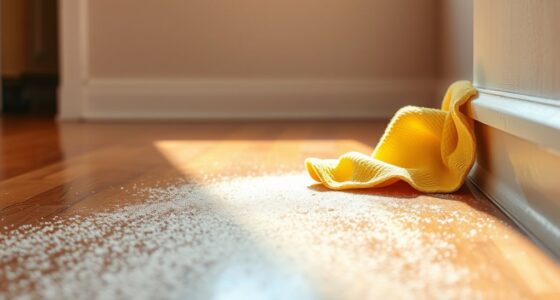
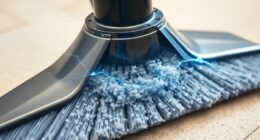
After completing your installation, it’s time to focus on maintenance tips that keep your new vinyl flooring looking its best. Regular sweeping or vacuuming removes dirt and debris that could scratch the surface. When it’s time to mop, use a damp cloth or a vinyl-specific cleaner—avoid harsh chemicals that can damage the planks. To prevent scuffs, place felt pads under furniture legs and avoid dragging heavy items across the floor. Taking these simple steps will extend the lifespan of your vinyl plank flooring and keep it looking fresh for years.
In addition, consider setting a routine for periodic inspection and cleaning. Check for any loose planks or damage and repair or replace them immediately to prevent further issues. Protect your floor from excessive moisture by promptly cleaning up spills and avoiding overly wet mops. If you notice dullness or wear, a vinyl floor polish or restorer can revive its appearance without needing a full replacement. Maintaining proper installation quality and regular care are essential for preserving the durability and aesthetic appeal of your new floor.
Frequently Asked Questions
Can Vinyl Plank Flooring Be Installed Over Existing Carpet?
You can’t install vinyl plank flooring directly over existing carpet. First, you’ll need to remove the carpet and perform proper subfloor prep to make certain a smooth, stable surface. This process involves carpet removal, cleaning, and possibly adding a underlayment or leveling the subfloor. Skipping these steps can lead to uneven floors or damage over time. Taking the time for proper prep guarantees a professional, long-lasting vinyl plank installation.
What Is the Best Adhesive for Vinyl Plank Installation?
Looking to guarantee your vinyl plank installation lasts? The best adhesive depends on your environment. For moisture-prone areas, a high-quality urethane adhesive offers strong, flexible bonds. For quick, clean installs, a pressure-sensitive adhesive can be ideal. Compare adhesives carefully, considering your space’s conditions, and follow installation tips like cleaning the subfloor thoroughly. The right choice elevates your project, giving you a durable, professional finish in just one afternoon.
How Long Does Vinyl Plank Flooring Last With Proper Care?
With proper care, vinyl plank flooring lasts around 10-20 years, depending on quality and usage. To maximize your floor’s lifespan, follow maintenance tips like regular cleaning, avoiding excessive moisture, and using furniture pads. Protect against scratches and dents, and promptly clean spills. Proper maintenance not only extends the life of your vinyl flooring but keeps it looking fresh and new longer.
Is Vinyl Plank Flooring Suitable for Bathrooms and Kitchens?
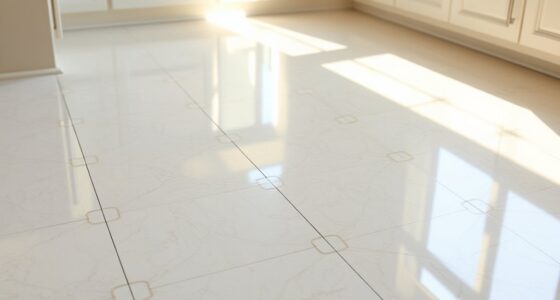
Yes, vinyl plank flooring is suitable for bathrooms and kitchens thanks to its moisture resistance. You’ll appreciate its aesthetic versatility, allowing you to choose styles that match your decor. Its water-resistant features prevent damage from spills and humidity, making it a practical choice for these high-moisture areas. With proper installation and maintenance, vinyl plank flooring can keep your bathroom and kitchen looking great for years.
What Tools Are Needed for a DIY Vinyl Plank Installation?
You’ll need a tools overview to guarantee a smooth DIY vinyl plank installation. Gather a utility knife, tape measure, straight edge, spacers, and a tapping block for precise cuts and fitting. Don’t forget safety equipment like gloves and safety glasses to protect yourself. A rubber mallet helps secure planks snugly, while a pencil marks cutting lines. Having these tools and safety gear ready makes your project safer and more efficient.
Conclusion
With a quick vinyl plank install, you can transform your new home into a fresh, inviting space faster than you’d think. Think of it as a breath of new life, turning empty rooms into cozy retreats in just an afternoon. So, roll up your sleeves and embrace the DIY magic — your home’s new look is just a plank away. Before long, you’ll be enjoying your stylish, worry-free floors that feel as good as they look.