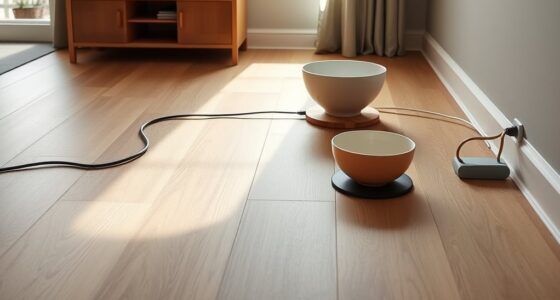
To prevent cliff and wall errors on sealed hardwood floors, regularly clean your robot’s sensors with a soft, lint-free cloth. Turn off and unplug the device before wiping, gently removing dust and dirt that can cause misreads. Use a lightly dampened cloth with water or isopropyl alcohol for stubborn spots. Keeping sensors clear helps maintain accurate detection and smooth navigation. Continue exploring for more tips to keep your robot performing its best.
Key Takeaways
- Turn off and unplug the robot before cleaning sensors on sealed hardwood floors.
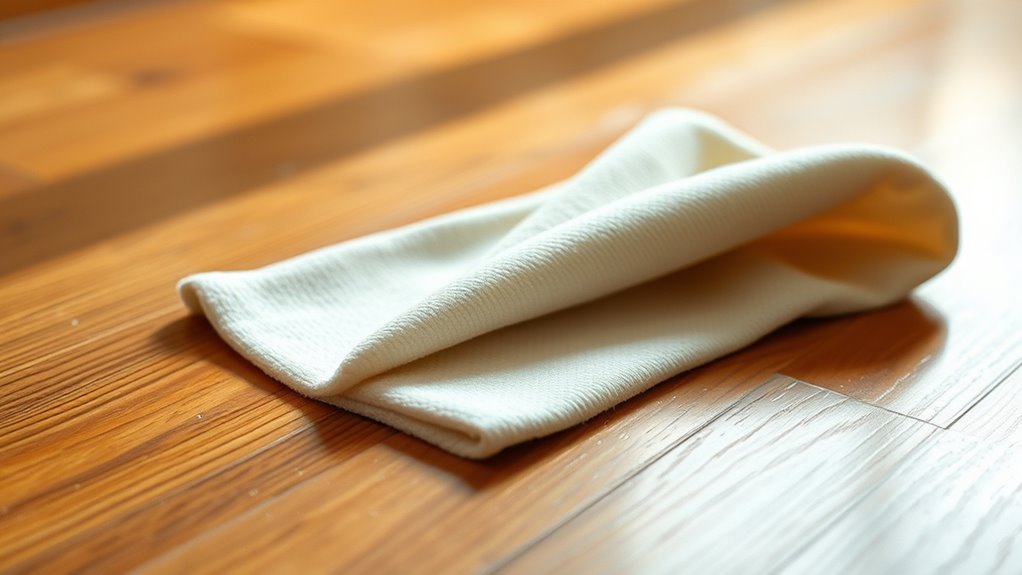
- Use a soft, lint-free microfiber cloth to gently wipe sensor areas without applying pressure.
- Lightly dampen the cloth with water or isopropyl alcohol for stubborn dirt, avoiding excess moisture.
- Regularly inspect sensors for dust or debris buildup and clean with soft brushes or cotton swabs.
- Proper sensor maintenance prevents false cliff and wall detection, ensuring accurate navigation on hardwood surfaces.
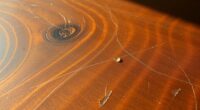
Ever wondered how to keep your sealed hardwood floors looking their best despite dust and debris? The key lies in proper sensor cleaning, especially if you use robotic vacuums or automated cleaning devices. Dust and dirt can settle into the sensors, causing misreads that lead to errors like cliff or wall detection failures. When sensors malfunction, your device might stop cleaning prematurely, bump into furniture, or even fall down stairs, risking damage to both your floors and the machine. Regularly cleaning these sensors is essential to maintaining smooth operation and protecting your investment.
Keeping sensors clean prevents errors and protects your floors from damage. Regular maintenance ensures smooth robotic operation.
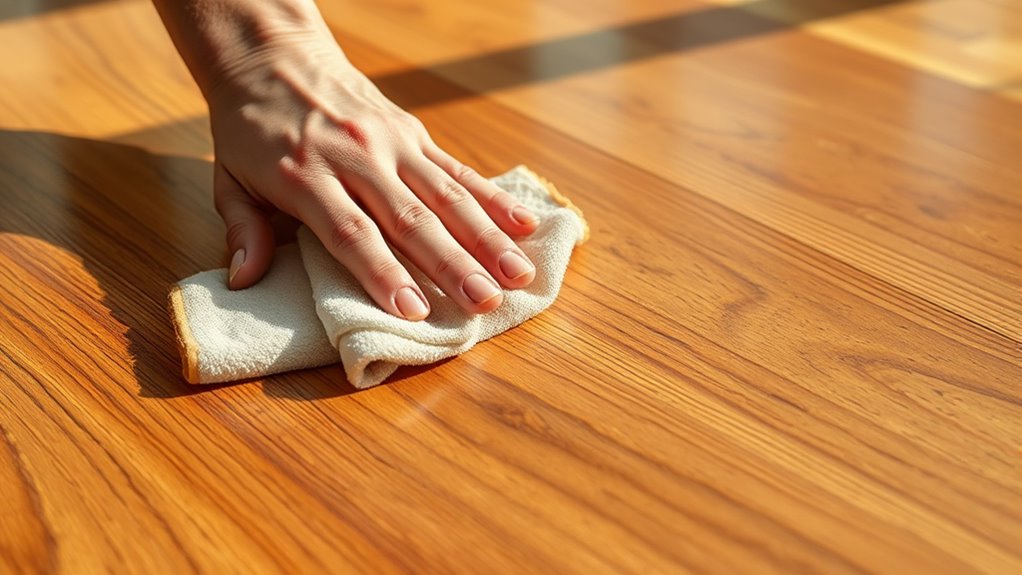
Start by turning off your device and unplugging it if necessary. Use a soft, lint-free cloth—microfiber works well—to gently wipe the sensors. Avoid using abrasive materials or harsh chemicals, as these can scratch or damage delicate components. If dirt is stubborn, lightly dampen the cloth with a mixture of water and a small amount of isopropyl alcohol. Be cautious not to oversaturate the cloth; you just need enough moisture to lift grime without risking moisture seeping into sensitive electronics. Focus on the sensor areas, often located on the front, sides, or bottom of the robot, depending on the model.
It’s also helpful to check the sensor lenses for any buildup of dust or debris regularly. Some models have small, clear covers over the sensors that can be gently cleaned with a soft brush or cotton swab. Keep in mind, sensors are highly sensitive, so handling them with care prevents unnecessary damage. After cleaning, give your device a visual inspection to ensure no residue remains and that the sensors are clear. Power it back on and observe how it navigates your space. If it still exhibits error signals or hesitates around certain areas, repeat the cleaning process.
Consistent maintenance prevents cliff and wall errors by ensuring sensors accurately detect the environment. Dust accumulation over time reduces sensor effectiveness, leading to false readings. This can cause your device to avoid certain areas or, worse, fall down stairs if it misinterprets the drop as a safe surface. Cleaning the sensors as part of your regular cleaning routine keeps your hardwood floors safe and your device functioning at its best. Proper sensor calibration is also vital for optimal performance, as it ensures the sensors interpret their environment correctly.
Midukit Vacuum Attachments Accessories for Robot Vacuum Cleaner,Cleaning Brush roll Cleaning Tool Replacement Parts, Part kit Tool for Vacuums Cleaner Replacement Include Vacuum Cleaning Cloth
Midukit vacuum cleaning kit for robot, dyson. Vacuum cleaning tool includes Cleaning Brush, tweezers, screwdriver (Phillips, Slotted), double-end…
As an affiliate, we earn on qualifying purchases.
As an affiliate, we earn on qualifying purchases.
Frequently Asked Questions
How Often Should I Clean My Sensor for Optimal Results?
You should clean your sensor every three to six months for ideal results, but it depends on your environment. If you notice dust or debris on your sensor or if your device’s performance declines, clean it more frequently. Use a gentle, lint-free cloth or a specialized sensor cleaning kit. Regular maintenance helps prevent cliff and wall errors, ensuring your device functions accurately and smoothly.
Can Cleaning Solutions Damage Sealed Hardwood Surfaces?
Cleaning solutions can damage your sealed hardwood if you’re not careful. Harsh chemicals might strip the finish or cause discoloration, leading to costly repairs. To avoid this, use gentle, hardwood-specific cleaners and apply them with a soft cloth. Imagine a sleek, shiny floor—preserved and beautiful. Now picture it marred by careless cleaning. Protect your investment by choosing the right products and cleaning with care, ensuring your hardwood stays stunning for years.
What Tools Are Safest for Sensor Cleaning on Hardwood Floors?
You should use a soft microfiber cloth or a gentle, slightly damp cloth for sensor cleaning on hardwood floors. Avoid harsh abrasives, metal tools, or excessive moisture, as they can damage the surface. A microfiber cloth is safe, effective, and easy to control, helping you remove dust and dirt without scratching or harming the sealed hardwood. Always make sure the cloth is only lightly damp, not wet.
Are There Signs Indicating My Sensor Needs Cleaning Urgently?
A stitch in time saves nine—if your sensor’s acting up, it’s time to clean it. Signs include erratic or frozen movement, inconsistent measurements, or error messages. If your device struggles to navigate, detects obstacles incorrectly, or displays warnings, don’t wait. Regular cleaning prevents these issues, ensuring smooth operation. When in doubt, check your sensor’s performance; prompt cleaning keeps your hardwood floors and device functioning flawlessly.
How Does Sealed Hardwood Affect Sensor Accuracy Over Time?
Sealed hardwood can affect your sensor accuracy over time if dust, dirt, or debris accumulate on its surface. These contaminants can interfere with the sensor’s ability to detect distances accurately, leading to errors. Regularly cleaning the hardwood surface helps maintain sensor performance. Keep the area free of dust and debris, and inspect the sensor frequently to make certain it functions correctly, preventing cliff and wall errors during operation.

EAEGE Replacement Pads for Window Cleaning Robot, Microfiber Cleaning Clothes Window Cleaner Robot Replacement Set, Reusable Machine Washable, 10pcs
【Efficient Cleaning】The replacement pad used for the window cleaning robot has good cleaning power. It is assembled with…
As an affiliate, we earn on qualifying purchases.
As an affiliate, we earn on qualifying purchases.
Conclusion
By regularly cleaning your sensor on sealed hardwood, you’ll prevent those pesky cliff and wall errors from messing up your project. Think of it as giving your device a gust of fresh air, ensuring it works smoothly and flawlessly. Keep your workspace pristine, and your sensor will perform like a well-oiled machine, avoiding mishaps that could turn your perfect setup into chaos. Stay vigilant, and your hardwood will thank you with years of perfection.

ForPro Professional Collection 99% Isopropyl Alcohol (IPA), Pure & Unadulterated Concentrated Alcohol, 32 Fl Oz (960ml)
Pure & Unadulterated Alcohol: Made from the highest grade, 99% pure isopropyl alcohol. High purity alcohol contains no…
As an affiliate, we earn on qualifying purchases.
As an affiliate, we earn on qualifying purchases.

BEIDUOYANG 10 Pack Vacuum Cleaner Brush Side Brushes Robotic Replacement Side Brush Spare Part For X30 Vacuum Cleaner Spare Parts Accessories
Made from plastic material, these side brush accessories are designed to fit perfectly on the bottom of robot…
As an affiliate, we earn on qualifying purchases.
As an affiliate, we earn on qualifying purchases.