You know the feeling: your robot vacuum once glides like a silent helper, then one morning it hesitates at the edge of a step or bounces into the baseboard. That pause is unsettling because you rely on it to keep your laminate floors spotless while you focus on work, family, or simply catching a breath. Laminate floor robot care isn’t just about shine — it’s about the tiny sensors that read your home and keep the device safe.
This short guide shows you why regular robot vacuum sensor maintenance matters and how a simple routine can stop wall detection errors and cliff sensor failures. You’ll learn where sensors live, the safe tools to use, how often to clean, and quick troubleshooting steps after cliff sensor cleaning or other upkeep. Follow a few clear steps — power off, gently wipe, inspect, then test — and you’ll restore reliable navigation, reduce collisions, and extend battery and component life.
Key Takeaways
- Sensor cleaning robot laminate floors prevents false cliff and wall errors and improves navigation.
- Robot vacuum sensor maintenance is simple: power off, clean with microfiber, cotton swabs, and a soft brush, then test.
- Cliff sensor cleaning is crucial on reflective laminate surfaces that can confuse optical sensors.
- Consistent care reduces collisions, battery drain, and long-term wear on your model.
- Consult manufacturer support or forums for model-specific tips if errors persist.
Why Sensor Cleaning Matters for Laminate Floors
Keeping sensors clean matters more than you might think when your home has shiny laminate. Dirt, dust, and hair on sensor windows change how optical and infrared systems read smooth surfaces. That creates navigation problems that affect performance and wear.
How dirty sensors affect navigation on smooth, reflective laminate
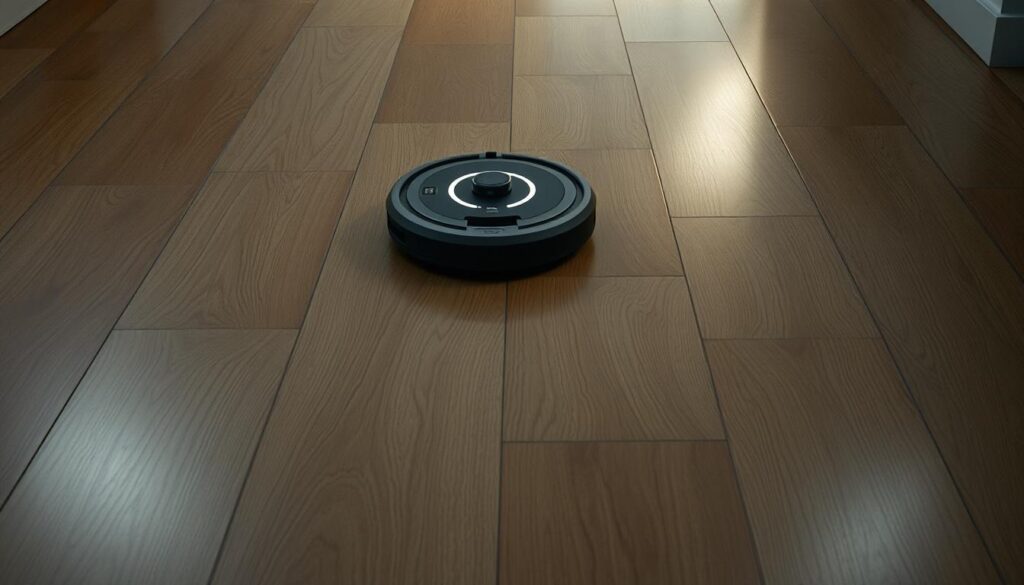
When sensor lenses are smeared, reflections from laminate confuse the robot. You may see missed spots, repeated passes, or the vacuum circling an area. Robot navigation on laminate depends on clear optical paths. Blocked sensors make mapping less reliable and raise the chance of the unit getting stuck under low furniture.
Impact on cliff detection and wall sensing accuracy
Fine dust and fingerprints amplify false readings on shiny floors. Cliff detection errors on laminate often show up as sudden stops near edges or phantom drop warnings. Wall sensing can trigger phantom collisions or cause the robot to hug walls too tightly. Cleaning sensor windows lowers false positives and cuts down on collisions that damage bumpers.
Longer-term wear and battery drain from inefficient cleaning
Poor sensor upkeep forces the robot into extra corrective moves and backtracking. That extra motion means more motor cycles and shorter run times. Battery drain from poor navigation becomes noticeable if the machine spends minutes correcting errors each cycle. Regular cleaning extends component life and helps the vacuum finish runs on a single charge.
Understanding the Main Types of Robot Vacuum Sensors
When you learn the common sensor layout, you clean smarter and avoid false errors on laminate floors. This section walks through the main robot vacuum sensor types, how they work, and which ones need the most attention when dust, hair, or reflections are present.
How cliff detection keeps your robot off stairs
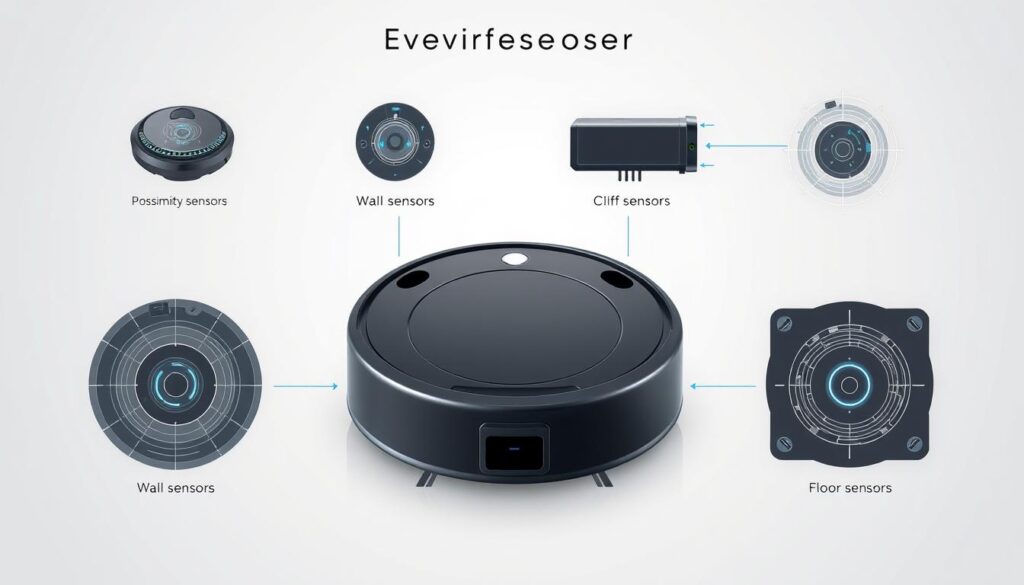
Cliff sensors sit on the underside near the edges. They use reflected light or infrared pulses to spot drops and stairs so your robot won’t fall. On shiny laminate, reflections can confuse optical cliff sensors and trigger false stop warnings.
Bumper, infrared, lidar, camera, dirt, ultrasonic, and wheel sensors explained
Bumper sensors are physical switches behind a front shell. When you bump a table leg, the bumper triggers obstacle avoidance. Infrared units help with short-range navigation and docking. Higher-end models use Lidar or camera systems for mapping and room memory.
Dirty zones get flagged by dirt sensors near the brush and suction inlet. Ultrasonic sensors send sound waves to judge distance in cluttered rooms. Wheel sensors and optical encoders track rotations to estimate distance traveled and help with positioning.
Which sensors are most vulnerable to dust, hair, and reflections
Optical cliff sensors, infrared docking units, and Lidar or camera modules suffer most from dust, fingerprints, and oily residues. Those contaminants reduce signal clarity and mapping accuracy. Bumper and wheel sensor function can be impaired by trapped debris or hair around rollers and axles.
Knowing these weak points helps you focus cleaning where it matters most. Clean cliff sensors and optical windows gently, clear hair from wheels, and keep dirt sensors free of lint to maintain reliable navigation on laminate.
Locate Your Vacuum’s Sensors on Common Models
Before you start cleaning, get to know where manufacturers place sensors. Common models from Roomba, Roborock, Ecovacs Deebot, and Narwal put sensors in predictable spots. A quick check helps you find robot vacuum sensors and avoid accidental damage.
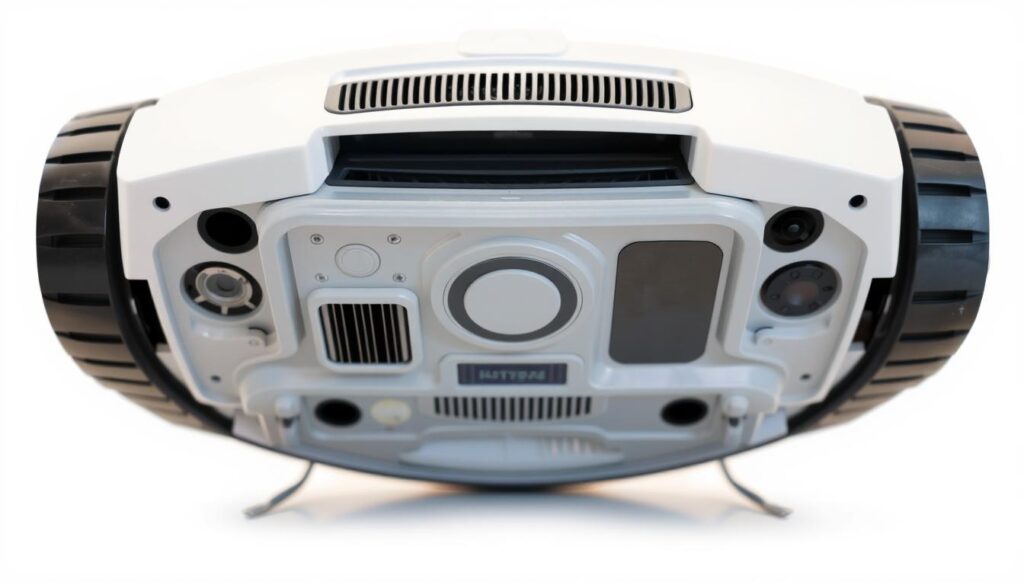
Power off the unit and flip it onto a soft towel. Look underneath for cliff sensors near the edges and near the wheels for wheel encoders. The front bumper often hides contact switches and infrared panes. Top modules or domes house Lidar or camera windows.
Consult your user manual or the manufacturer support pages before you begin. Manuals show exact sensor locations for each model. If the manual is not handy, community forums for Roomba, Roborock, Deebot, and Narwal often post photos and diagrams that map sensor locations Roomba Roborock Deebot Narwal.
Remove the dustbin and open the brush cover to inspect dirt sensors near the main suction inlet. Always keep the robot powered off when probing near delicate lenses and ribbon cables. This prevents short circuits and accidental resets.
Use a bright flashlight to find recessed or tinted sensor windows that hide dust. A narrow beam can reveal smudges on optical panes. Many owners carry a small torch specifically to flashlight to locate sensors in shadowed recesses.
Below is a quick reference to common sensor spots on popular brands. Use it as a starting checklist while you verify model-specific details in the manual or on the brand site.
| Brand / Model Type | Underside | Bumper & Sides | Top / Module | Near Brushes |
|---|---|---|---|---|
| iRobot Roomba (many series) | Cliff sensors at front and sides | Mechanical bumper and IR panes | Camera in higher models | Dirt sensors by suction inlet |
| Roborock (S / S7 series) | Edge cliff sensors and wheel encoders | Side IR and touch bumpers | Lidar dome or camera depending on model | Brush housing dirt sensors |
| Ecovacs Deebot (T / N series) | Multiple cliff pads under chassis | Bumper sensor with IR windows | Lidar or camera modules on top | Near roller brushes and inlet |
| Narwal models | Cliff sensors and wheel sensors low on body | Front bumper and side proximity sensors | Top laser or optic modules | Sensors close to mop and brush areas |
sensor cleaning robot laminate floors
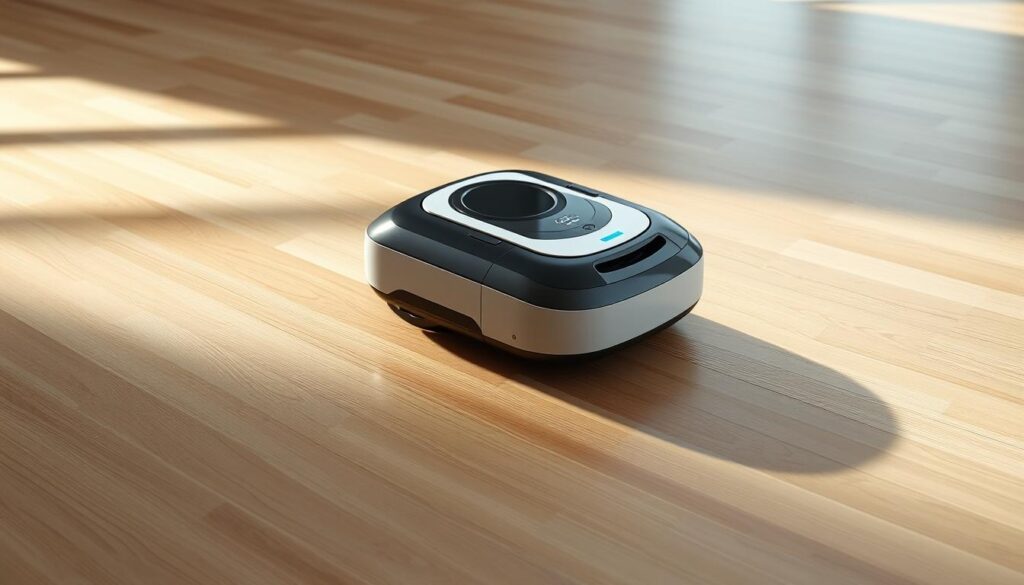
Keeping sensors clean is crucial when your robot runs on glossy laminate. Dirt, hair, and tiny smudges can cause navigation hiccups. Use a consistent routine so your vacuum reads the floor correctly and avoids cliff or wall mistakes.
Why a laminate-specific routine matters
Laminate reflects infrared and optical beams more than matte surfaces. That makes cliff sensors and cameras more likely to see false drops or phantom walls. A routine tailored to laminate prevents reflective floor sensor errors and reduces unnecessary stops or dock failures.
Recommended safe tools and materials
Choose gentle, lint-free microfiber cloths and soft brushes. Cotton swabs help reach recessed sensor windows. Use compressed air in short bursts to dislodge dust without touching optics. If you need a liquid, mix a tiny amount of mild dish soap with water and dampen the cloth; never spray directly on sensors.
Tools for laminate robot maintenance
- Dry microfiber cloth for regular wiping.
- Small soft-bristled brush for crevices near bumpers and wheels.
- Cotton swabs for tight sensor gaps.
- Compressed air canister used sparingly to clear dust.
- Mild soapy solution for occasional greasy residues.
Avoid these mistakes
Do not use alcohol or harsh chemicals on camera or lidar domes. Avoid excessive pressure that could scratch lenses. Never disassemble lidar or camera modules unless you follow the manufacturer guidance from iRobot, Roborock, or Neato.
How reflections cause sensor errors
Bright patches, sunlight, and glossy finishes bounce beams unpredictably. Cliff sensors may interpret strong reflections as a sudden drop. Cameras and lidar can create mapping glitches that show phantom walls. Regular cleaning plus minor environment changes cut down reflective floor sensor errors.
Practical tips for better runs
Run cleaning cycles away from direct sunlight. Place small rugs or mats in highly reflective zones to give sensors reliable reference points. Test the robot after cleaning to confirm cliff detection and mapping stability.
Step-by-Step Safe Sensor Cleaning Routine
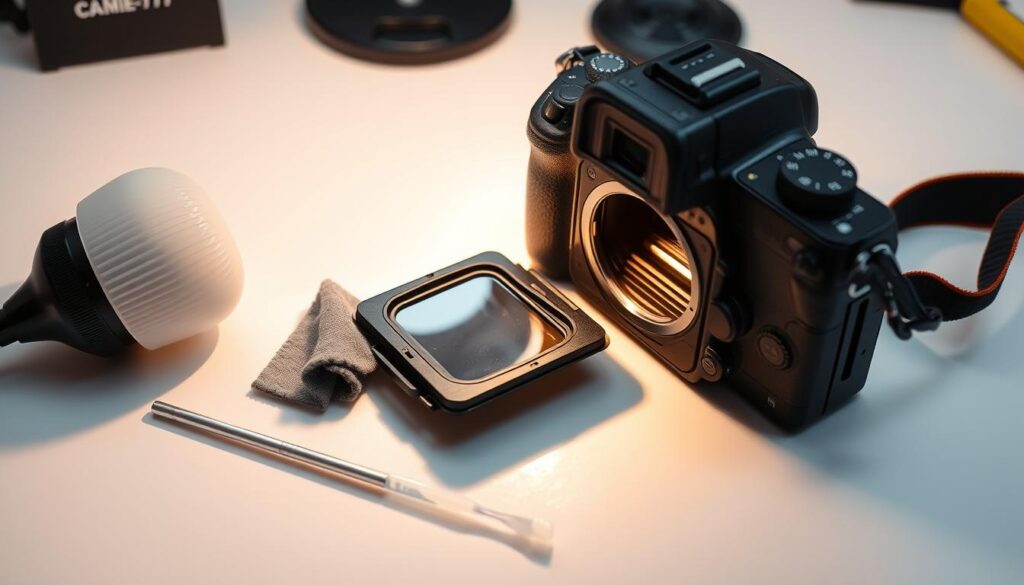
Before you begin, clear a small work area with good light and a soft cloth. A clean workspace helps you spot dust and hair on sensor windows. Follow safe sensor cleaning steps to protect delicate optics and keep navigation reliable on laminate floors.
Power off and prepare the workspace
Power off robot before cleaning and unplug the charging base. Turn the unit upside down on a soft towel so you can access underside sensors without scratching the shell. Remove the dustbin and brush guard, then use a flashlight to locate cliff, bumper, and docking sensors.
Gentle wiping with microfiber cloths and when to dampen
Start with a dry microfiber cloth to wipe sensor windows and surrounding plastic. Keep pressure light to avoid pushing debris into seams.
If a mark won’t lift, lightly dampen the microfiber with plain water or a mild cleaner only when your manual allows. Wipe again with the damp cloth, then dry immediately with a fresh dry cloth. These safe sensor cleaning steps help prevent streaks that can confuse optical sensors.
Using cotton swabs, soft brushes, and compressed air safely
Use cotton swabs to reach corners and recessed sensor edges. A soft-bristled brush or an unused soft toothbrush can dislodge trapped hair near wheels and bumpers.
Apply compressed air in short bursts while holding the can upright. Keep the nozzle several inches from components. Avoid long blasts that could force dust deeper into cavities.
After cleaning, reassemble the dustbin and brush guard, return the robot to its dock, and run a sensor test or a short cleaning cycle through your app. If you notice persistent errors, repeat the inspection and check for physical damage.
| Step | Action | Tools | Tip |
|---|---|---|---|
| 1 | Power off and unplug robot | None | Always power off robot before cleaning to avoid accidental startup |
| 2 | Remove dustbin and brush guard | Microfiber cloth | Place parts on a soft towel to prevent scratches |
| 3 | Dry wipe sensor windows | Dry microfiber | Use gentle strokes across optical windows |
| 4 | Tackle corners and crevices | Cotton swabs, soft brush | Work slowly to avoid pushing debris inward |
| 5 | Use compressed air for tight spots | Compressed air can | Short bursts, can held upright to avoid moisture |
| 6 | Spot-clean stubborn marks | Lightly dampened microfiber | Only dampen if manufacturer permits; dry immediately |
| 7 | Reassemble and return to dock | None | Check brush and wheel clearance before testing |
| 8 | Run sensor test or short cycle | Smartphone app or onboard test | Verify cliff and wall detection on laminate |
Cleaning Cliff Sensors Specifically for Laminate Floors
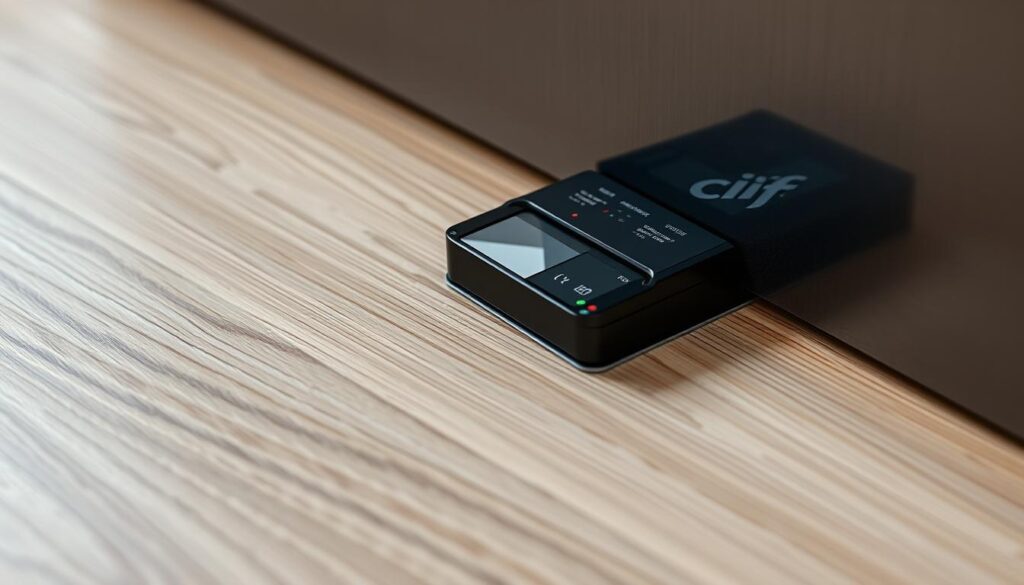
Cliff sensors sit on the underside near the edges of your robot. On glossy laminate they can misread reflections as drops. A quick routine keeps navigation smooth and prevents the robot from avoiding whole rooms because of phantom edges.
Where to look and why reflections matter
Locate the tiny dark windows along the robot’s bottom edge. These infrared eyes detect cliffs and stairs. Bright laminate or streaks of dust can scatter the beam and cause cliff sensor false positives. Test in good light and watch the robot approach a real edge after cleaning.
Best techniques to remove dust, hair, and oily residues
Start with a dry microfiber cloth to wipe each sensor window. Use a small soft brush or a cotton swab to clear trapped pet hair from crevices. For sticky or oily residue, slightly dampen the cloth with manufacturer-approved water or a mild cleaner. Avoid spraying liquids directly into openings.
Frequency based on use and pets
If you run the robot daily or have shedding breeds, aim to clean sensors weekly. For lighter use, every two to four weeks is fine. Pair this with pet hair sensor maintenance near brushes and inlets to reduce clogging and keep detection consistent.
Quick verification steps
- Wipe sensors, wait a minute for any dampness to evaporate, then power on the robot.
- Run a short test along a safe edge or stair to confirm there are no cliff sensor false positives.
- Check again after a week to ensure the clean cliff sensors laminate routine is working in your space.
Cleaning Bumper, Infrared, and Docking Sensors
Keep your robot returning reliably and avoiding low-profile furniture by giving attention to its bumper, infrared, and docking sensors. A quick routine protects navigation, reduces false bumps, and helps the vacuum find its base on shiny laminate without issue.
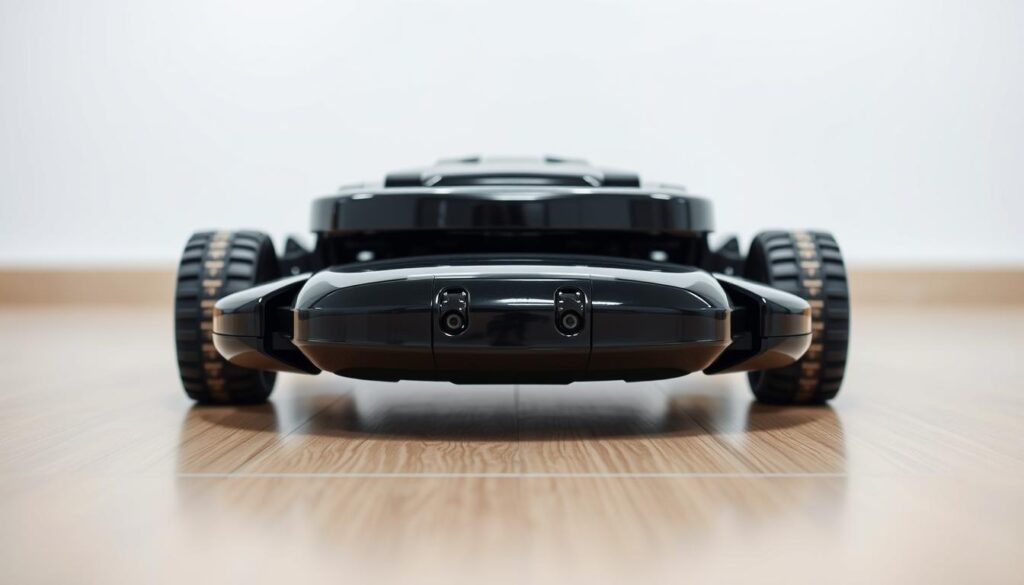
How bumper sensors influence obstacle detection on low-profile furniture
Bumper sensors sit behind the front shell and must move freely to register contact. Wipe outer surfaces and sensor windows with a soft microfiber cloth. Use a cotton swab or short bursts of compressed air to reach tight corners and seams.
Check bumper travel if your robot keeps nudging legs or baseboards. Stiff or stuck bumpers can misreport impacts and make the vacuum push into low-profile furniture instead of redirecting.
Cleaning docking sensors on both the robot and charging base
Infrared docking sensors guide the robot back to the base. Clean the sensor windows on the robot and the charging station using a dry microfiber first, then a slightly damp swab for sticky residue.
Inspect contact pads and nearby plastic for dust buildup. Dirt on either side can block signals and cause missed docks. If errors persist after cleaning, check for firmware updates and run the app’s docking diagnostics.
Keeping the dock area clear and properly positioned on laminate
Dock placement laminate floors need special care. Place the base on a flat, stable, non-reflective surface away from direct sunlight. Keep at least 0.5 meters (about 1.6 feet) of clearance on each side and remove clutter that can block infrared paths.
Regular docking sensor maintenance prevents misalignment and keeps returns reliable. Verify the robot and dock sensors are aligned and unobstructed during routine checks.
| Item | Action | Frequency |
|---|---|---|
| Bumper shell and windows | Wipe with microfiber; use swab or compressed air for gaps; test bumper travel | Weekly or after heavy use |
| Infrared sensor windows (robot & base) | Clean with dry cloth, damp swab for residue; ensure no sunlight or glare | Weekly to biweekly |
| Dock area | Place on stable, non-reflective spot; keep 0.5 m clearance; remove clutter | Monthly check and after moving furniture |
| Charging contacts | Wipe with dry cloth and inspect for dust; avoid liquids on contacts | Monthly or if charging errors occur |
Maintaining Dirt Detection, Lidar, and Camera Modules
Keep your robot running well by paying attention to dirt sensors, lidar domes, and cameras. Small buildups near brush housings or on optical surfaces can throw off navigation and cleaning performance. A few routine steps will save time and reduce errors on laminate floors.
Start with dirt sensor maintenance near brushes and suction inlets. Remove the brush housing per your manual, then use a dry microfiber cloth or a soft brush to sweep away hair and dust. Compressed air can dislodge trapped debris, but use short bursts and keep the nozzle at a distance. Do not pour liquids into the inlet or sensor cavity unless the manufacturer explicitly allows it.
For lidar and camera care, gently wipe the dome and lens with a lint-free cloth. The best approach is light, circular strokes without pressing hard. If you own an Ecovacs DEEBOT, Roborock, or similar model, follow the brand guide when the lens looks smudged. Clean lidar dome and camera lens robot vacuum are fragile; rough handling or disassembly can misalign sensors and void warranties.
Avoid alcohol and harsh chemicals on optical parts. Alcohol can strip coatings and leave residues that scatter light, so use only dry microfiber or manufacturer-approved cleaners. If a lens still appears contaminated after gentle wiping, consult the user manual or contact support before attempting deeper cleaning.
Clean dirt sensor maintenance frequency should match your household: weekly for homes with pets, biweekly for moderate traffic, monthly for light use. After cleaning, run a mapping cycle so lidar and camera modules relearn room geometry. If phantom walls or mapping errors persist, check for firmware updates from the manufacturer or reach out to Roborock, Ecovacs, or Narwal support channels for guidance.
| Component | Recommended Tool | Do Not Use | Suggested Frequency |
|---|---|---|---|
| Dirt sensors (near brushes) | Dry microfiber, soft brush, compressed air (short bursts) | Liquids, heavy pressure | Weekly with pets; biweekly otherwise |
| Lidar dome | Lint-free cloth, light circular wipes | Alcohol, ammonia cleaners, disassembly | Monthly or after visible dust |
| Camera lens | Microfiber cloth, manufacturer-approved lens cleaner if specified | Abrasive pads, alcohol-based solutions | As needed; check after each deep clean |
Troubleshooting Common Cliff and Wall Errors After Cleaning
After you clean sensors on laminate floors, run a short mapping cycle and watch how your robot behaves. A quick check helps you spot lingering issues before they cause damage. Use the app diagnostics when available and keep the path clear during the test run.
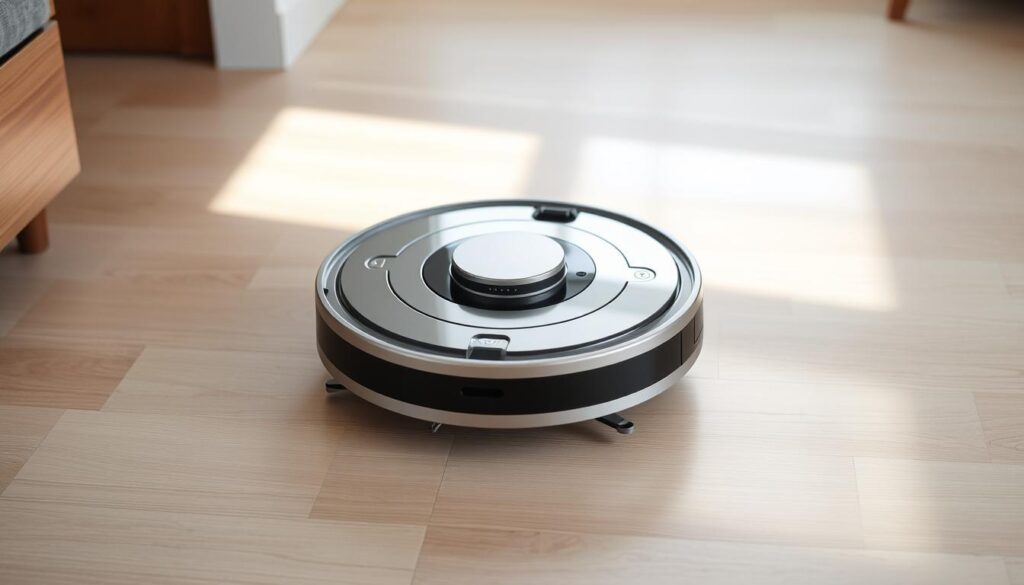
If your robot bumps into objects, avoids open areas, or shows erratic paths, these are signs of sensor trouble. Falling near stairs, frequent docking failures, or sudden stops near edges point to cliff detection faults. Phantom walls troubleshooting becomes important when virtual barriers appear where none were set.
Basic steps to try first
Power-cycle the unit by holding the home and clean buttons together or use the reboot option in the app. Run built-in sensor tests and a fresh mapping run in a well-lit room. If errors persist, reset the map, then allow a new mapping session while the apartment is clear of obstacles.
Recalibration and app tools
Use your manufacturer’s app to recalibrate sensors when available. For lidar-based models like Roborock and Ecovacs, follow the app prompts to recalibrate robot lidar. A mapping reset followed by a guided recalibration often clears phantom walls and fixes incorrect edge detection.
Diagnosing damage versus blockage
Inspect sensor windows, the bumper, and the lidar dome for cracks, loose fittings, or misalignment. Dirt tends to cause intermittent errors that cleanings fix. Physical damage requires replacement parts or service from the brand’s support team, such as Narwal or iRobot.
Practical tests you can run
- Manually move the robot close to a ledge and watch the app or LEDs for cliff alerts.
- Place a small object as a mock wall and test obstacle recognition.
- Run the robot near the charging dock to verify docking signals and alignment.
When firmware and updates matter
Check the app for firmware updates before ordering parts. Software fixes can resolve mapping glitches and reduce the need to recalibrate robot lidar. If issues remain after updates, contact model-specific support for guided diagnostics.
| Problem | Quick Fix | Next Step if Problem Persists |
|---|---|---|
| Phantom walls or virtual barriers | Reset map, run mapping in clear, well-lit space | Use app recalibration; contact Ecovacs or Roborock support |
| Cliff sensor warnings or near-falls | Clean sensor windows, run manual ledge test | Inspect for cracks; replace part via manufacturer |
| Erratic navigation and bumping | Reboot robot, update firmware, rerun mapping | Recalibrate robot lidar; schedule service if hardware loose |
| Docking failures | Clean dock sensors, clear dock area | Check dock firmware and alignment; contact brand support |
Advanced Tips to Prevent Sensor Issues on Laminate Floors
Keep your robot running smoothly by planning its environment. Small changes reduce false cliffs, phantom walls, and frequent errors on shiny laminate. Start with simple steps you can do today to prevent sensor errors laminate and improve mapping accuracy.
Avoid direct sunlight during mapping runs. Bright, angled light creates glare on polished boards that can fool optical sensors. If you must clean or map during daylight, draw blinds or schedule runs for early morning or evening to reduce reflection robot vacuum problems.
Use original parts and accessories from your manufacturer. Sticking to factory docks, brushes, and filters helps maintain precise alignment and calibration. If you swap in generic docks or third-party brushes you may need to recalibrate more often, so choose to use original accessories robot when possible.
Place rugs where glare is worst. A small area rug near large windows or by doorways breaks up shiny patches and protects cliff sensors from false readings. Rugs also cushion low-profile furniture, lowering collision frequency and helping the robot read edges correctly.
Set virtual no-go zones for repeat trouble spots. Most apps let you block off mirrored cabinets, glass tabletops, or reflective stair edges. Virtual barriers offer a quick way to stop your robot from entering areas that cause repeated sensor confusion.
Optimize furniture layout to create clear paths. Remove clutter from walkways and raise loose cords from the floor. Clear lanes let your robot use its lidar and bumper sensors without unnecessary course changes, lowering wear and battery drain while you prevent sensor errors laminate.
Store the robot in a cool, dry spot and keep the dock stable. Humid or dusty storage damages connectors and misaligns sensing modules. A stable, manufacturer-approved dock supports correct charging and consistent sensor calibration when you use original accessories robot.
Test changes with a short mapping run after adjustments. Watch for alerts and small navigation fixes. If problems persist, consult manufacturer forums like Roborock or Ecovacs for model-specific tips before attempting deeper repairs.
How Often to Clean Your Robot Vacuum Sensors
Keeping sensors clean helps your robot avoid cliffs, walls, and missed spots on laminate floors. Use a simple plan that matches your home’s traffic, pets, and cleaning routine. Below you’ll find practical frequency rules, warning signs that demand immediate attention, and a sample schedule you can follow.
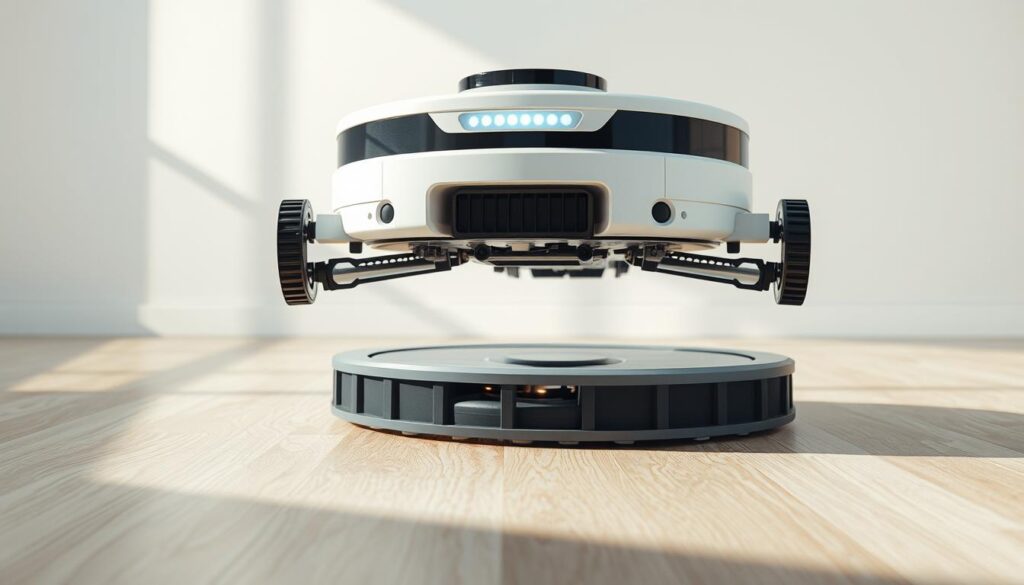
If your vacuum runs daily or you have dogs or cats, a weekly check is smart. For average daily use in a two-person home, a biweekly wipe and inspection usually works. Light-use homes can stretch to monthly deep cleans. These ranges help balance effort with vacuum maintenance frequency and prolong sensor life.
Robot behavior that signals immediate cleaning
Blinking error lights, app alerts, sudden collisions, or missed rooms mean it’s time to clean right away. If the robot struggles to dock or reports phantom cliffs, skip the schedule and inspect sensors. Using the device’s self-check or manufacturer app can point to the specific sensor that needs attention.
Creating a maintenance schedule that fits your life
Set calendar reminders and add quick visual checks after heavy shedding or renovation work. You can log each cleaning in the vacuum app or a paper checklist to track trends. A clear sensor cleaning schedule robot makes upkeep predictable and reduces surprises.
| Household Type | Suggested Frequency | Why |
|---|---|---|
| Homes with pets or heavy traffic | Weekly checks, deep clean every 2 weeks | Pet hair and dust build up quickly and impair cliff and wall sensors |
| Typical daily use (2–4 rooms) | Biweekly checks, monthly deep clean | Balances time spent with effective vacuum maintenance frequency |
| Light use or vacation homes | Monthly inspections and cleaning | Lower debris levels allow longer intervals between deep cleans |
| After renovations or large gatherings | Immediate check and clean | Dust, glitter, and debris spike risk of sensor errors |
| When the robot shows errors | Inspect immediately | App alerts and error lights are reliable indicators you should act |
Check your model’s manual for brand-specific advice. Models like the DEEBOT series list varied intervals, so confirm the recommendation. Use the robot’s signals and your own observations to fine-tune how often clean sensors, then stick to the timeline that fits your home.
Recommended Tools and Safe Practices for Laminate-Friendly Maintenance
Keep a small kit by your charging dock so you can do quick checks and avoid navigation errors on laminate floors. Use gentle tools and clear storage habits to protect sensor alignment and prolong your robot vacuum’s life.
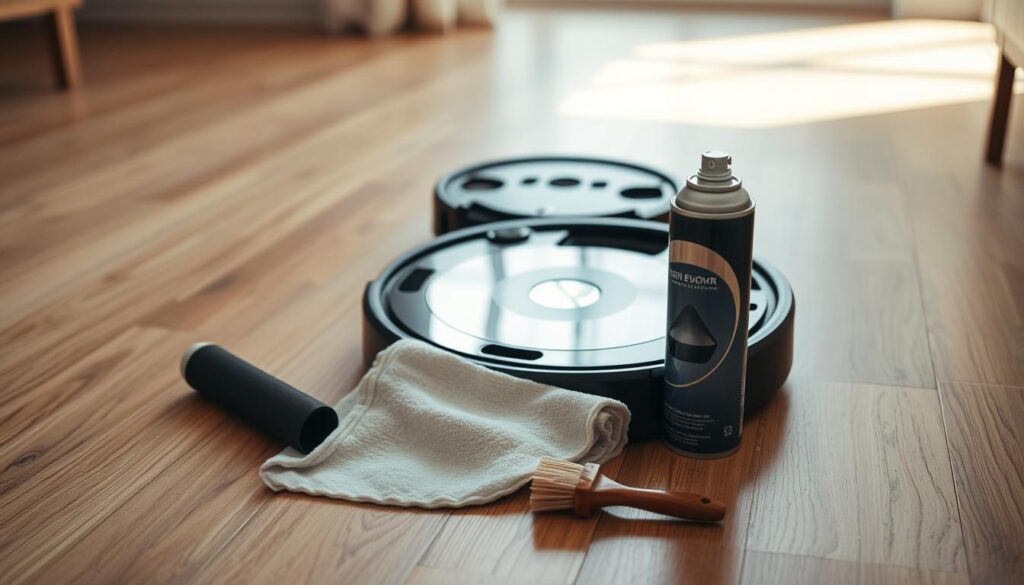
Essential kit:
- Dry microfiber cloth for gentle wiping of optical windows and bumpers.
- Cotton swabs to reach recessed sensor openings and edges near wheels.
- Soft-bristled brush to dislodge hair and fine dust around brushes and inlets.
- Compressed air can (short bursts) to clear vents and hard-to-reach crevices.
- Flashlight to check hidden sensor ports and confirm there is no residue.
- User manual for model-specific guidance from Roomba, Roborock, or Eufy.
How to use these tools safely:
- Wipe sensors with the microfiber cloth in one direction. Do not rub hard.
- Use cotton swabs dry, or very lightly dampened with water only if the manual permits.
- Keep compressed air bursts short and from a distance to avoid spinning delicate parts.
- Remove the dustbin and brush cage before deeper cleaning to prevent stirring debris into sensors.
What not to use on sensors:
- Avoid harsh chemicals and alcohol on optical parts. These can cloud lenses and coatings.
- Do not apply excessive pressure that could scratch or misalign cliff and lidar modules.
- Never disassemble lidar domes or camera housings unless directed by the manufacturer.
Follow the advice above so you know what not to use on sensors and keep your robot working well on shiny laminate. Use only mild cleaning solutions if your manual explicitly allows them.
Storing your robot and dock:
- Choose a dry, cool spot out of direct sunlight to store the robot and dock.
- Keep the dock area flat and free of clutter to avoid misalignment of charging and docking sensors.
- Use original accessories and replacement parts from the manufacturer to ensure fit and function.
- Pack a small maintenance kit near the dock so you can quickly access tools for robot vacuum sensor cleaning after each heavy-use day.
When you store robot vacuum properly, you reduce dust buildup and the chance of phantom walls or cliff errors. Regular, gentle care using the right tools prevents most sensor issues and keeps navigation accurate on laminate floors.
Conclusion
Keep a simple, regular routine to maintain robot vacuum sensors on laminate floors. Power the unit off, use a soft microfiber cloth and cotton swabs for cliff, infrared, dirt, and Lidar sensors, then run a short test. This small effort prevents drift in navigation and helps prevent cliff and wall errors that can lead to collisions or missed areas.
Cleaning sensors regularly also improves battery life and extends your device’s lifespan. Frequency depends on traffic, pets, and home size, so match the schedule to your needs and check app alerts or error lights as cues. This sensor cleaning robot laminate floors summary shows that routine care stops small issues from becoming big repairs.
If problems persist after careful cleaning, consult brand support from iRobot, Roborock, Ecovacs, or Narwal and check user forums for model-specific tips. Adopt the laminate-focused steps and tools outlined earlier, test your robot after maintenance, and set a schedule that fits your home to reliably maintain robot vacuum sensors and prevent cliff and wall errors.
