To give your new home’s tile floors a fresh look in just one afternoon, start by thoroughly cleaning and deep scrubbing the grout with a specialized cleaner or baking soda mixture using a small brush. Then, inspect the tiles for damage and repair any chips or cracks. After cleaning and repairing, seal the grout and tiles with a high-quality sealer to prevent stains and moisture. Finish by gentle mopping, and you’ll have floors that look bright and new—more tips await as you explore further.
Key Takeaways
- Begin with a thorough grout and tile cleaning using a specialized cleaner or baking soda mixture to remove dirt and stains.
- Inspect and repair any damaged or chipped tiles to ensure a smooth, uniform surface before sealing.
- Apply a high-quality tile sealer evenly to protect against future stains and moisture, allowing proper curing time.
- Clean and dry the floors completely after sealing to prevent debris from settling and to enhance sealant effectiveness.
- Regularly maintain with gentle mops and reseal every few years to keep the tile floors looking fresh and new.
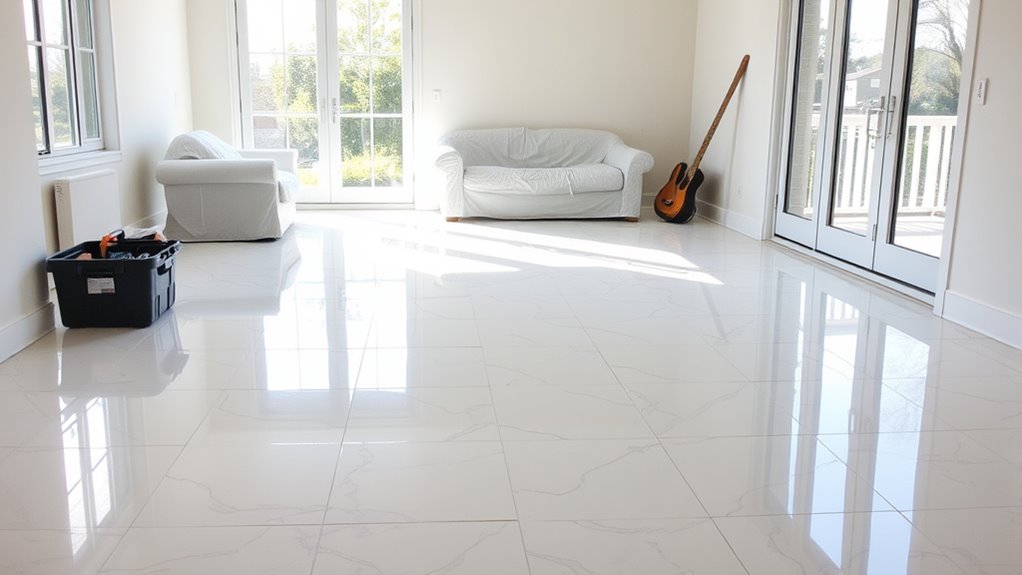
Are your tile floors looking worn or uneven? If so, a quick refresh can make your space feel brand new without the hassle of a full remodel. You can achieve a fresh, clean look in just one afternoon by focusing on essential tasks like cleaning grout and sealing tiles. These steps not only enhance the appearance but also extend the lifespan of your floors, giving you a polished, move-in ready space.
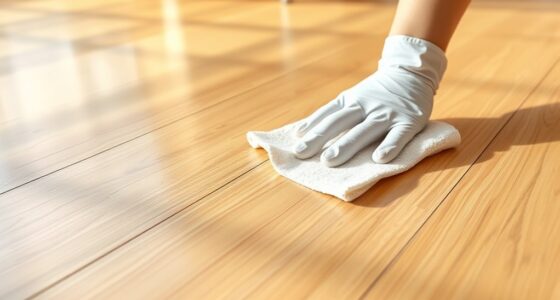
Start by thoroughly cleaning your grout lines. Grout tends to trap dirt, grime, and stains over time, making your tiles look dull and neglected. Use a specialized grout cleaner or a mixture of baking soda and water to scrub the lines with a small brush or an old toothbrush. This deep cleaning lifts the dirt that regular sweeping or mopping can’t reach, restoring brightness to your grout and creating a cleaner overall look. Once you’ve scrubbed and rinsed, dry the area completely. Clean grout is essential because it prepares the surface for sealing, which will lock out future stains and moisture. Proper cleaning also helps prevent clogged grout lines that can lead to mold or further deterioration over time.
Thoroughly clean grout with a brush and baking soda mixture for a brighter, fresher look.
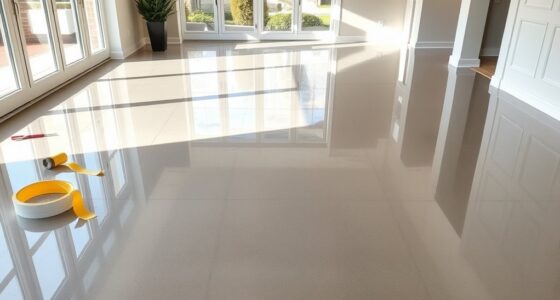
Next, inspect your tiles for any chips, cracks, or uneven spots. If you notice damage, consider patching or replacing broken tiles before sealing. Once your tiles are in good shape, it’s time to seal them. Sealing tiles creates a protective barrier that resists stains, moisture, and dirt buildup, making future cleaning easier. Applying a high-quality tile sealer is straightforward—spread it evenly using a sponge or roller, making sure to cover all surfaces thoroughly. Allow the sealer to sit and cure as per the manufacturer’s instructions, which usually takes a few hours. This step not only revitalizes the look of your floors but also helps maintain their integrity over time.
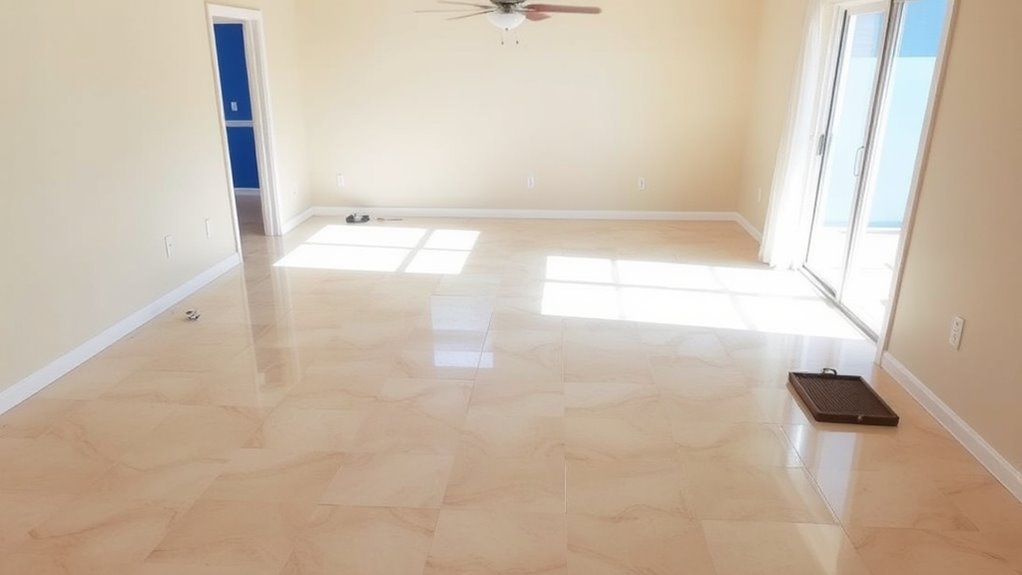
After sealing, give your floors a final sweep or mop with a gentle cleanser to remove any residue. Avoid harsh chemicals that can erode the sealant. Once dry, your tile floors will look brighter, cleaner, and more uniform, giving your new home that fresh, move-in ready feel. This simple reset can dramatically improve the overall aesthetic without requiring extensive work or time. Plus, maintaining this routine with regular cleaning grout and sealing tiles every couple of years keeps your floors looking pristine and protected.
In just a few hours, you transform worn, uneven floors into a sleek, inviting surface that feels brand new. This quick refresh not only boosts your home’s appearance but also helps preserve the durability of your tiles, making your move-in experience smooth and satisfying.

Oreck Commercial Orbiter Hard Floor Cleaner Machine, Multi-Purpose Floor Cleaning, Random Orbital Drive, Wide Cleaning Path, 50-Foot Long Cord, ORB550MC, Gray/Red
MULTI-PURPOSE CLEANING: Commercial grade cleaner and effective on all types of flooring surfaces. Sand, refinish, strip, scrub, wax,...
As an affiliate, we earn on qualifying purchases.
Frequently Asked Questions
Can I Reset Tile Floors Without Professional Help?
Yes, you can reset tile floors yourself using DIY techniques, but it depends on your experience and the floor’s condition. Start by cleaning thoroughly, then reseal or regrout as needed. If the tiles are loose or damaged, professional assistance might be best to guarantee proper repair and avoid future issues. With patience and proper tools, you can refresh your tile floors, but don’t hesitate to call in experts if problems persist.
How Long Does a Tile Floor Reset Typically Take?
A tile floor reset typically takes about one to three days, depending on the size and condition. With DIY tips, you can handle some prep work and grout cleaning yourself, but for a thorough reset, professional services might be faster and more effective. If you’re comfortable with tools and patience, you can manage the process in a weekend, ensuring your floors look fresh and new without professional help.
Is Special Equipment Needed for Resetting Tile Floors?
You don’t necessarily need specialized tools to reset tile floors, but they can make surface preparation easier and more effective. Basic tools like scrapers, grinders, and sealers often suffice for cleaning and prepping the surface. However, if you’re dealing with stubborn grout or damaged tiles, specialized equipment guarantees thorough cleaning and proper surface preparation. Using the right tools helps you achieve a professional look quickly and efficiently.
What Are Common Mistakes to Avoid During Reset?
Did you know that improper floor prep causes over 60% of tile failure? To avoid this, guarantee your surface is clean, level, and free of debris before resetting. Be cautious with adhesive choices; using the wrong type can lead to tiles loosening or cracking. Rushing through prep or choosing the wrong adhesive are common mistakes. Take your time, follow manufacturer instructions, and double-check your work for a flawless finish.
How Often Should I Reset My Tile Floors?
You should reset your tile floors every 1-2 years to keep them looking fresh. Regular maintenance tips, like sweeping and mopping, help prevent buildup. If you notice dullness or grout stains, it’s time for a reset. DIY challenges can arise, so consider professional help if needed. Consistent resets maintain your floors’ beauty and durability, saving you time and money in the long run.

HHQ Commercial Floor Scrubber Machine with Brushes and Pads, Heavy Duty Floor Cleaner Polisher and Buffer- Deep Cleaning Tile and Grout, Hardwood Floors and Carpets without Getting on Hands and Knees
Kit Included: 1 Orbital Floor Buffer & Scrubber Machine, 2 Polishing/ Stripping Pads, 3 Scrub Brushes, 1 Microfiber...
As an affiliate, we earn on qualifying purchases.
Conclusion
In just one afternoon, you can completely transform your tile floors, making your new home feel fresh and brand new again. With a simple reset, your floors will shine brighter than a diamond and look like they were laid yesterday. Don’t wait for a costly renovation—grab your tools and make that space look stunning in no time. You’ll be amazed at how a quick reset can turn your entire room into a breathtaking masterpiece!
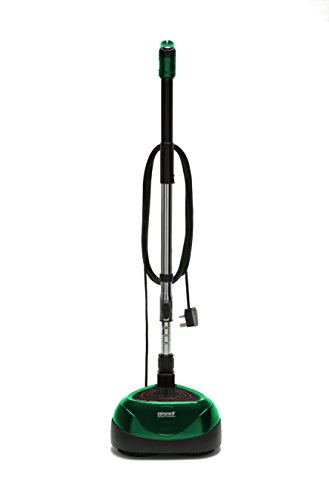
Bissell Commercial BigGreen BGFS650 Hercules Scrub and Clean Floor Machine, Green
Brush Speed (Rpm): 2200 Rpm
As an affiliate, we earn on qualifying purchases.

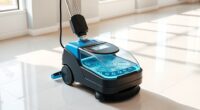
Battery Powered Walk Behind Mini Automatic Floor Scrubber Machine – Compact & Portable, 15” Cleaning Width, 90-Minute Runtime, 170 RPM – Ideal for Small Commercial Spaces, Offices, Retail & More
Compact & Efficient Cleaning – Designed for small commercial spaces, this mini automatic floor scrubber features a 15-inch...
As an affiliate, we earn on qualifying purchases.